
Auto Capture with the Nikon Z9
Auto Capture with the Nikon Z9
Firmware 4.0 for the Nikon Z9 was released on 13th June 2023 and brought a new Auto Capture menu that effectively allows the camera to start taking photographs once a preset series of conditions have been met - it effectively turns the camera into one of the most expensive and most advanced trail cameras available. I had previously been using pre-capture with flying birds but found it to be a little awkward waiting with my finger on the shutter button for what seemed like ages before the bird would do anything. I also preferred shooting in raw (NEF), something that pre-capture does not yet allow.
Auto-capture is the bottom entry in the Photo Shooting menu, just below Focus Shift Shooting. (The menu item is also available in the Video Shooting menu so you can trigger video recording as well as still images). If you don’t have the menu item check that you have updated to firmware 4.0. This article provides a walkthrough of how to configure and use this Auto capture feature.
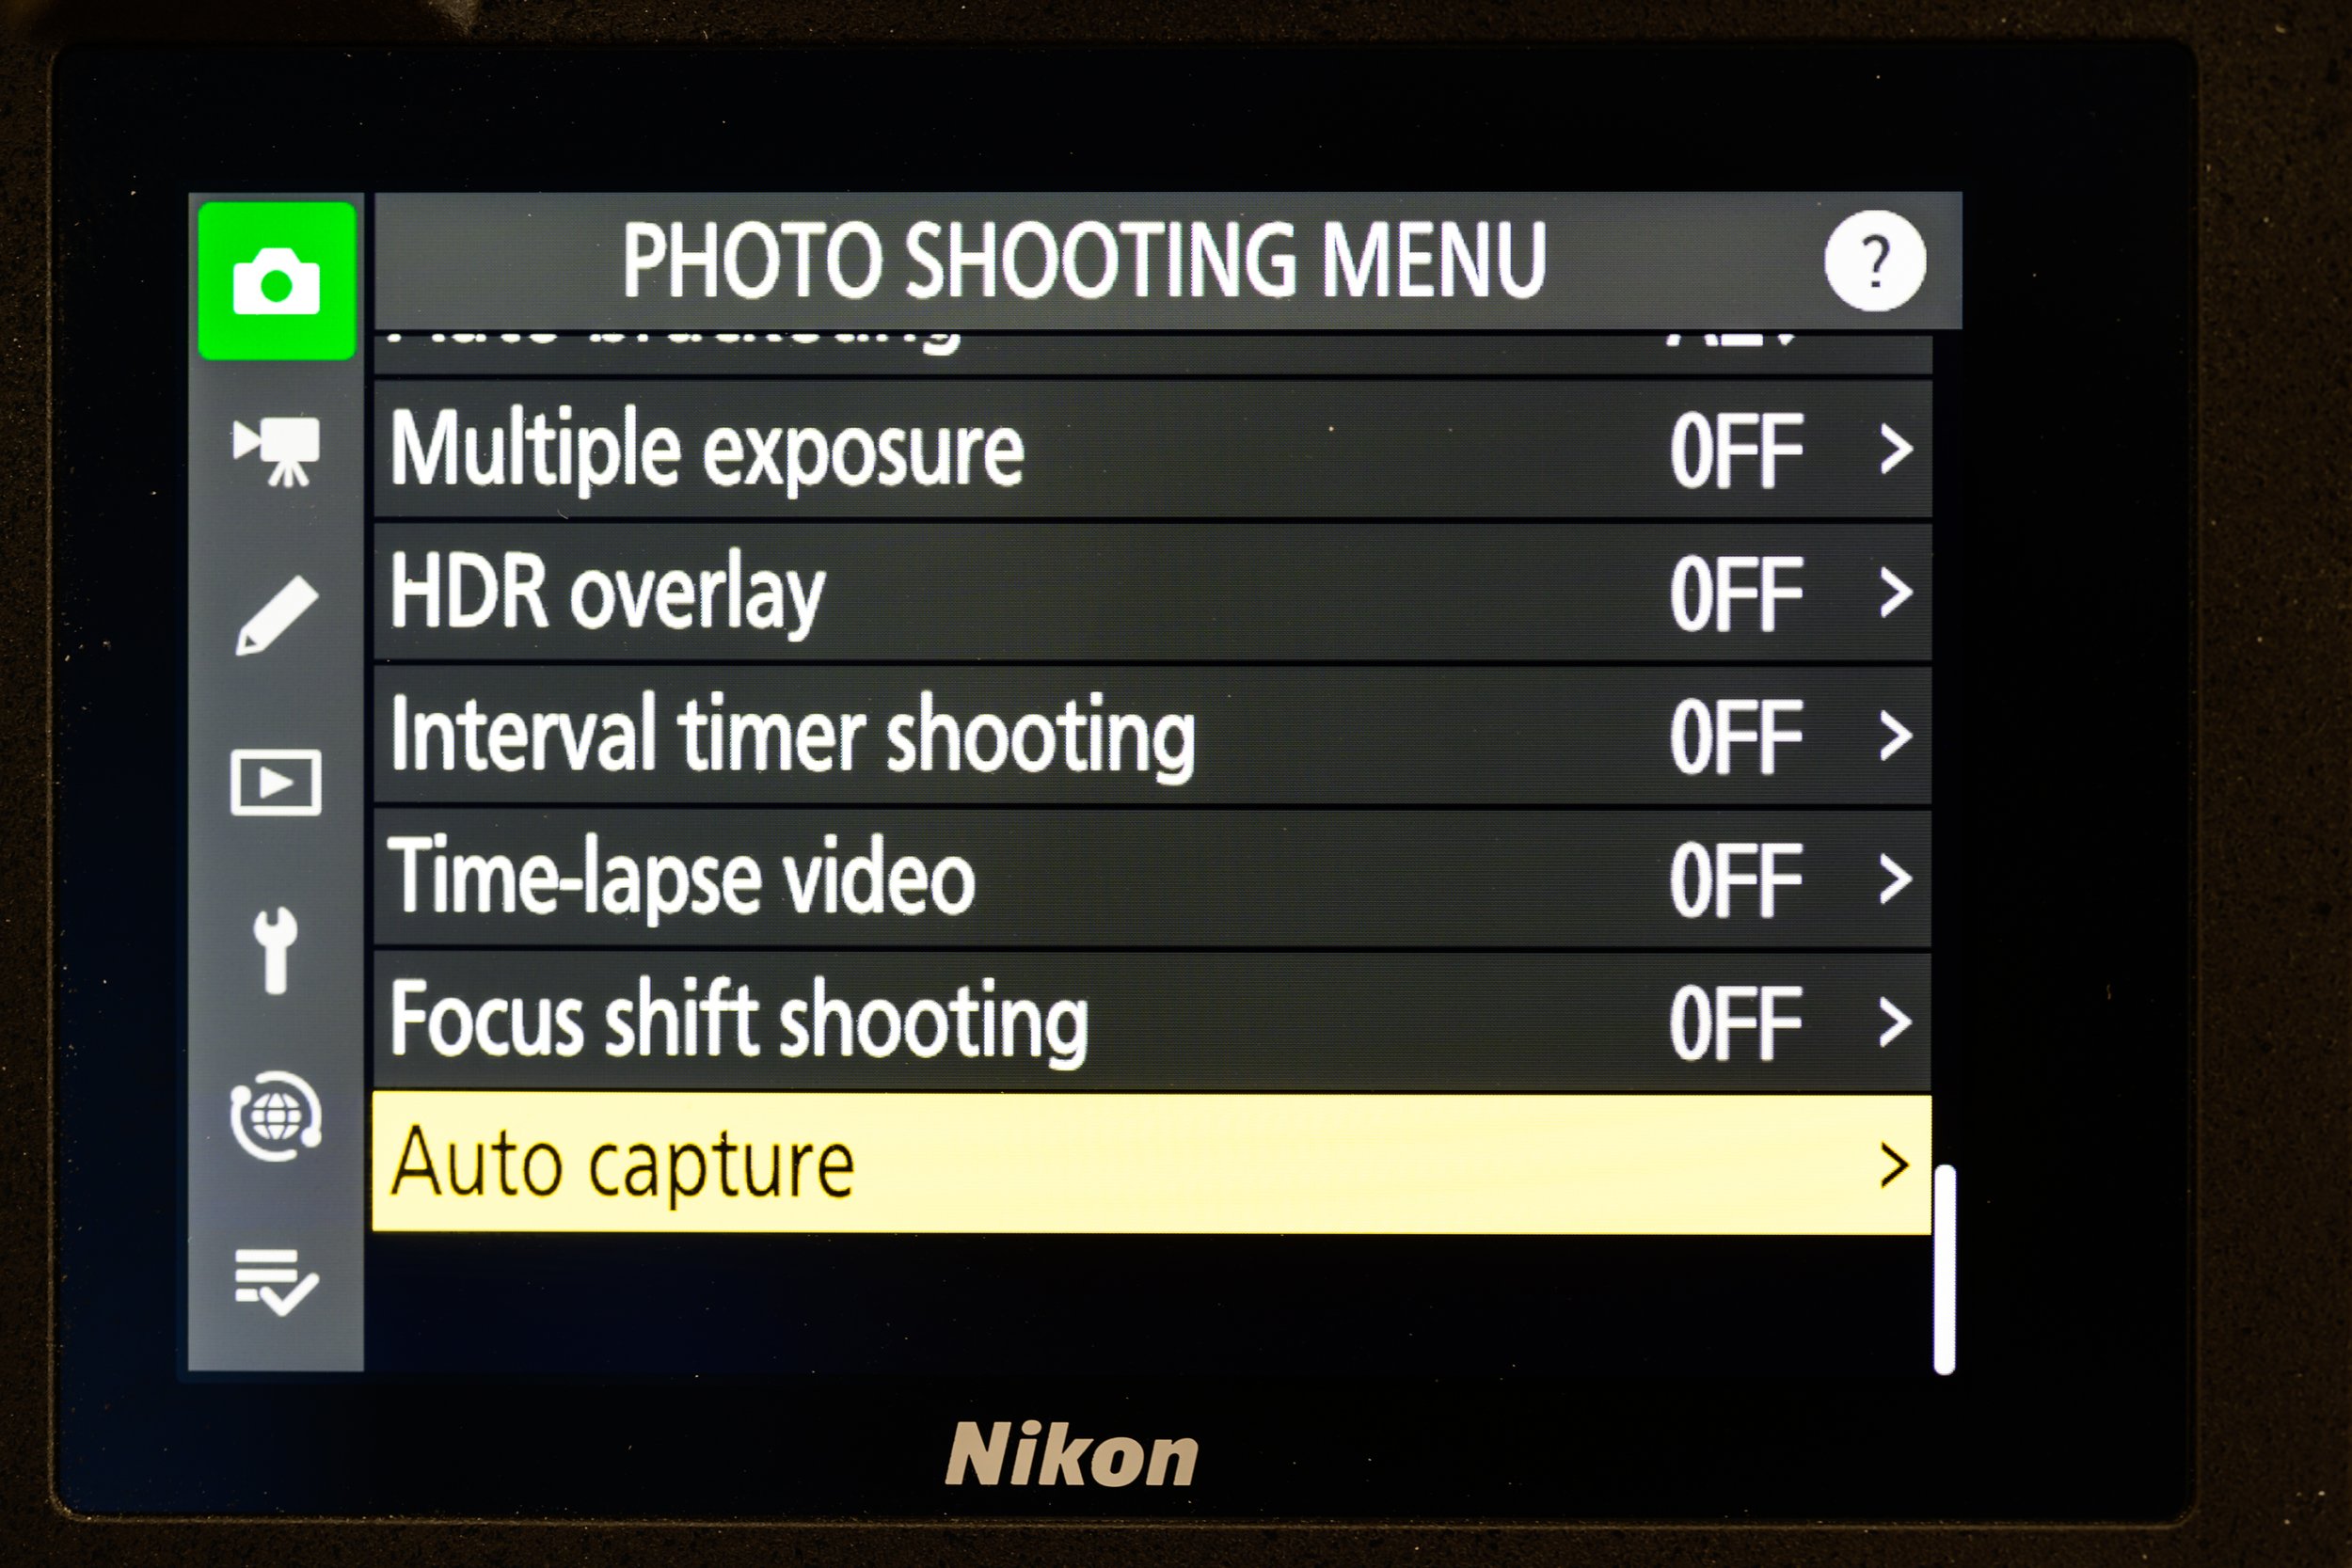
Auto capture menu item at the bottom of the Photo Shooting menu
Select the Auto capture menu item and then select Start from the submenu that appears. This doesn’t actually start any capture - purely opening the configuration menu..
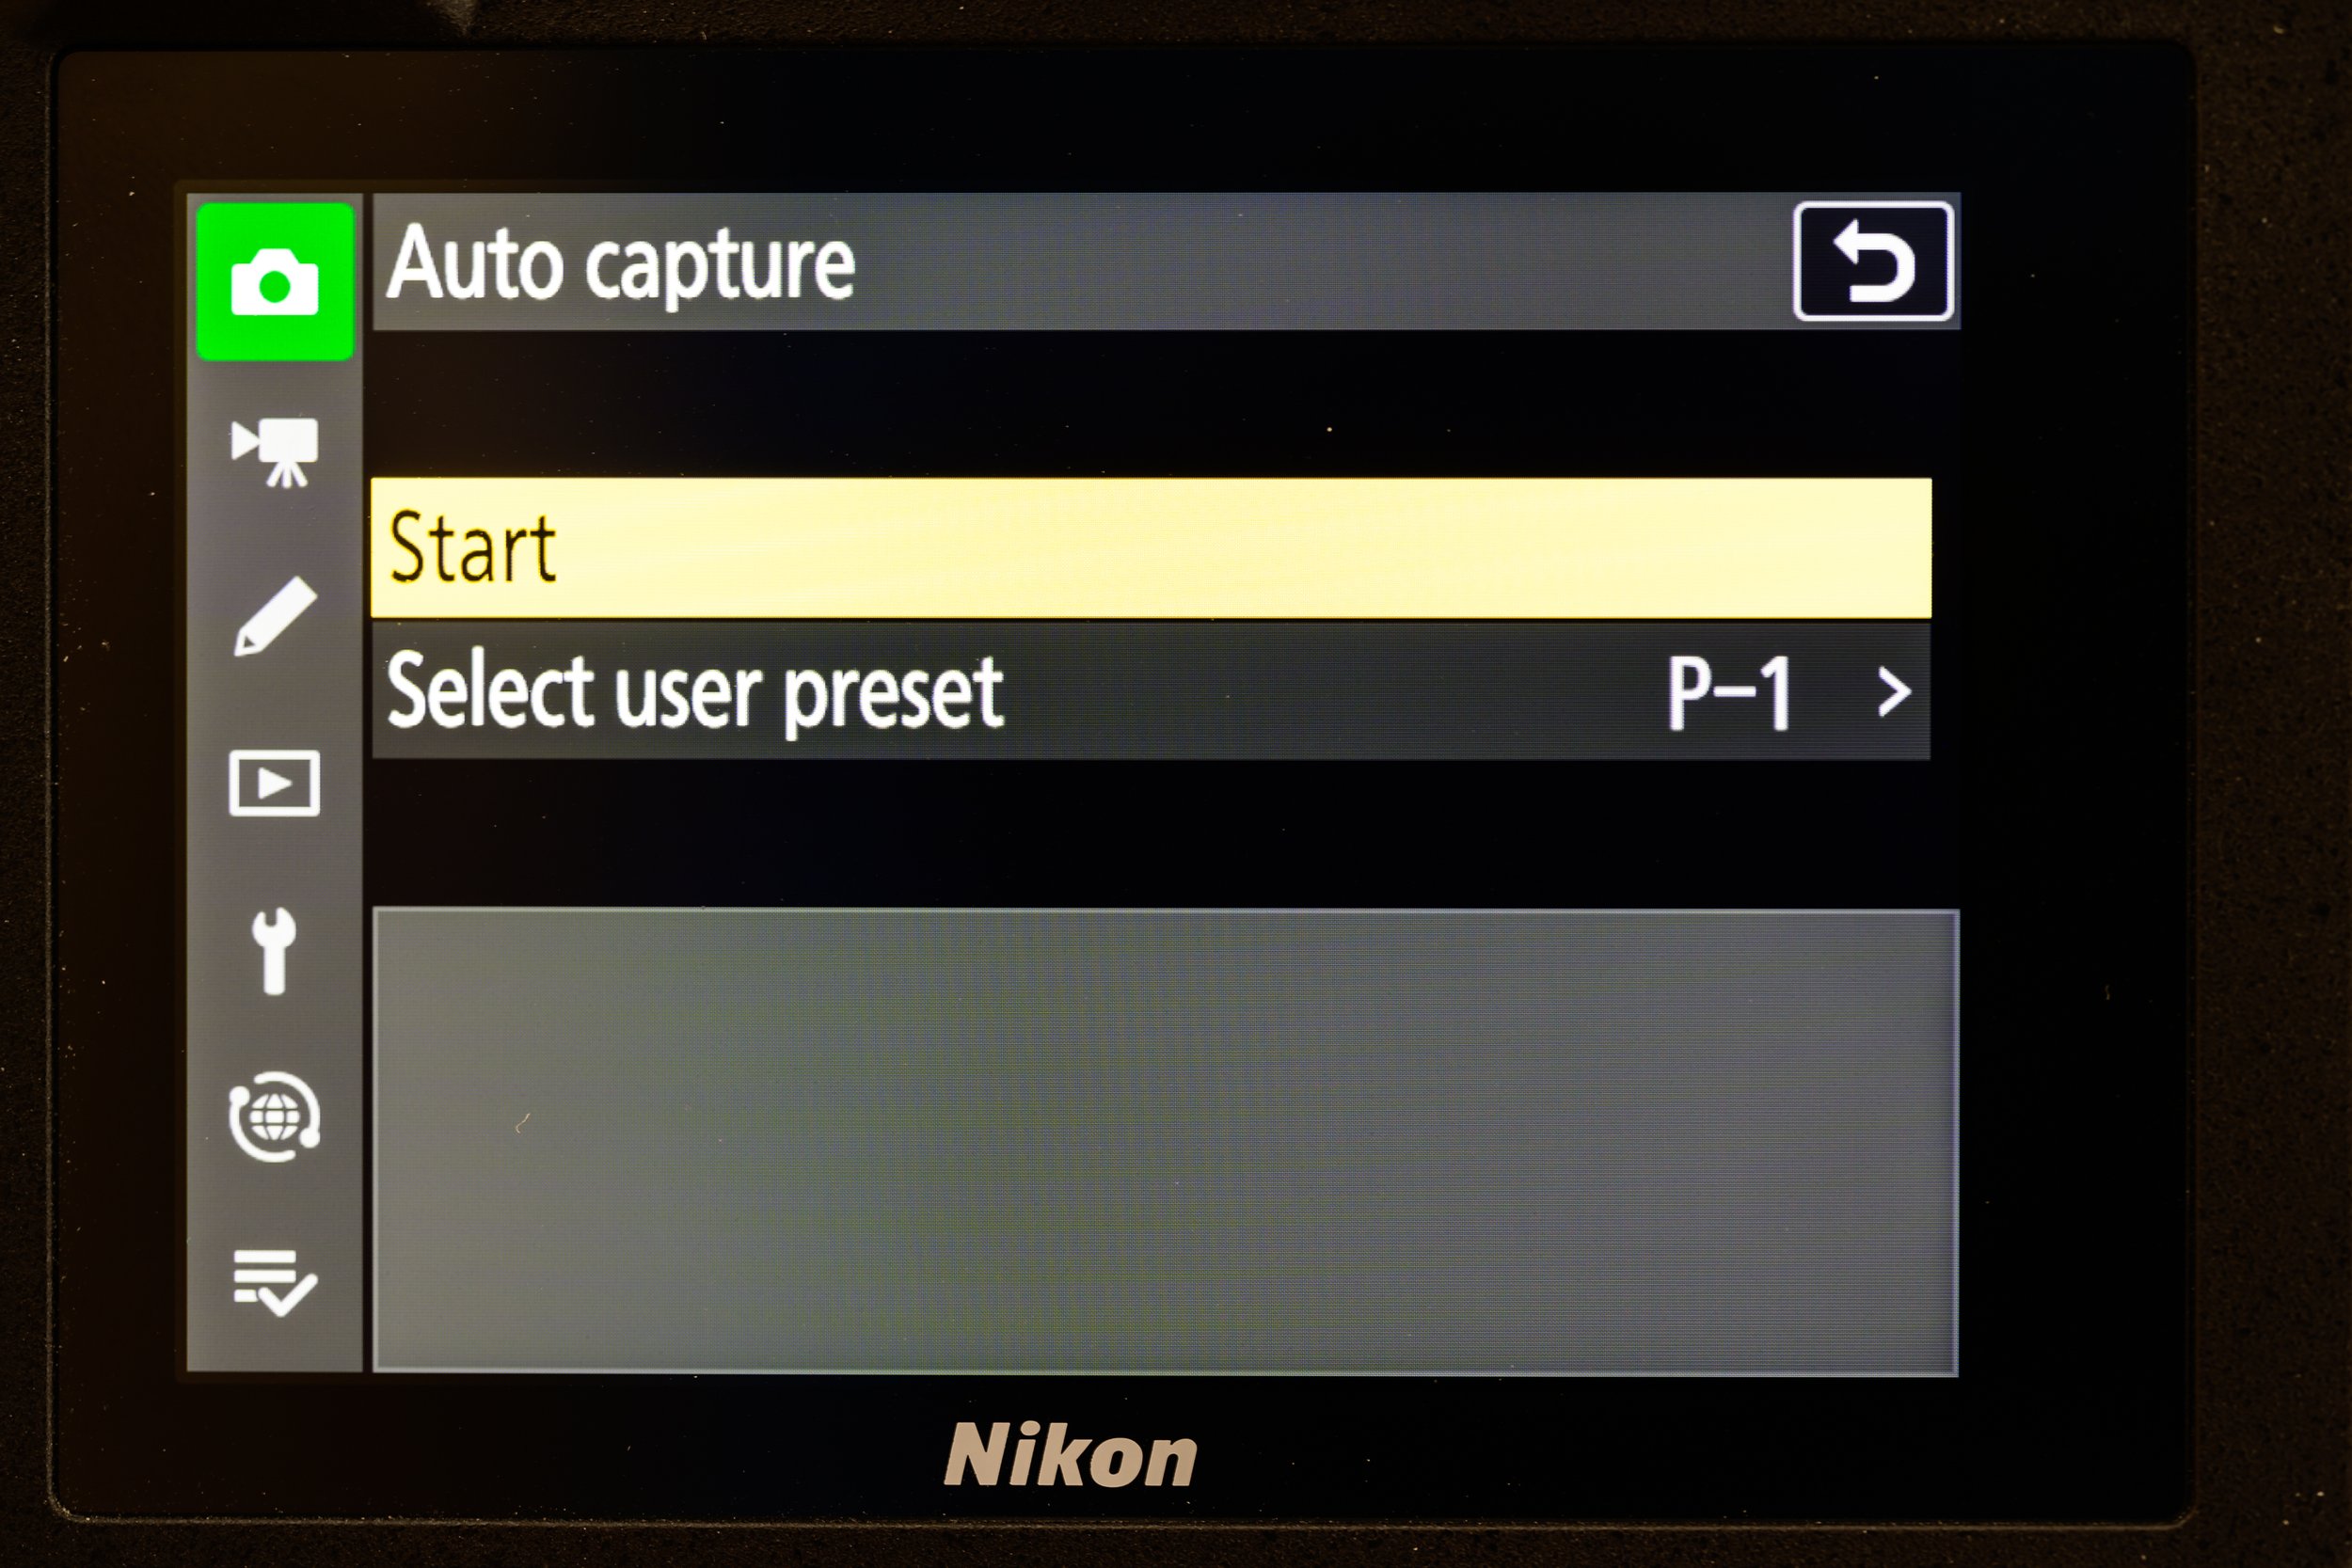
Select Start from the Auto capture sub menu
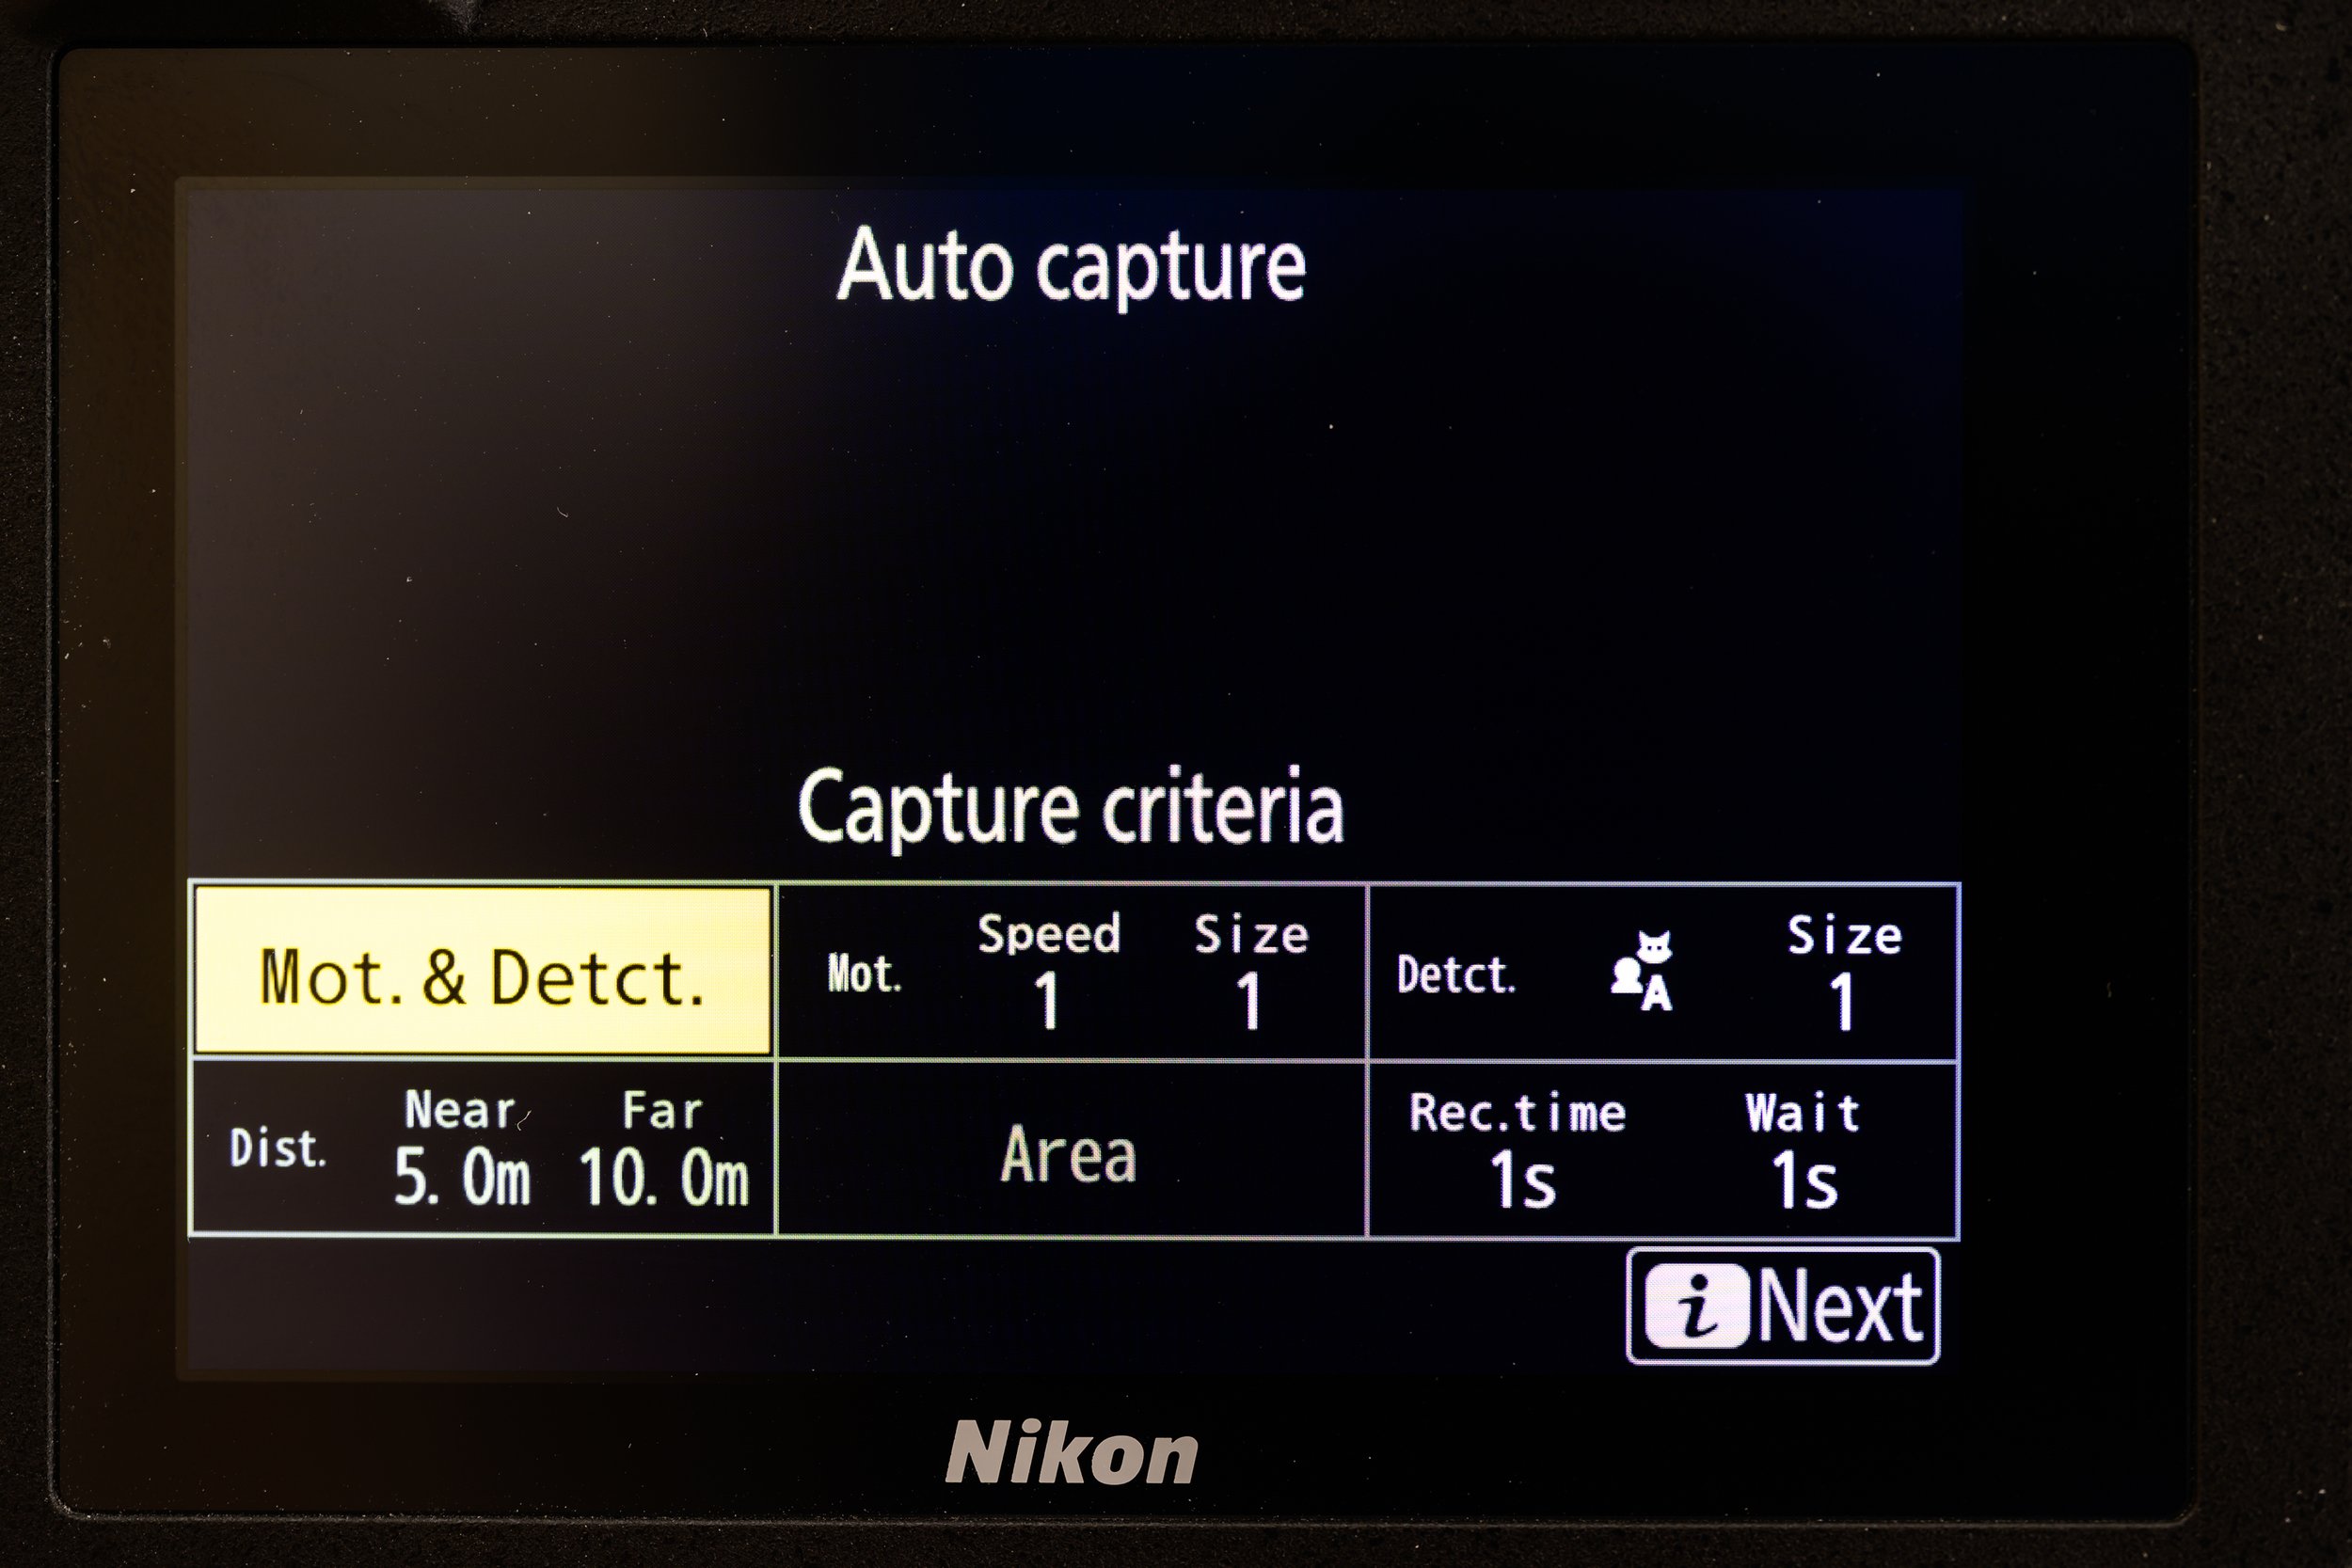
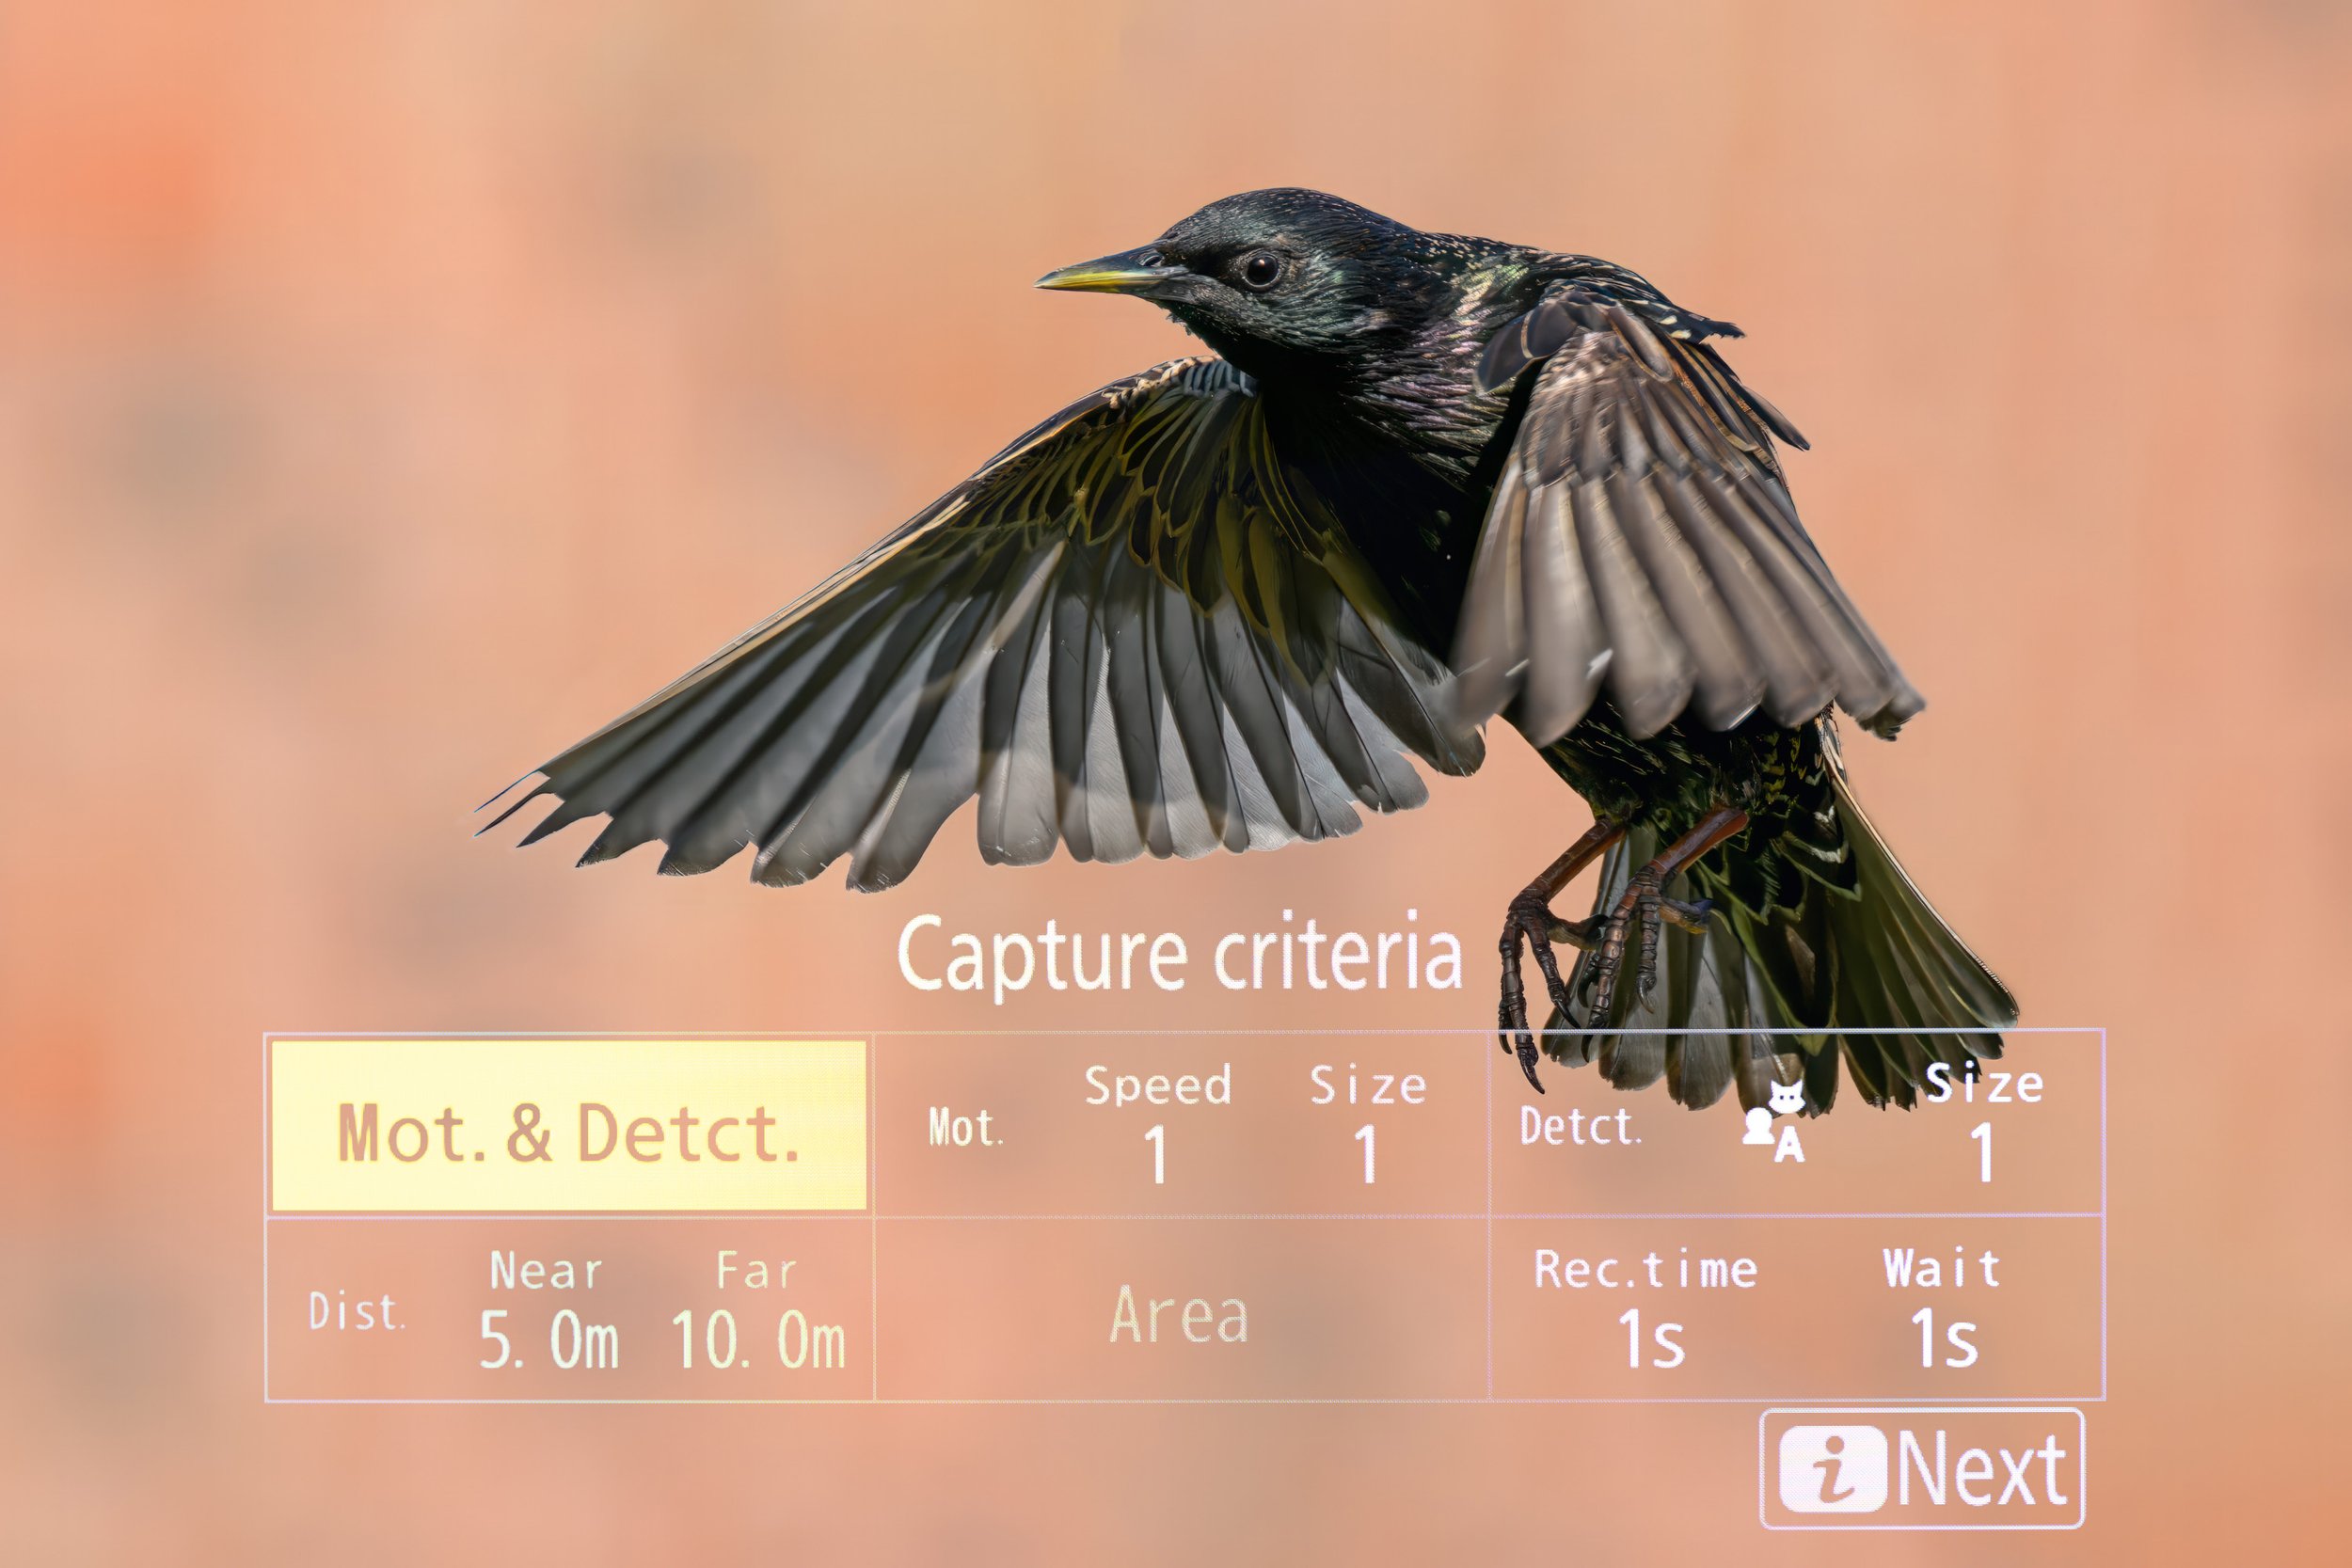
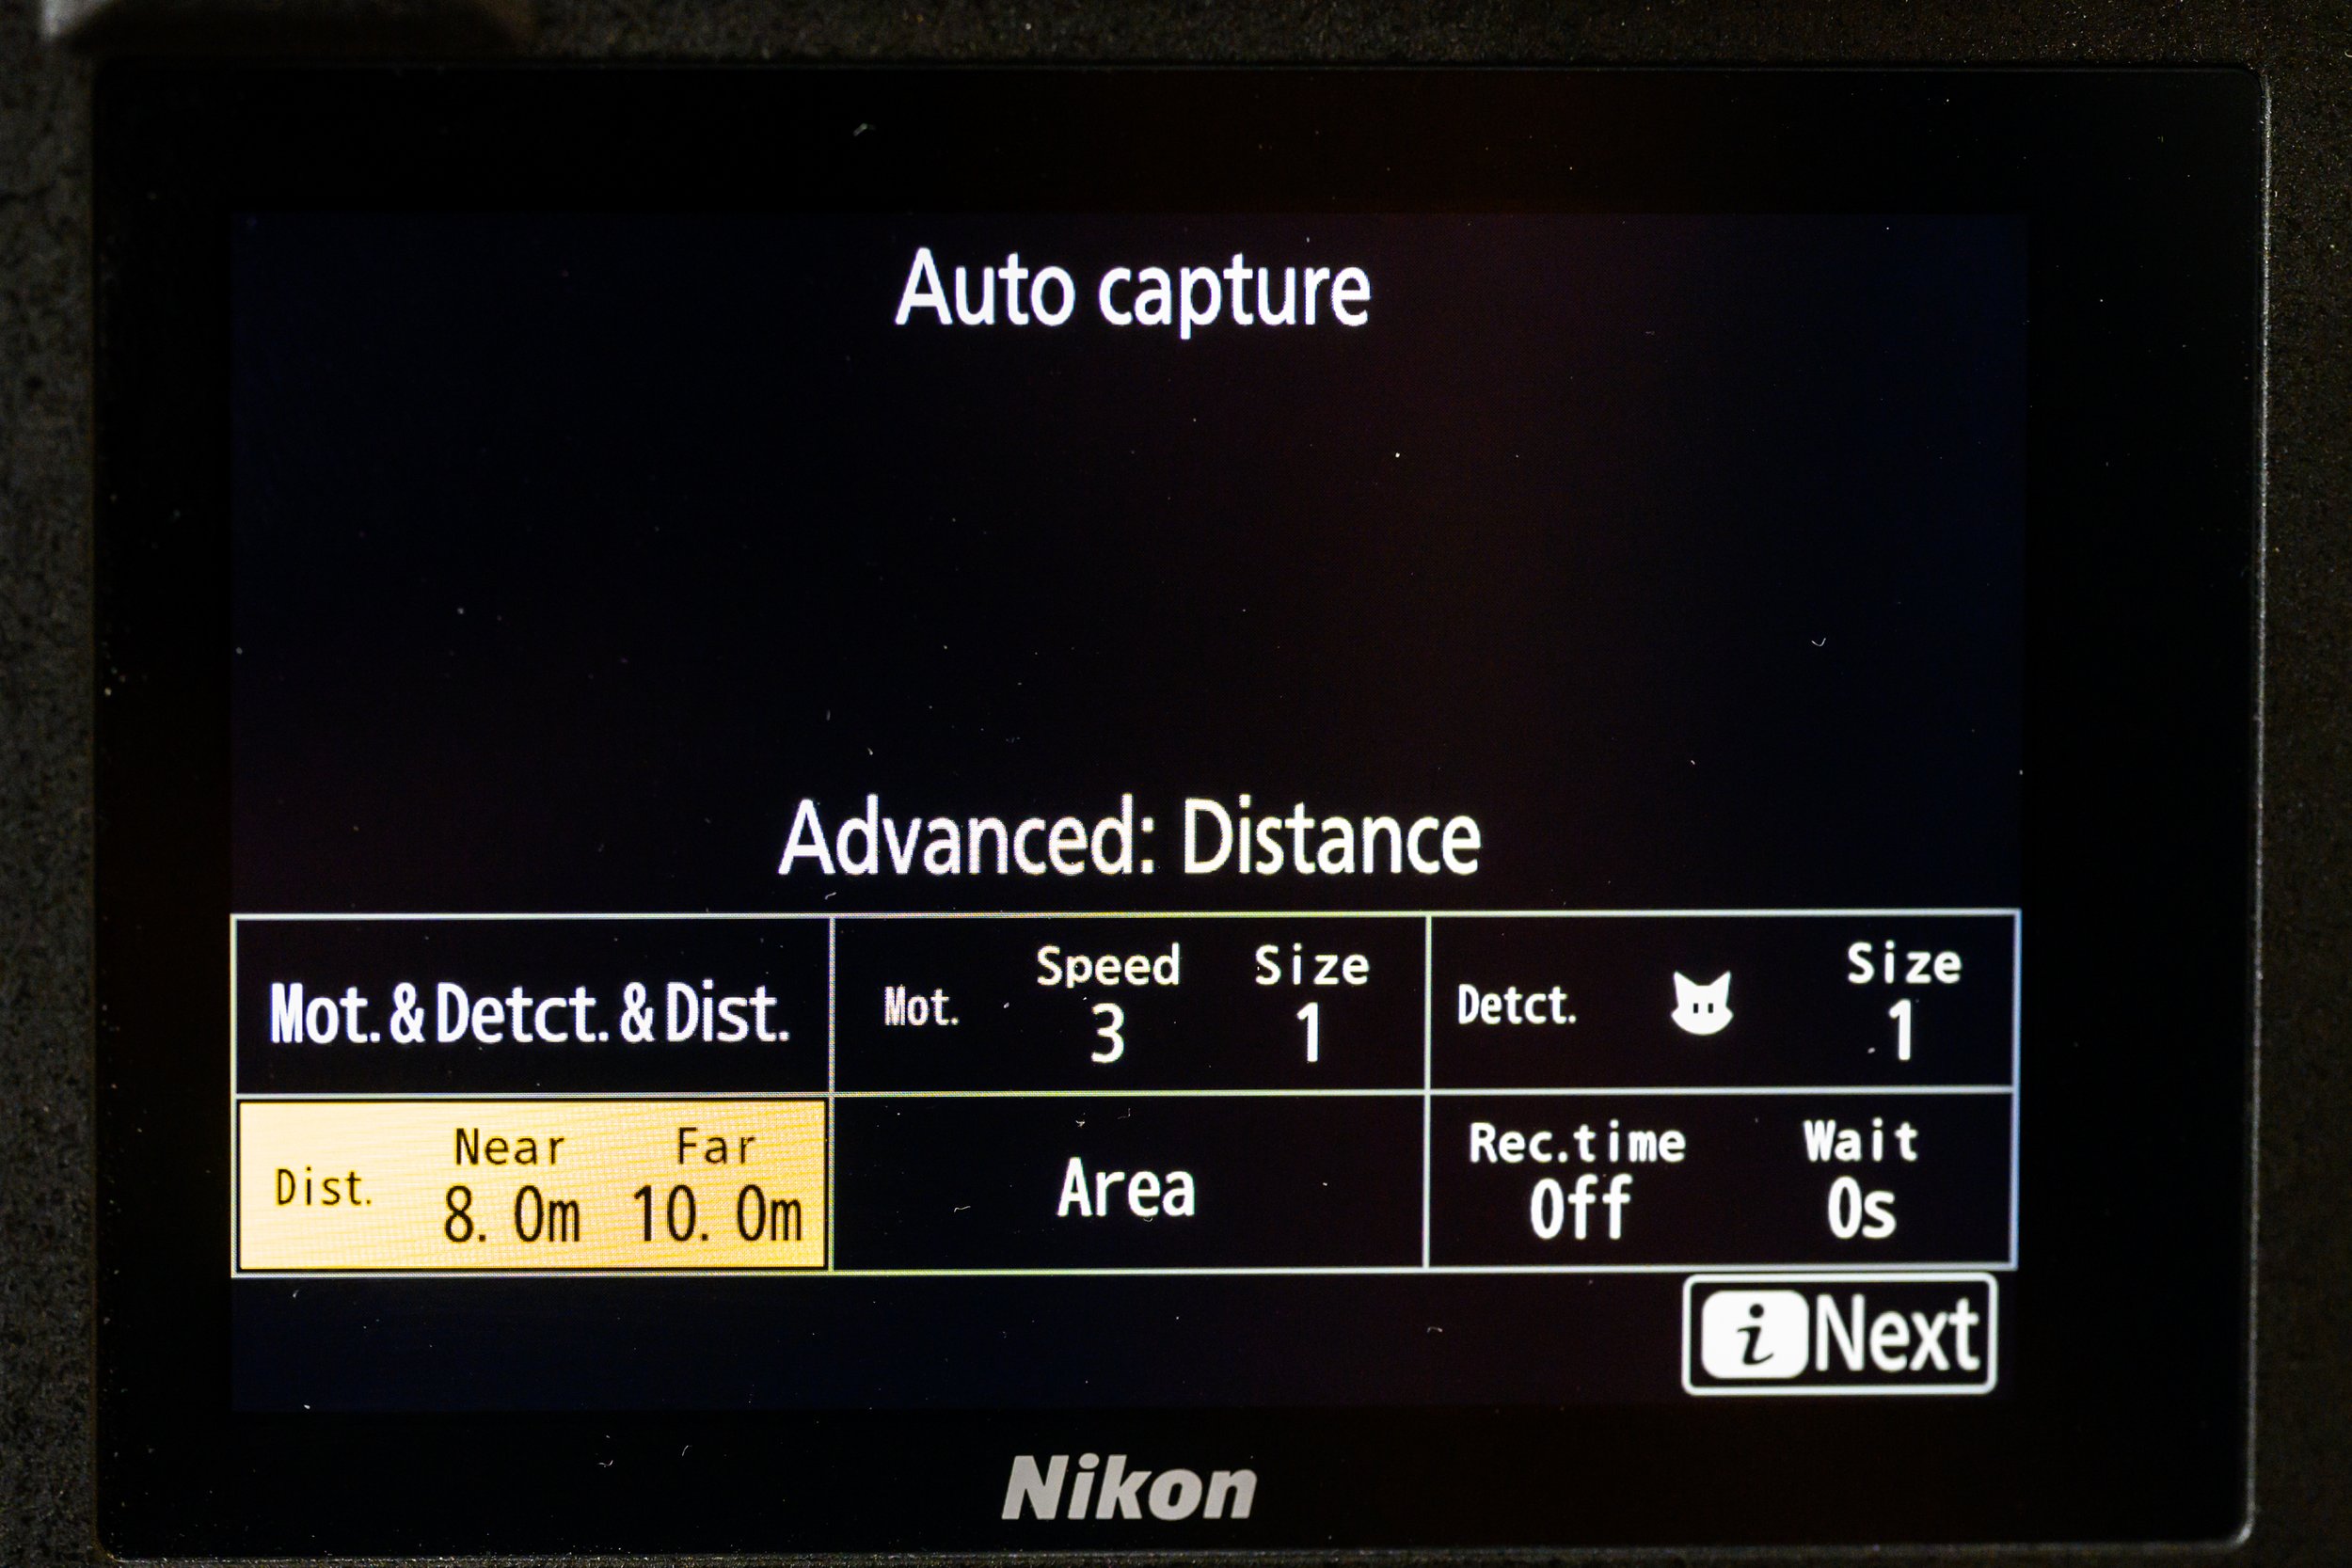
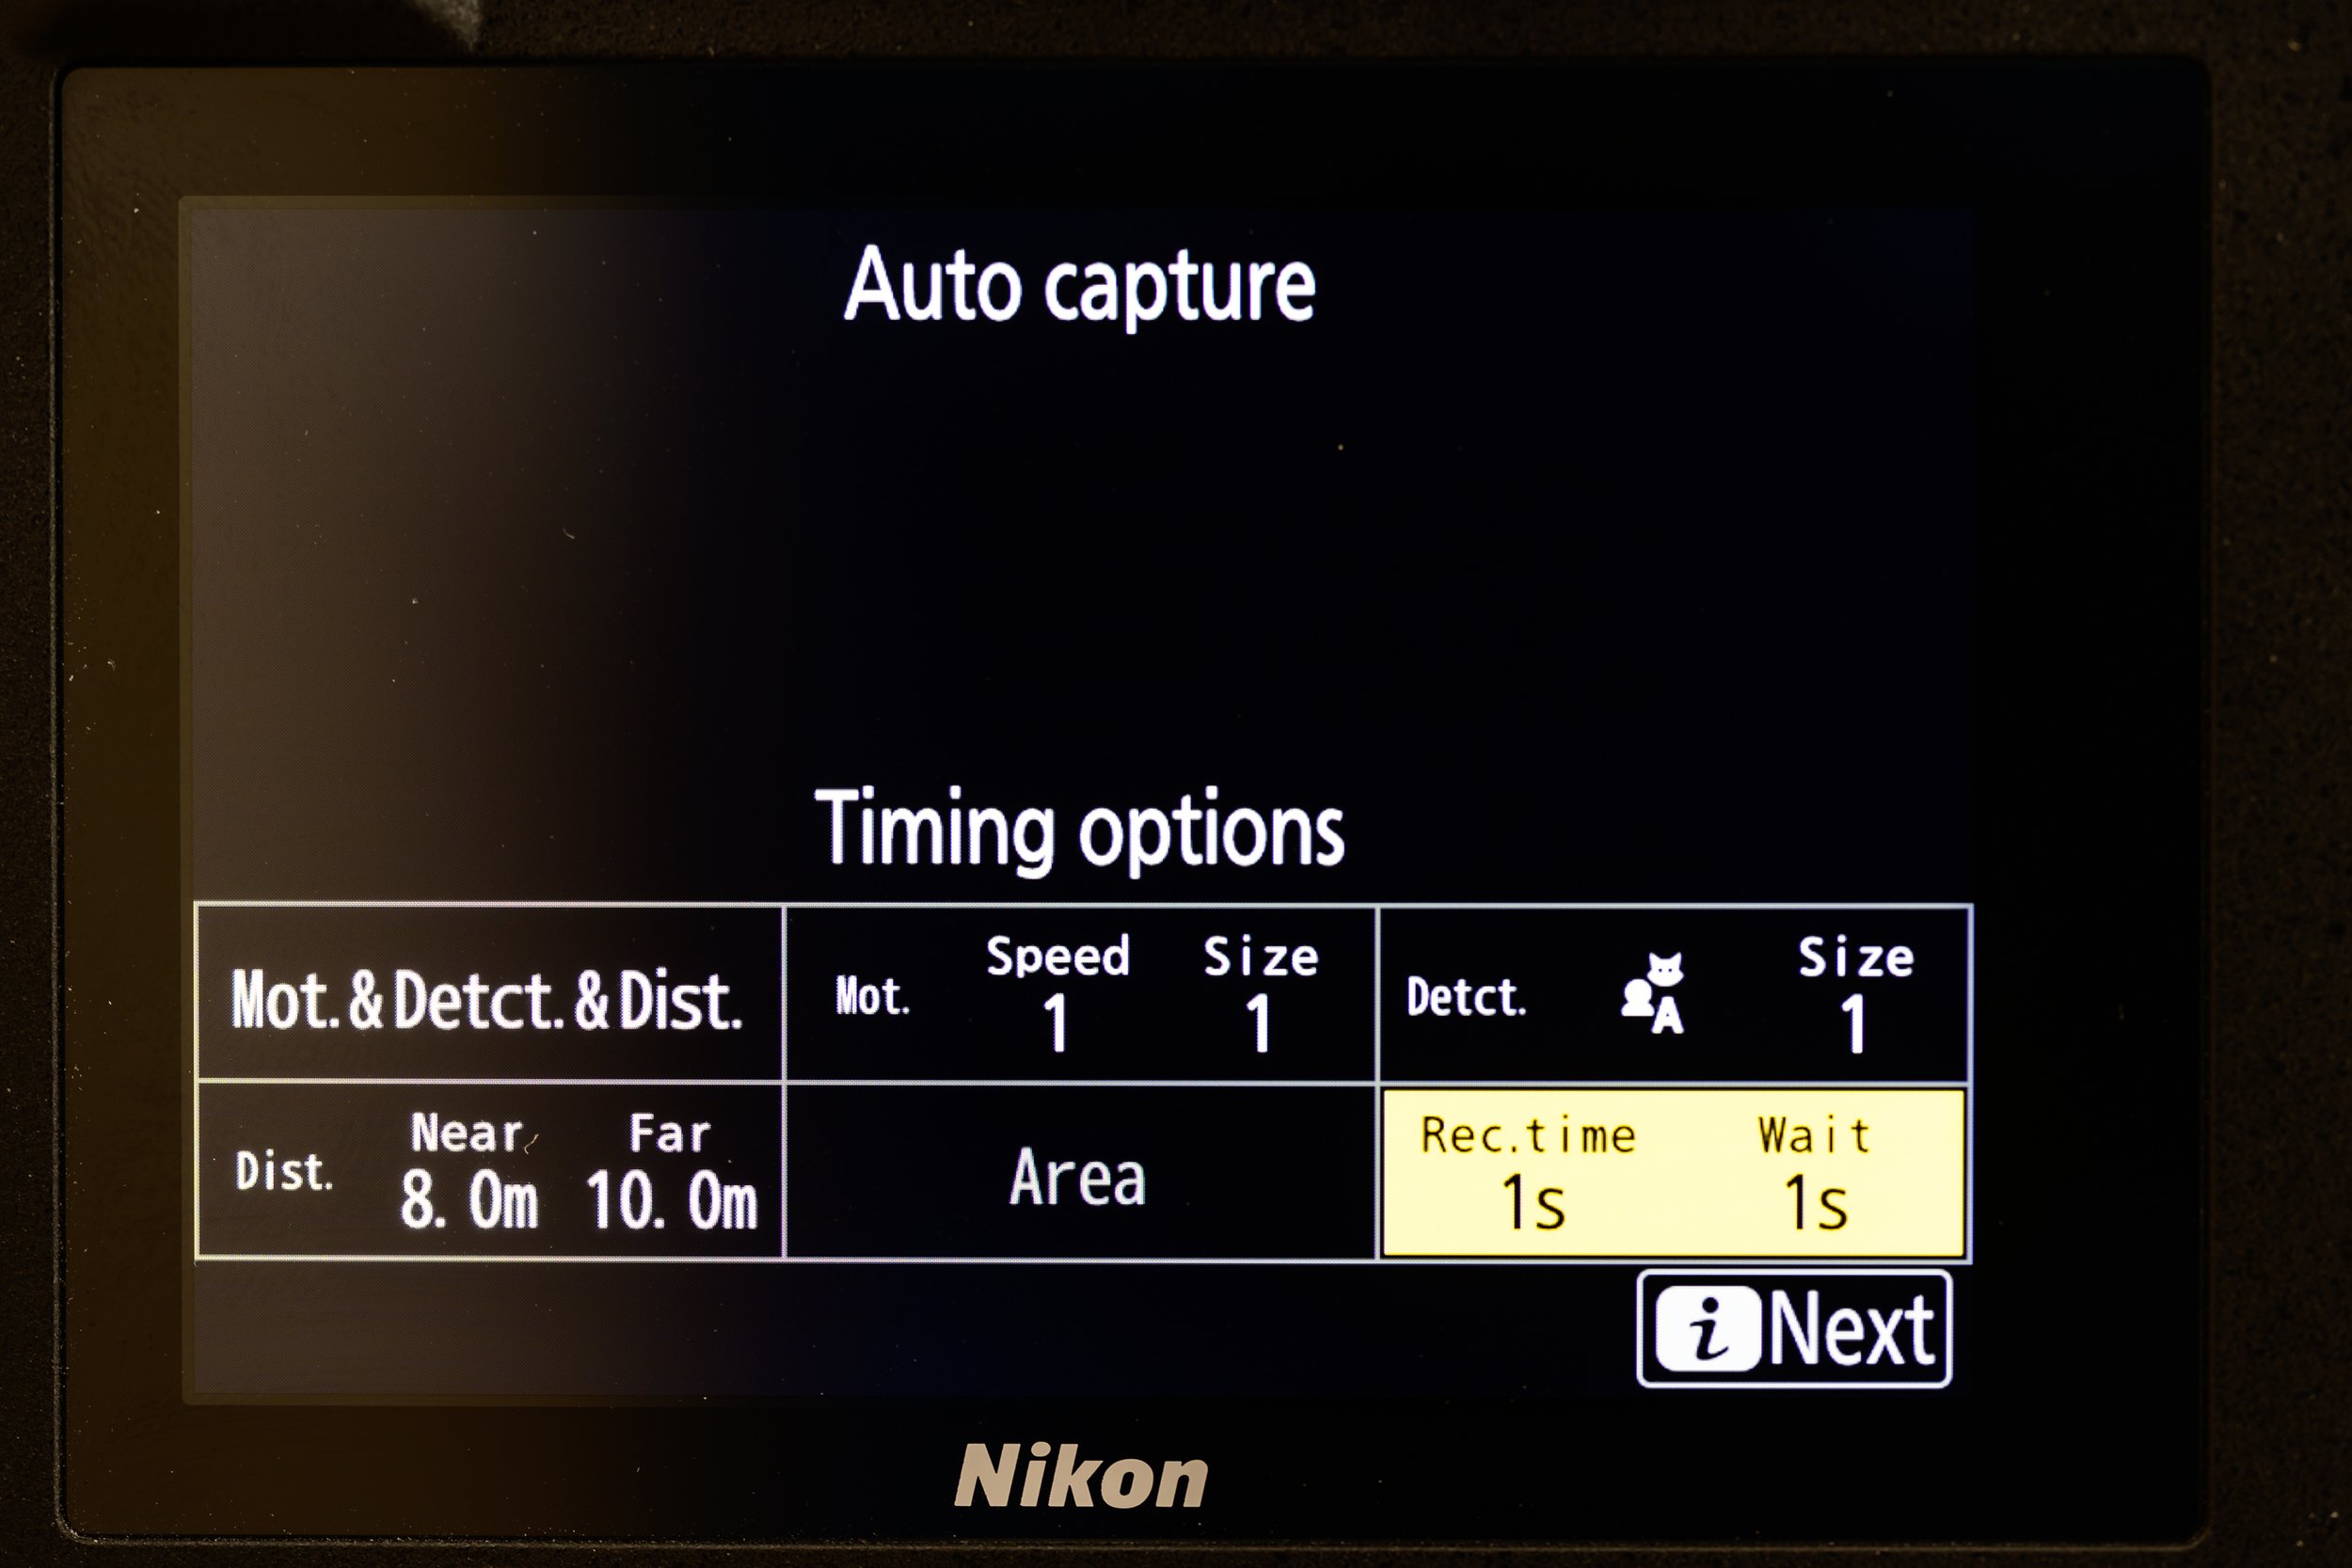
Auto capture configuration menu
The top left hand box selects which of three specific criteria must be matched in order to trigger the automatic image capture. These include motion detection, subject detection or distance. Any combination of these three criteria can be selected, either singly, in pairs or all three together, for example, it is possible to instruct the camera to only trigger if it senses motion of a detected animal located at a distance of between 8 and 9m in front of the camera. In this case if a person walked through the frame it would not trigger. If the animal was stationary it would not trigger, or if the animal moved more than 9m from the camera it would not trigger.
(Note that this menu screen and all of the ones that follow are normally overlaid over the current live view through the lens but I left the lens cap on so that the menu items are clearer for this article)
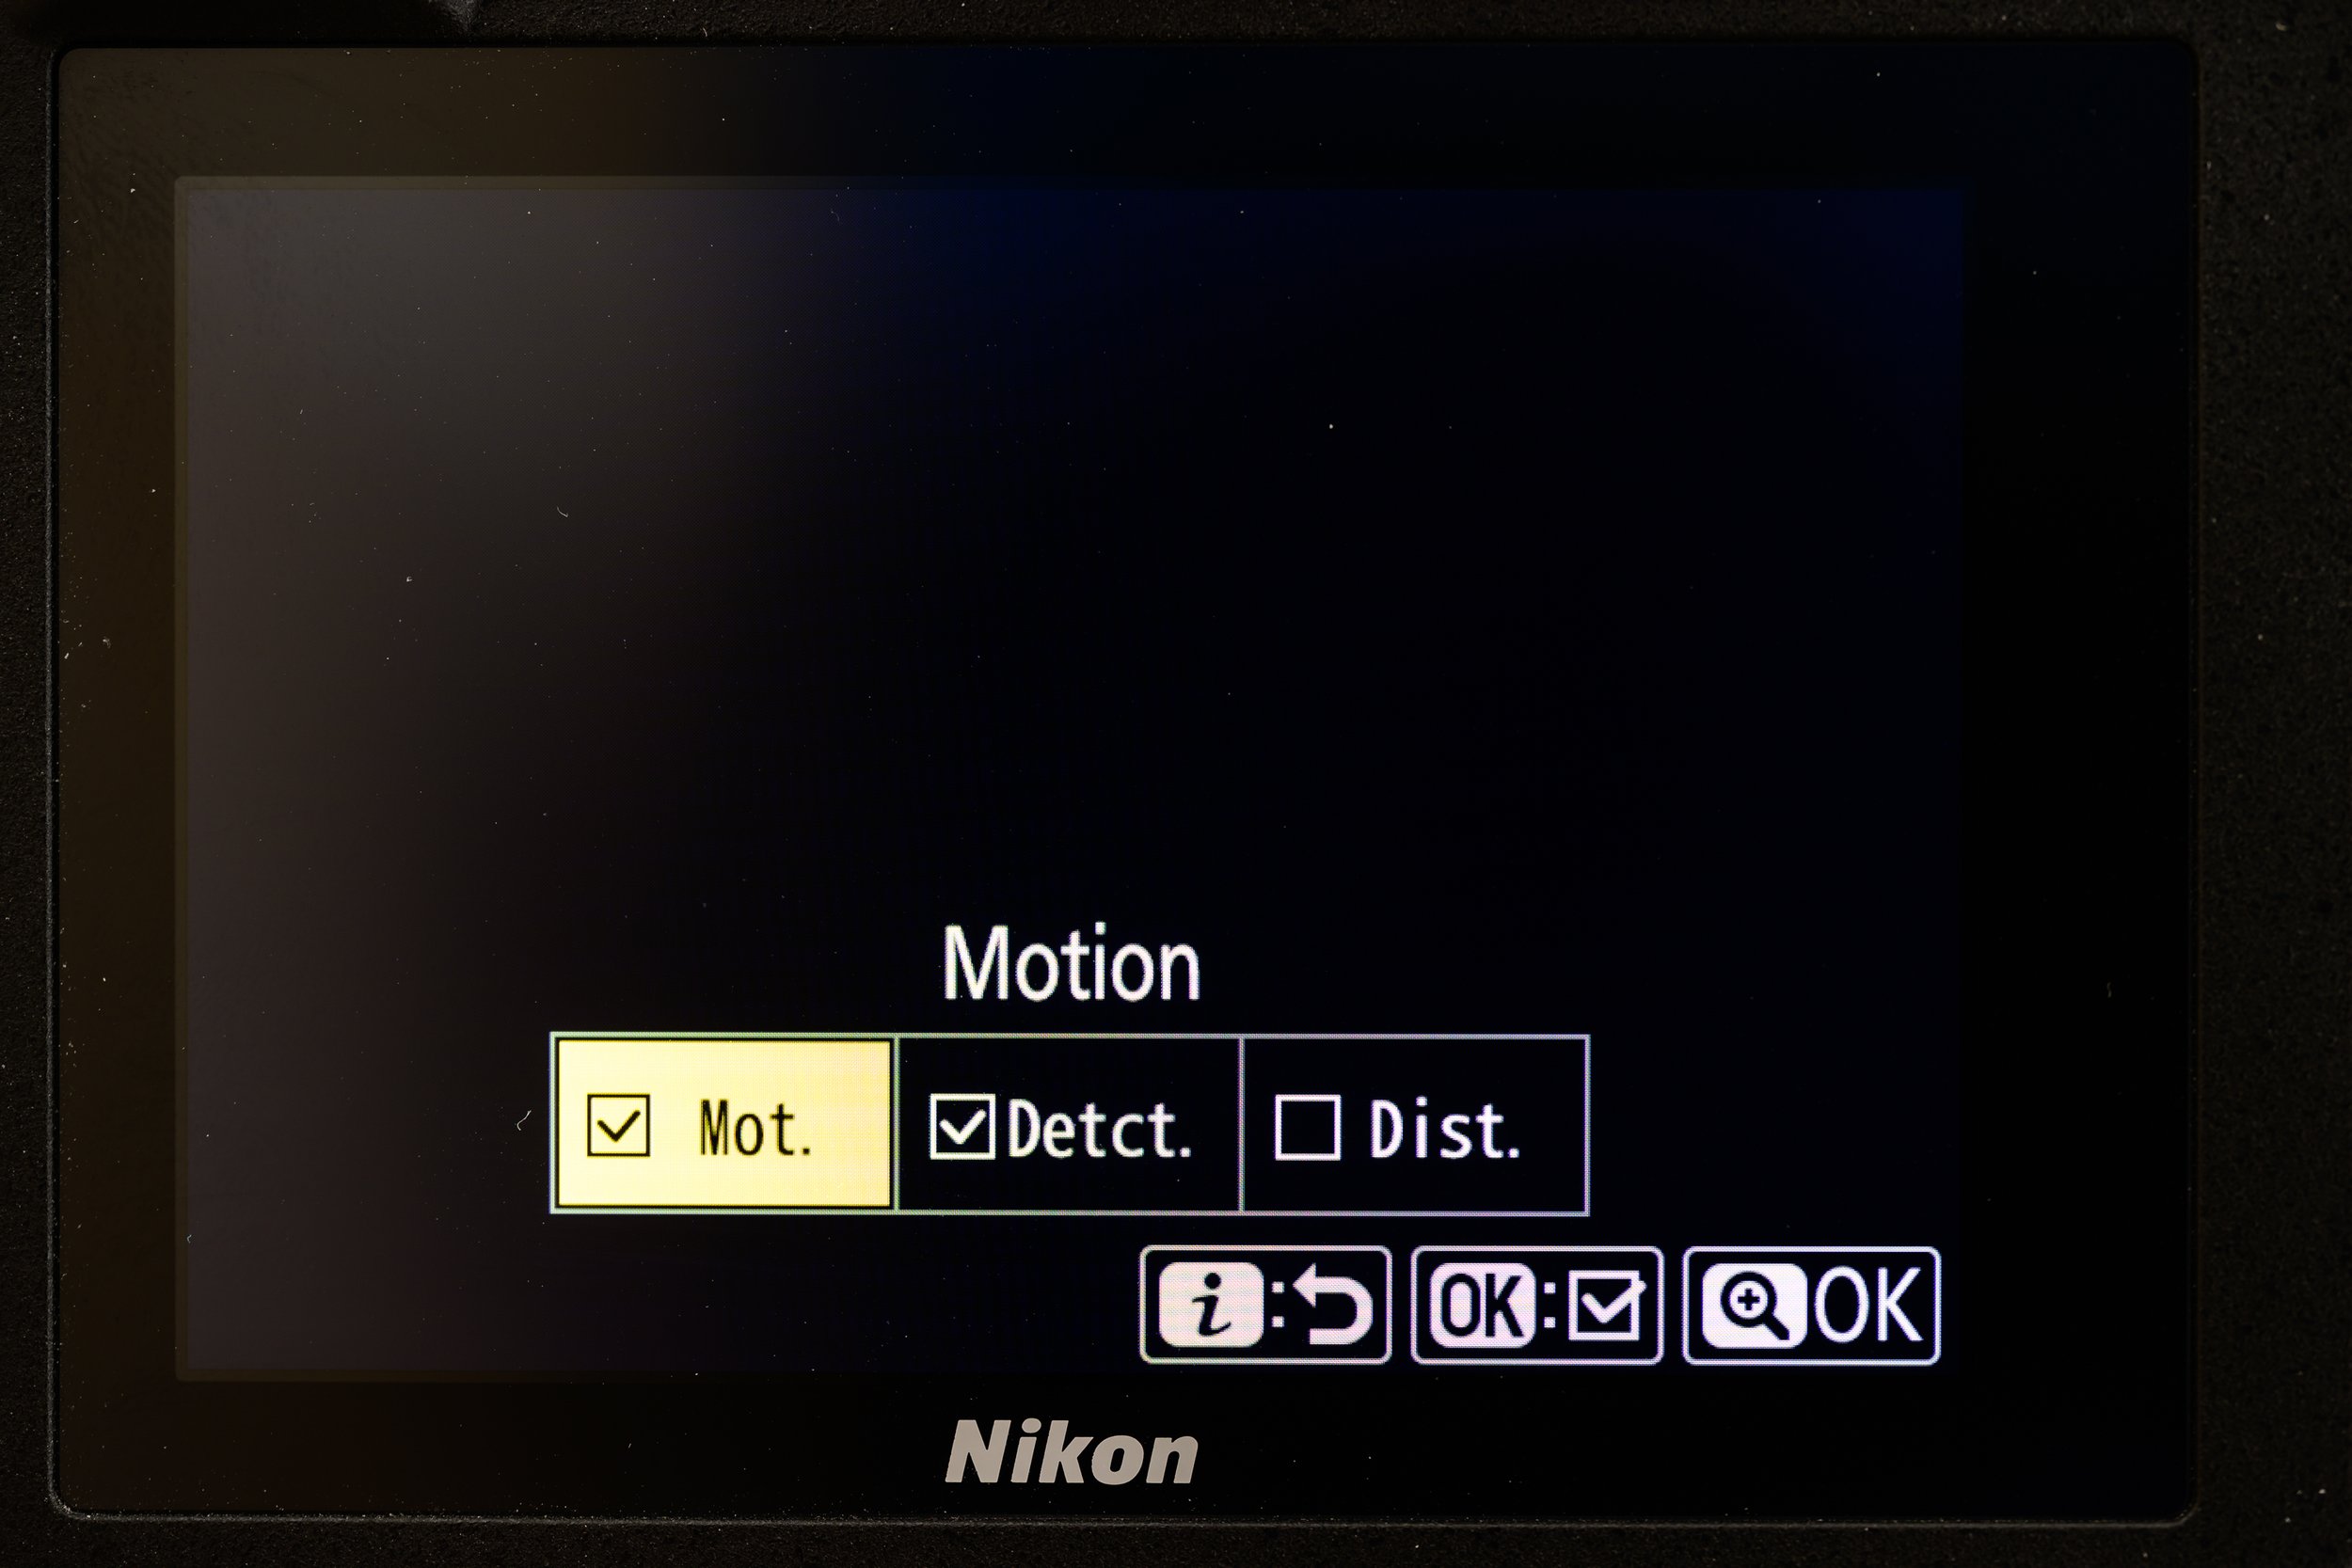
Auto capture can be triggered by any combination of Motion, Subject Detection or Distance range
I selected all three triggering criteria and then clicked on each of the menu items to select the appropriate options from the setup submenus. Press the left/right buttons to navigate to the desired option then press OK to choose he option. Press the Zoom In button to actually select the choice, however, before pressing the I button to return to the main configuration menu. (If you forget to press the Zoom In button the options you selected won’t stick).
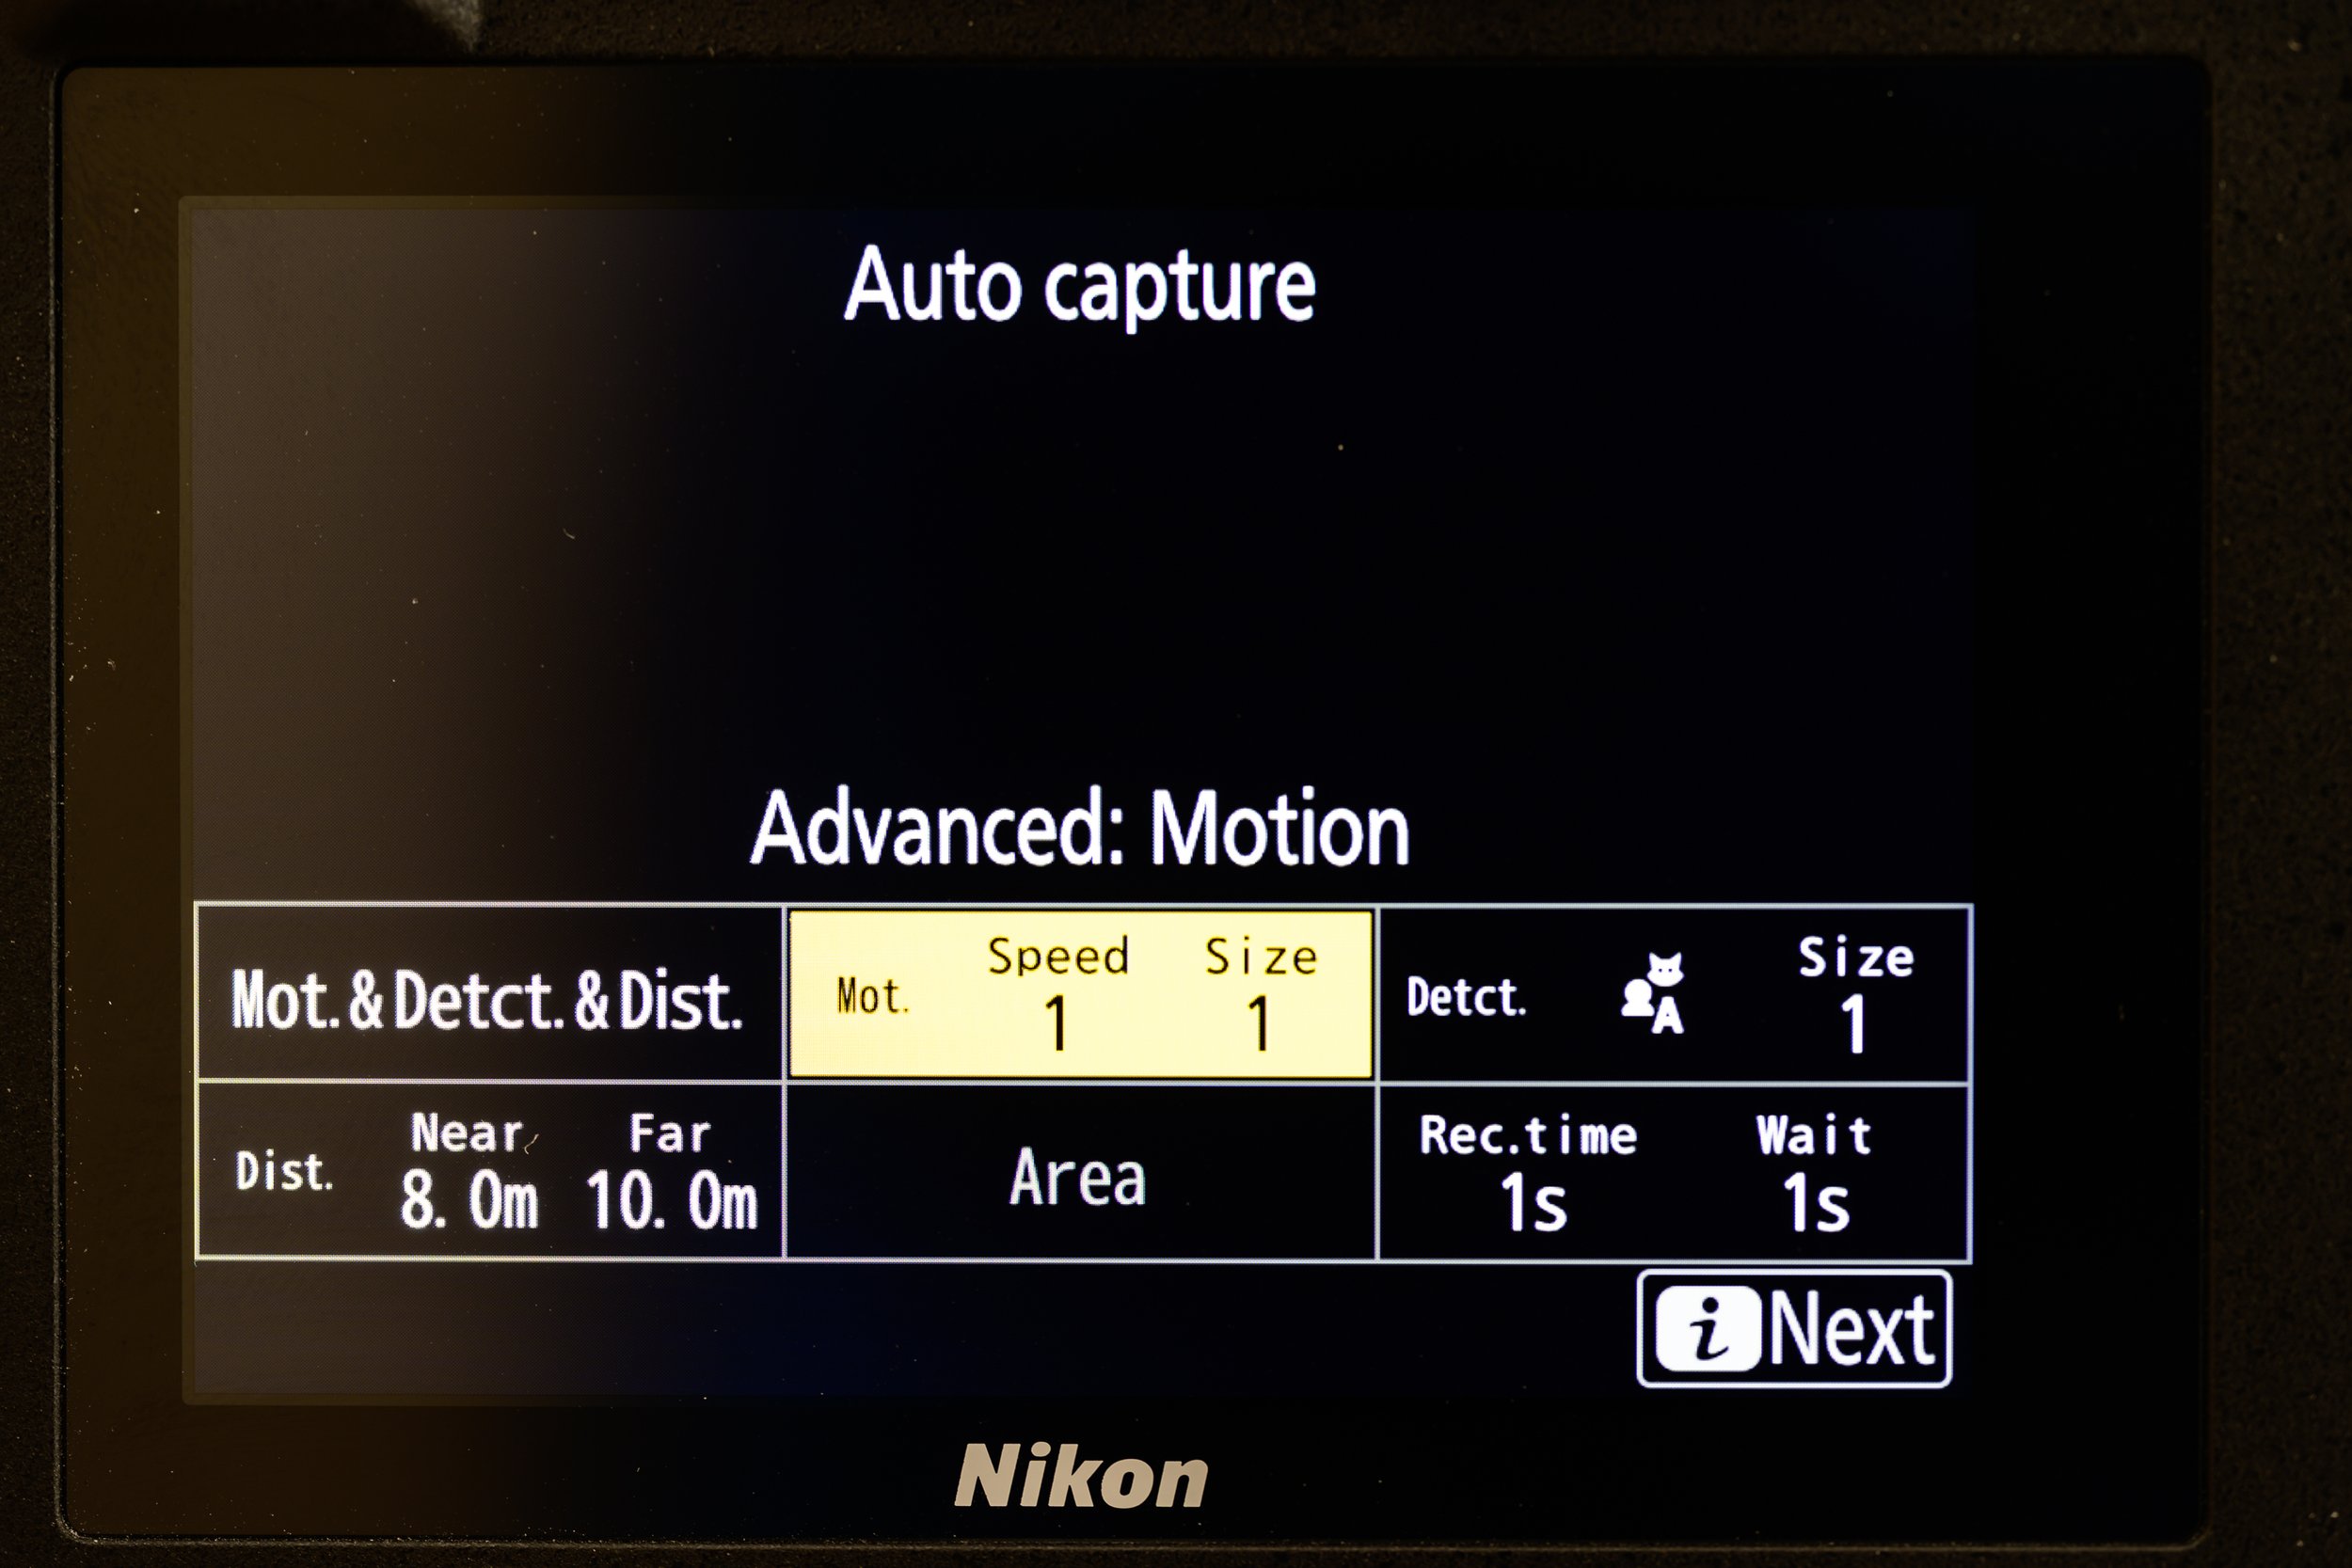
Motion detection can be selected to display a customisation menu, right
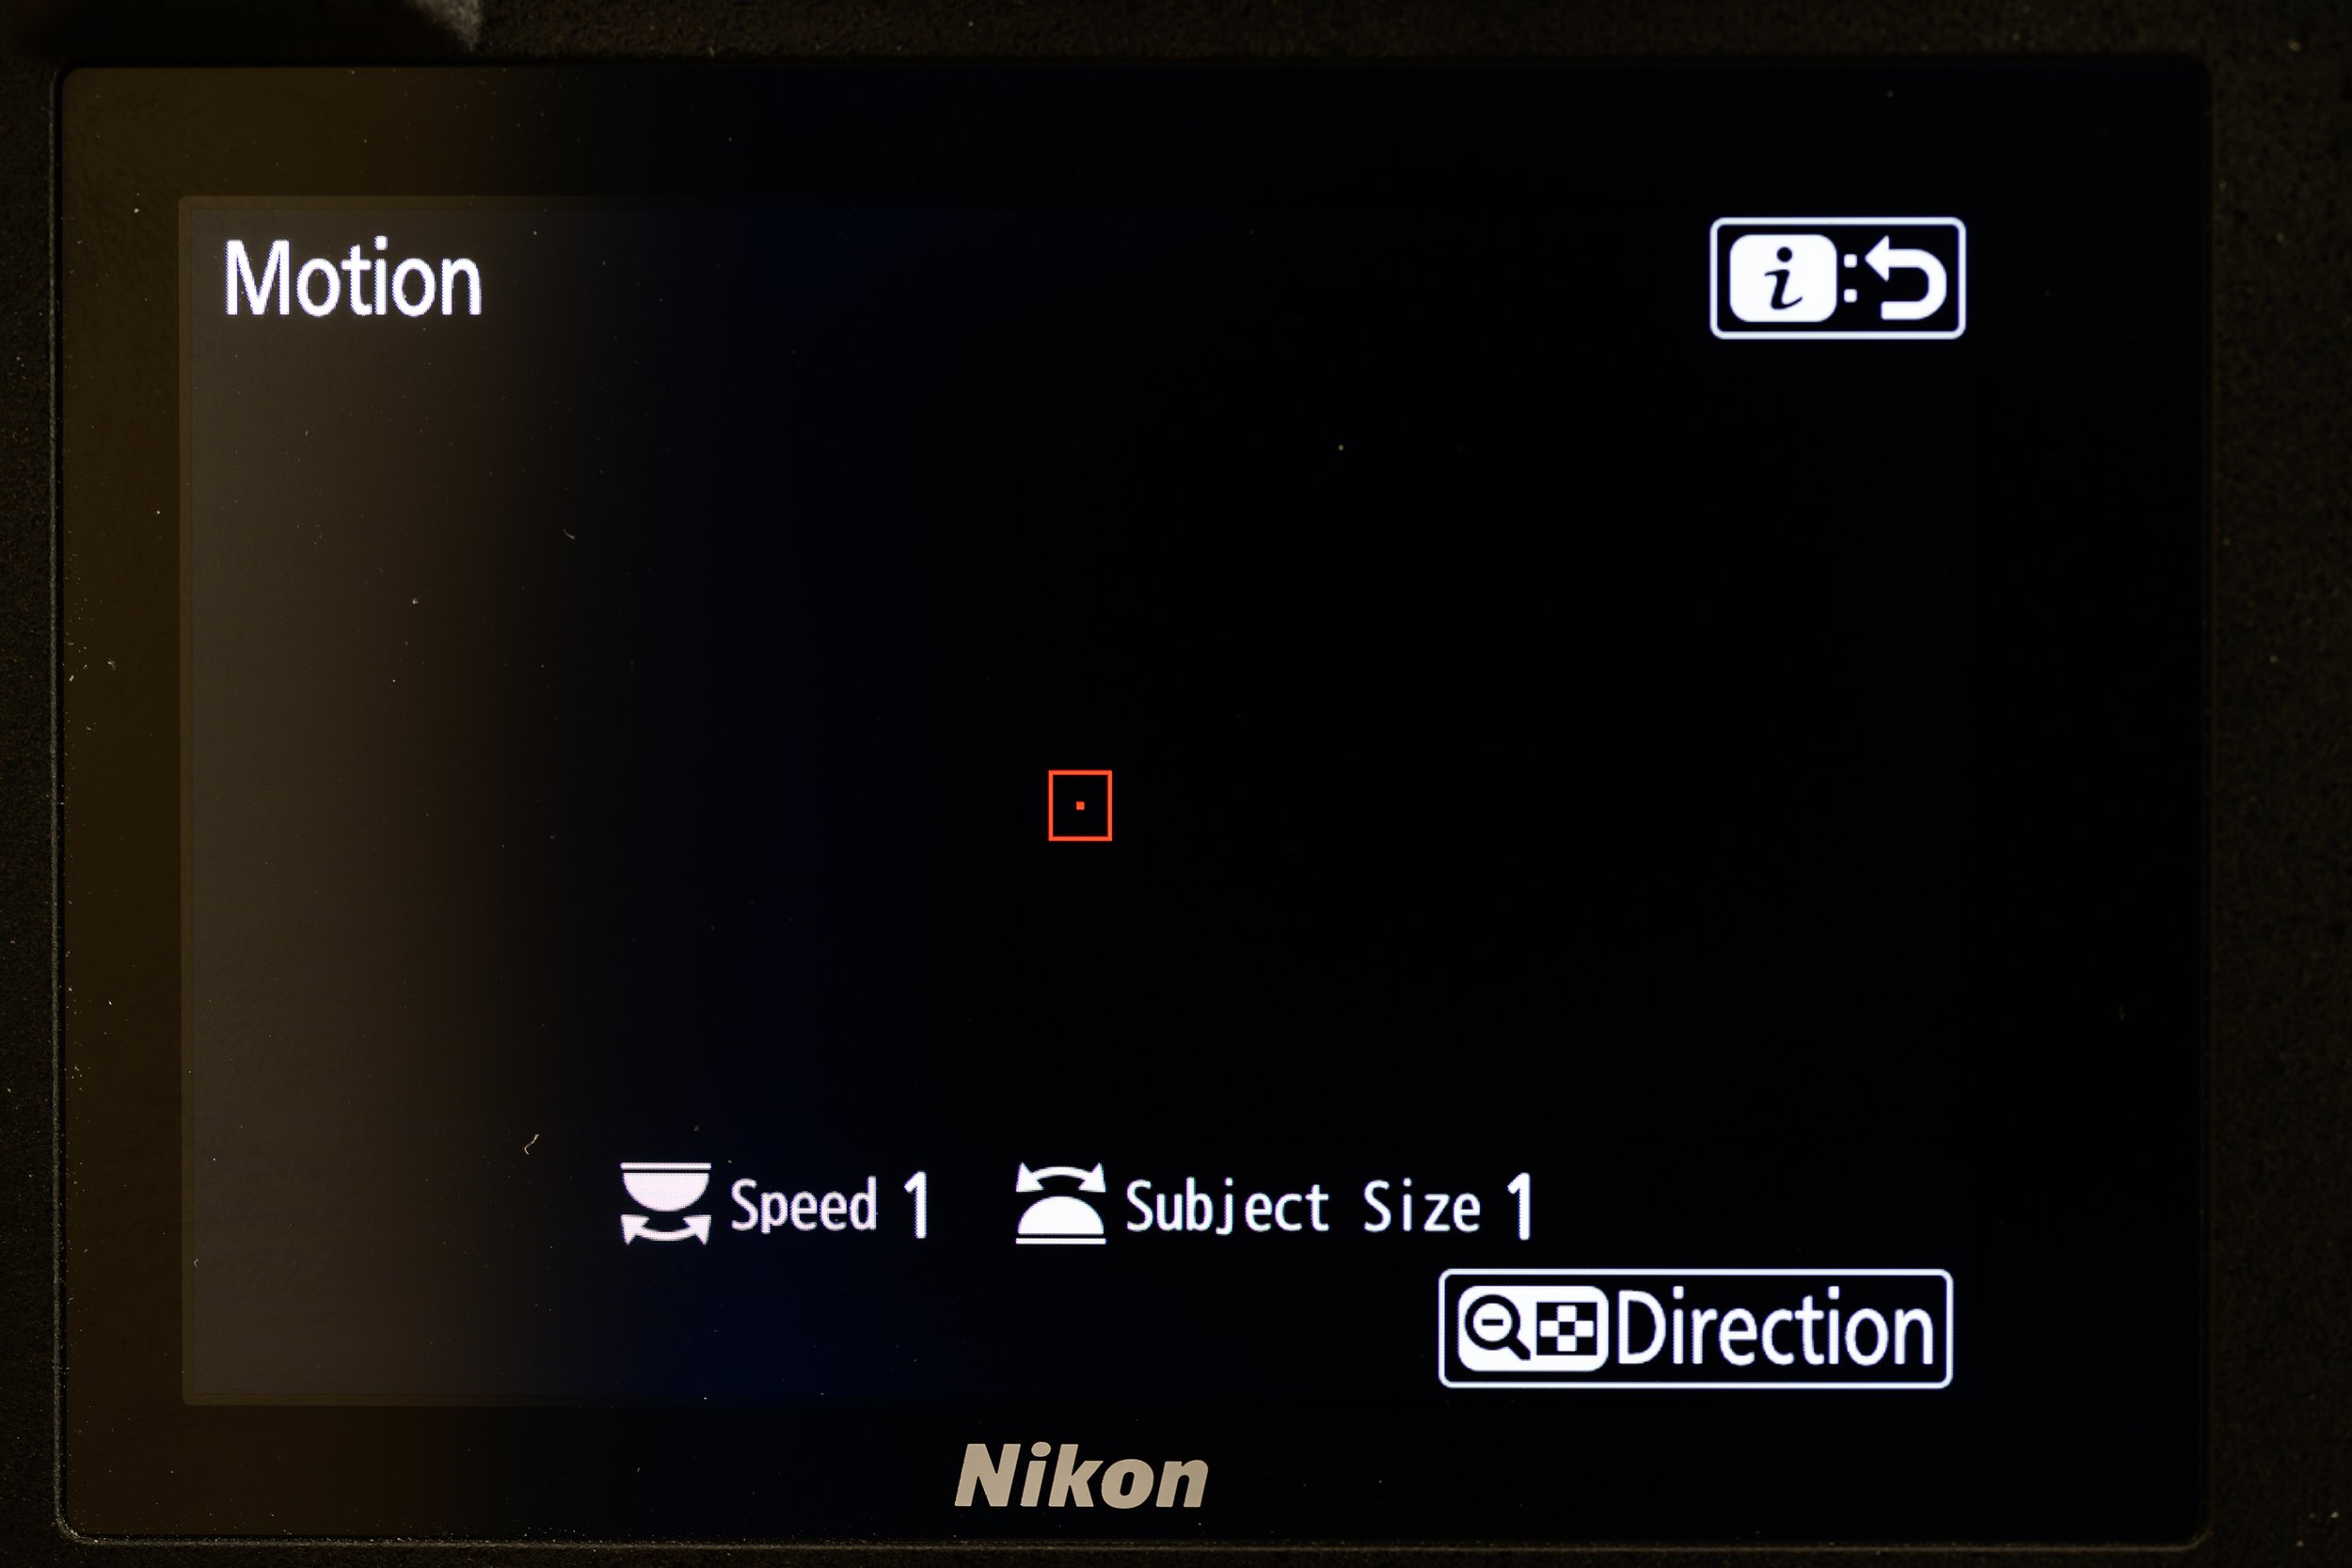
Motion Detection customisation menu
Clicking on the Motion box opens a new screen where you can adjust the speed and size of the subject, from 1-5, 1 being the smallest/slowest and 5 being largest/fastest. Turning the front command dial changes the subject size while the rear command dial changes the subject speed. As I was intending to shoot small songbirds in the garden I selected the subject size as being 1 and the speed as 3.
You can also press the zoom out button to select the direction of motion required, i.e. left to right, top to bottom, etc. I didn’t do this as birds tend to be erratic and can come from any direction. Once you have set the options press the I button to return to the main Auto capture configuration menu.
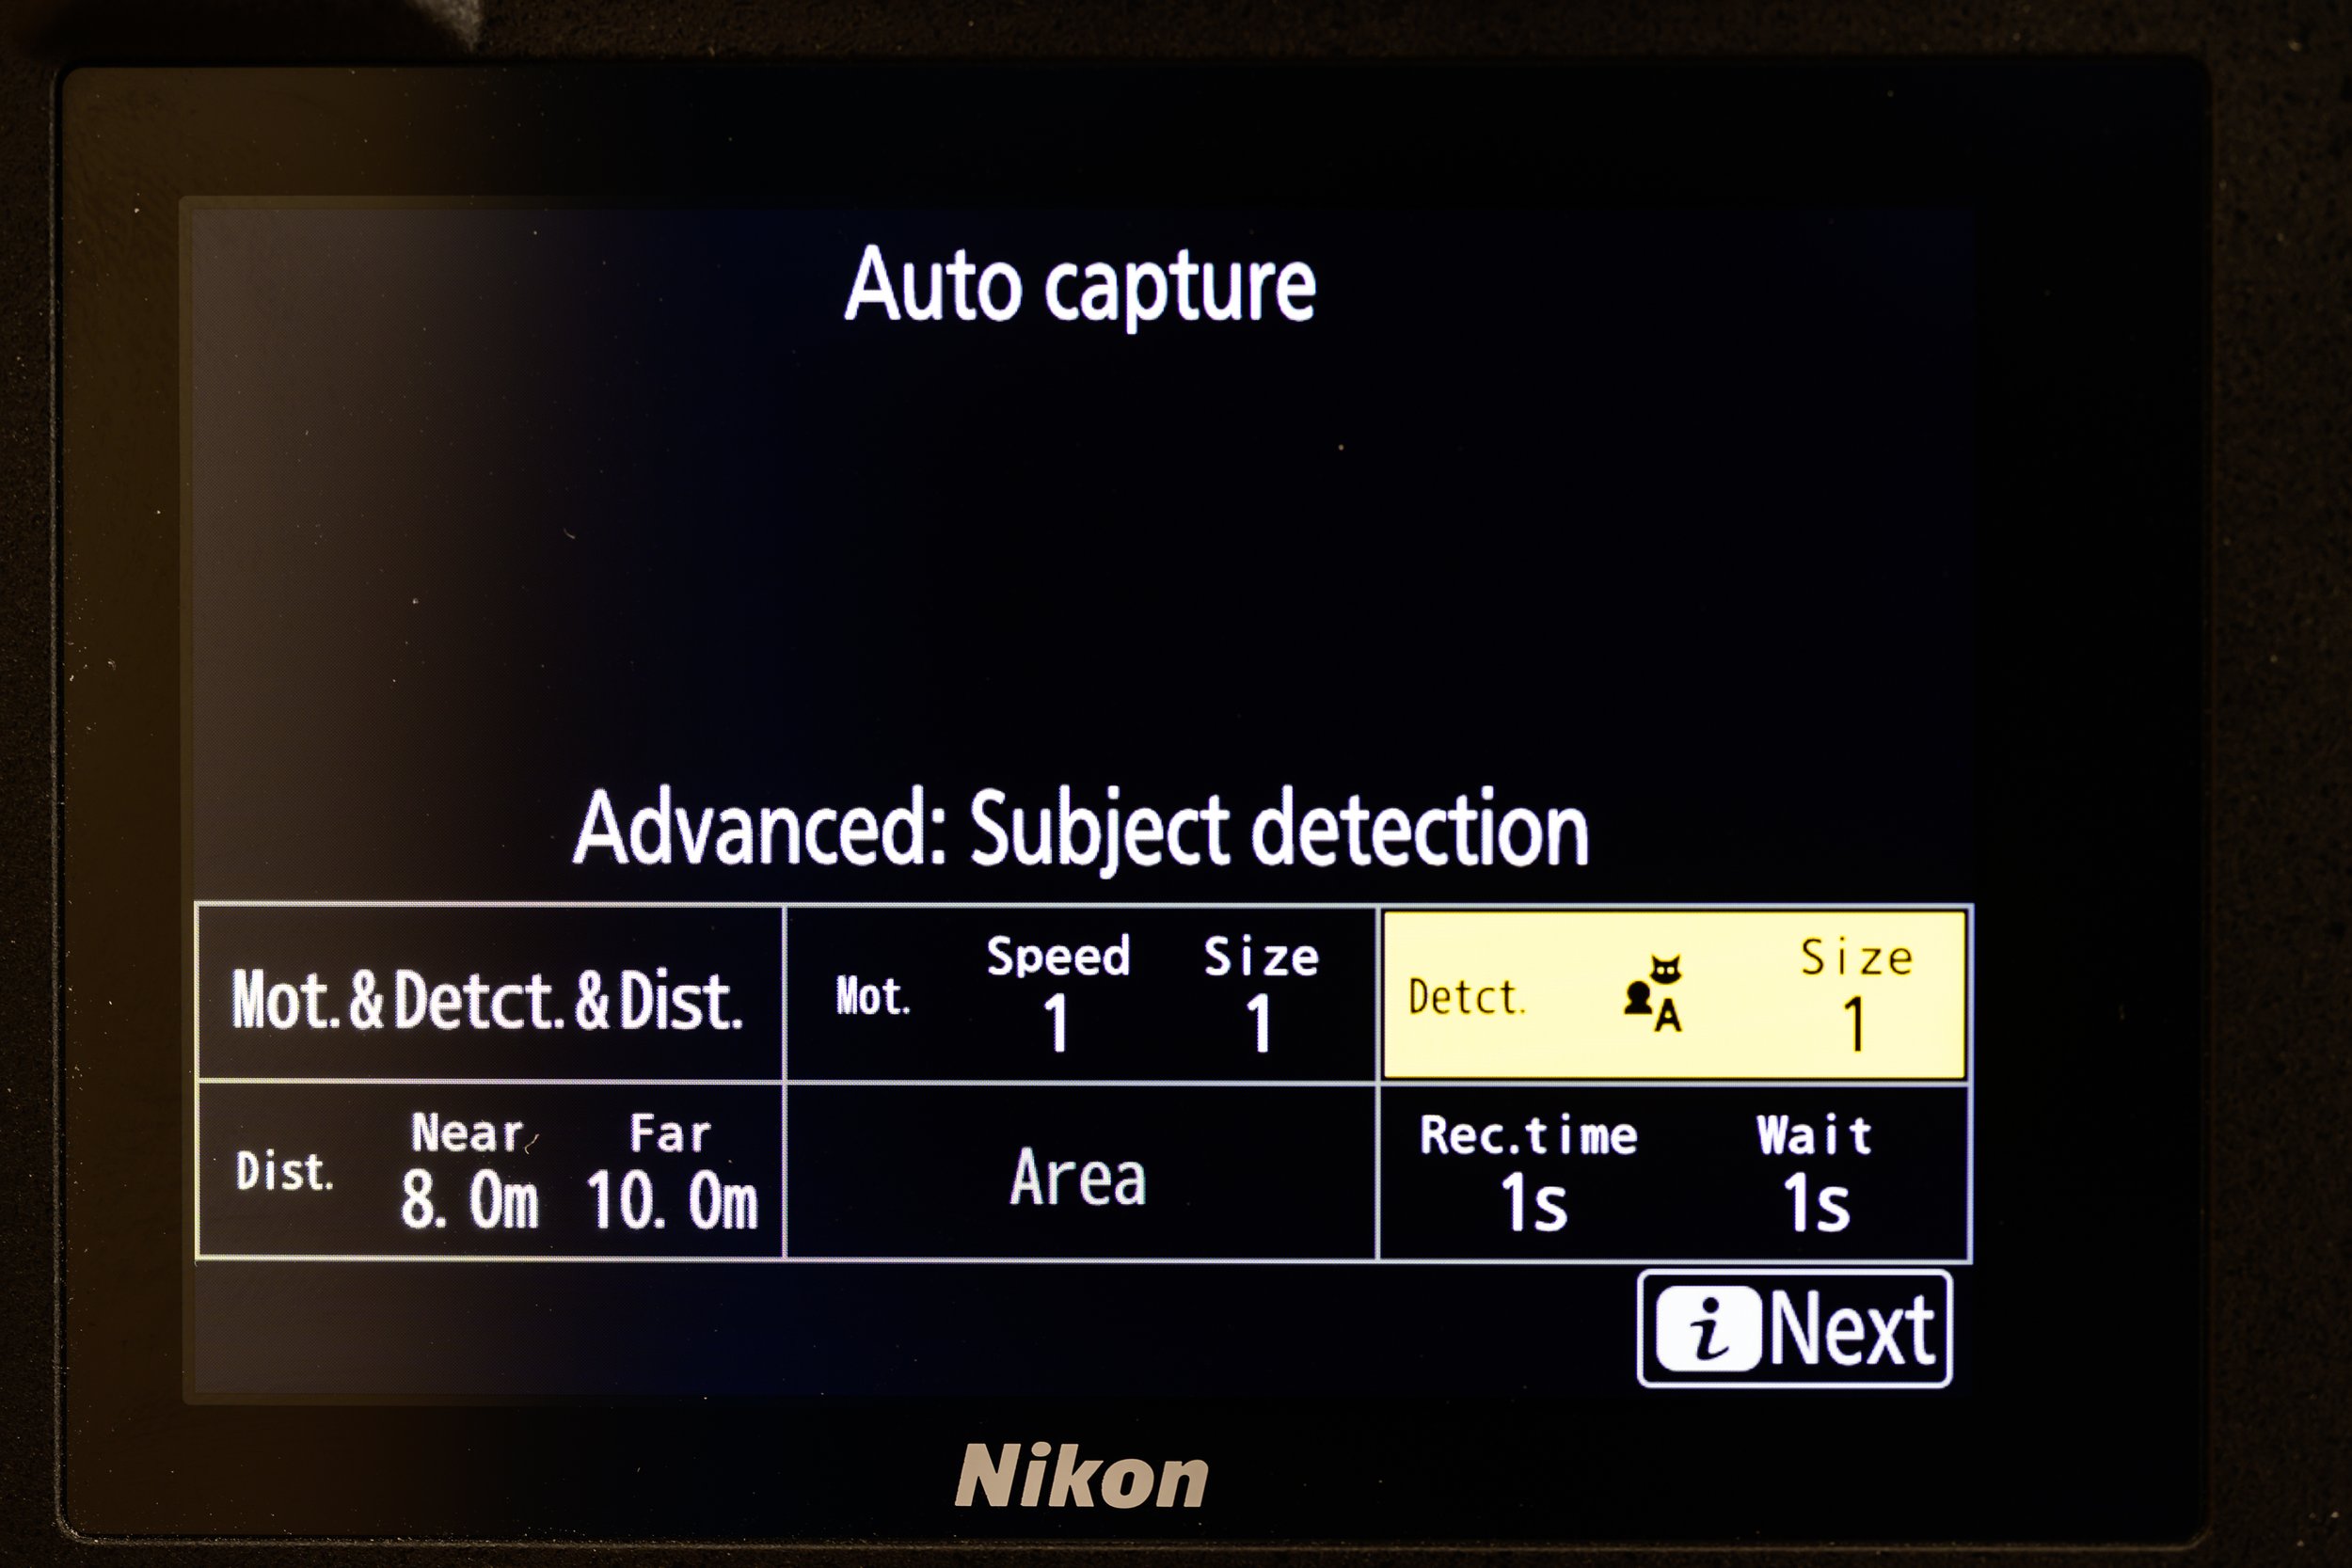
Select the Subject Detection box to bring up its customisation menu, right

Again, as my subject. was small birds I left the subject size as 1. I had already set up my autofocus subject detection option in the main Photo Shooting Menu to be animal. Press the zoom out button if you need to change the subject type however. Once complete, press the I button again to return to the configuration menu.
Select the Subject Detection box to bring up its customisation menu, right
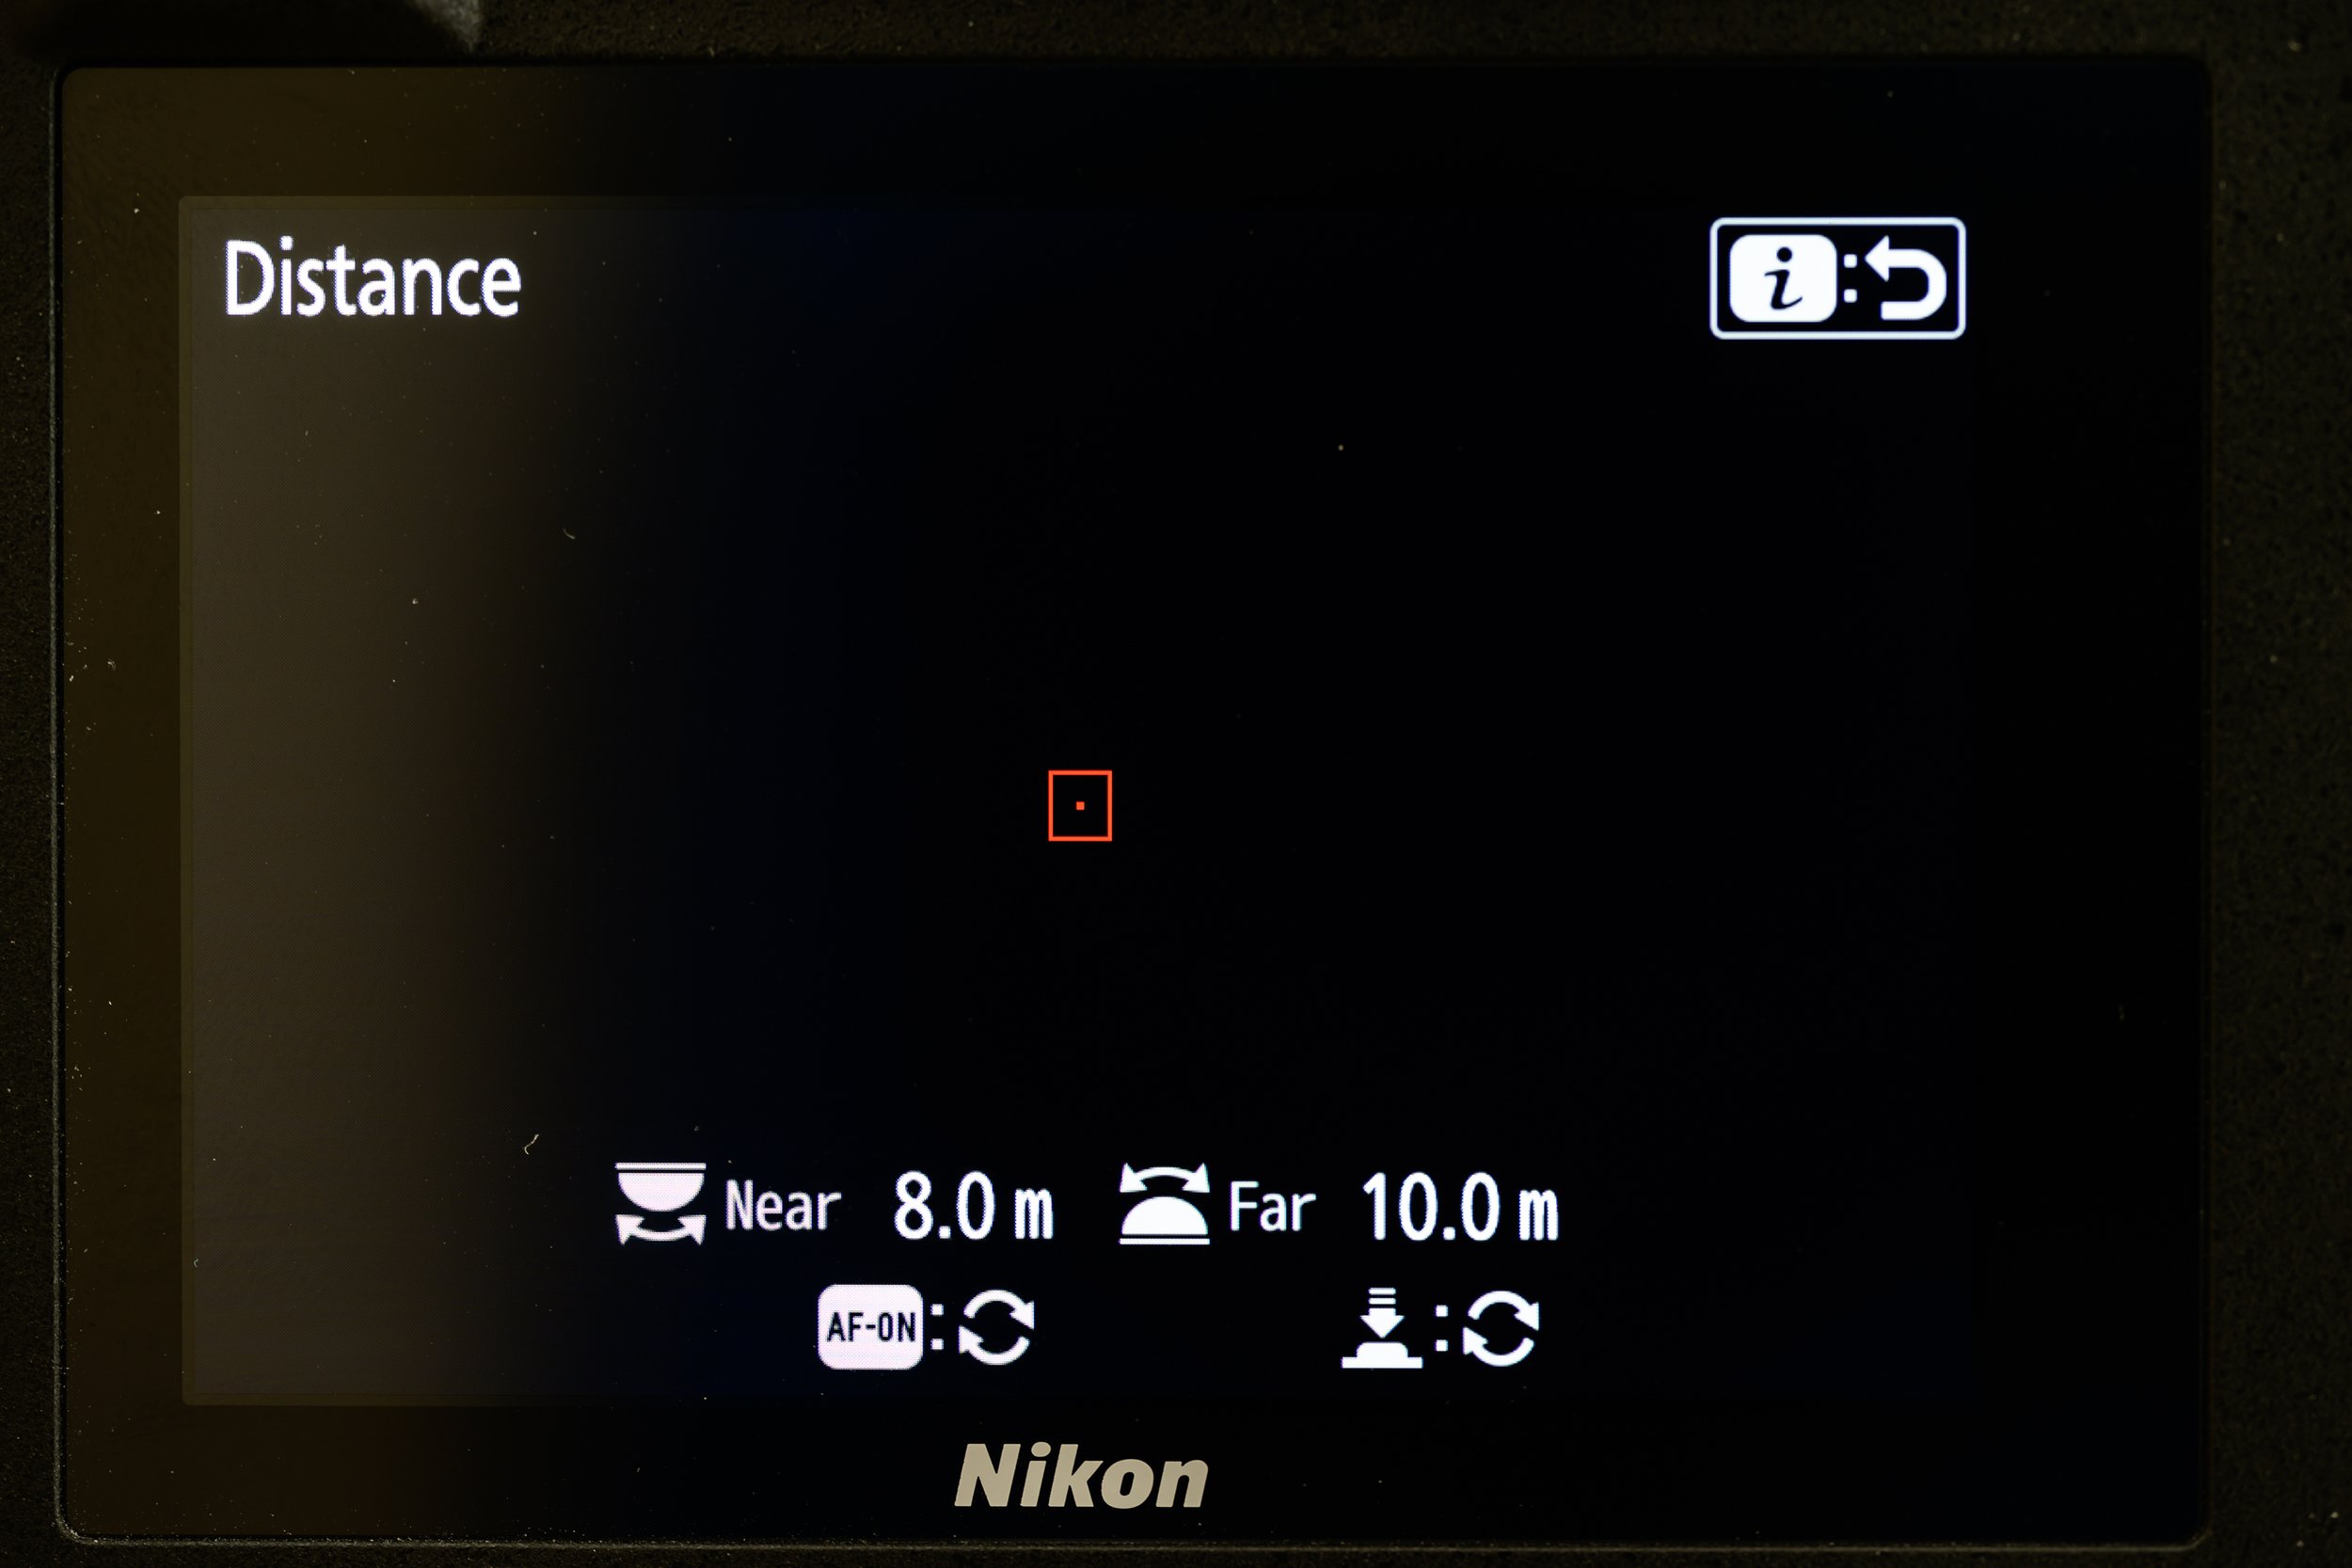
Pressing the Distance box brings up a configuration menu that allows you to set the near and far distance for the image capture
In this menu you can instruct the camera to apply the motion and/or subject detection criteria only when the subject is moving in a preset zone in front of the camera, say between 8m and 10m away from the camera as shown here.
Note: you cannot use the full range of the lens focus distance, presumably to minimise the amount of lens travel needed to ensure focus is achieved quickly and to ensure that the image is not so far out of focus that the subject cannot be detected, for my Z 100-400mm f/4.5-5.6 VR S lens zoomed to 400mm the closest subject distance was 8m and furthest was 80m, even though the lens has a closest focus distance of 1m at 400mm. With the lens at 100mm these near and far distance limits were 2m and 20m respectively. The Nikon documentation shows the near distance is 20x the focal length of the lens and far distance is 200x focal length.
Rotating the rear command dial allows you to change the closest distance the camera will look for and rotating the front dial selects the furthest. It can be tedious to keep spinning the dials to adjust these parameters, particularly if you are changing large distances, so Nikon has provided a short cut method. If you press the AF-ON button the camera will autodetect what it thinks is the subject and set this as the Near point. You can then adjust the near point using the rear command dial. Similarly pressing the shutter button detects the subject and sets the focus distance as the Far parameter, again allowing you to adjust using the front command dial.
In my example, the birds tended to land on a fence about 9m away from the camera. I used the AF-ON button to focus on the fence and set the Near distance to 9m. I then adjusted this to 8m using the rear command dial. Next I focused on the fence using the shutter button, selecting the 9m focus distance as the Far value, and then adjusted using the from command dial to get 10m.
Once the Near and Far parameters have been set, press the I button to return to the Auto capture configuration menu.
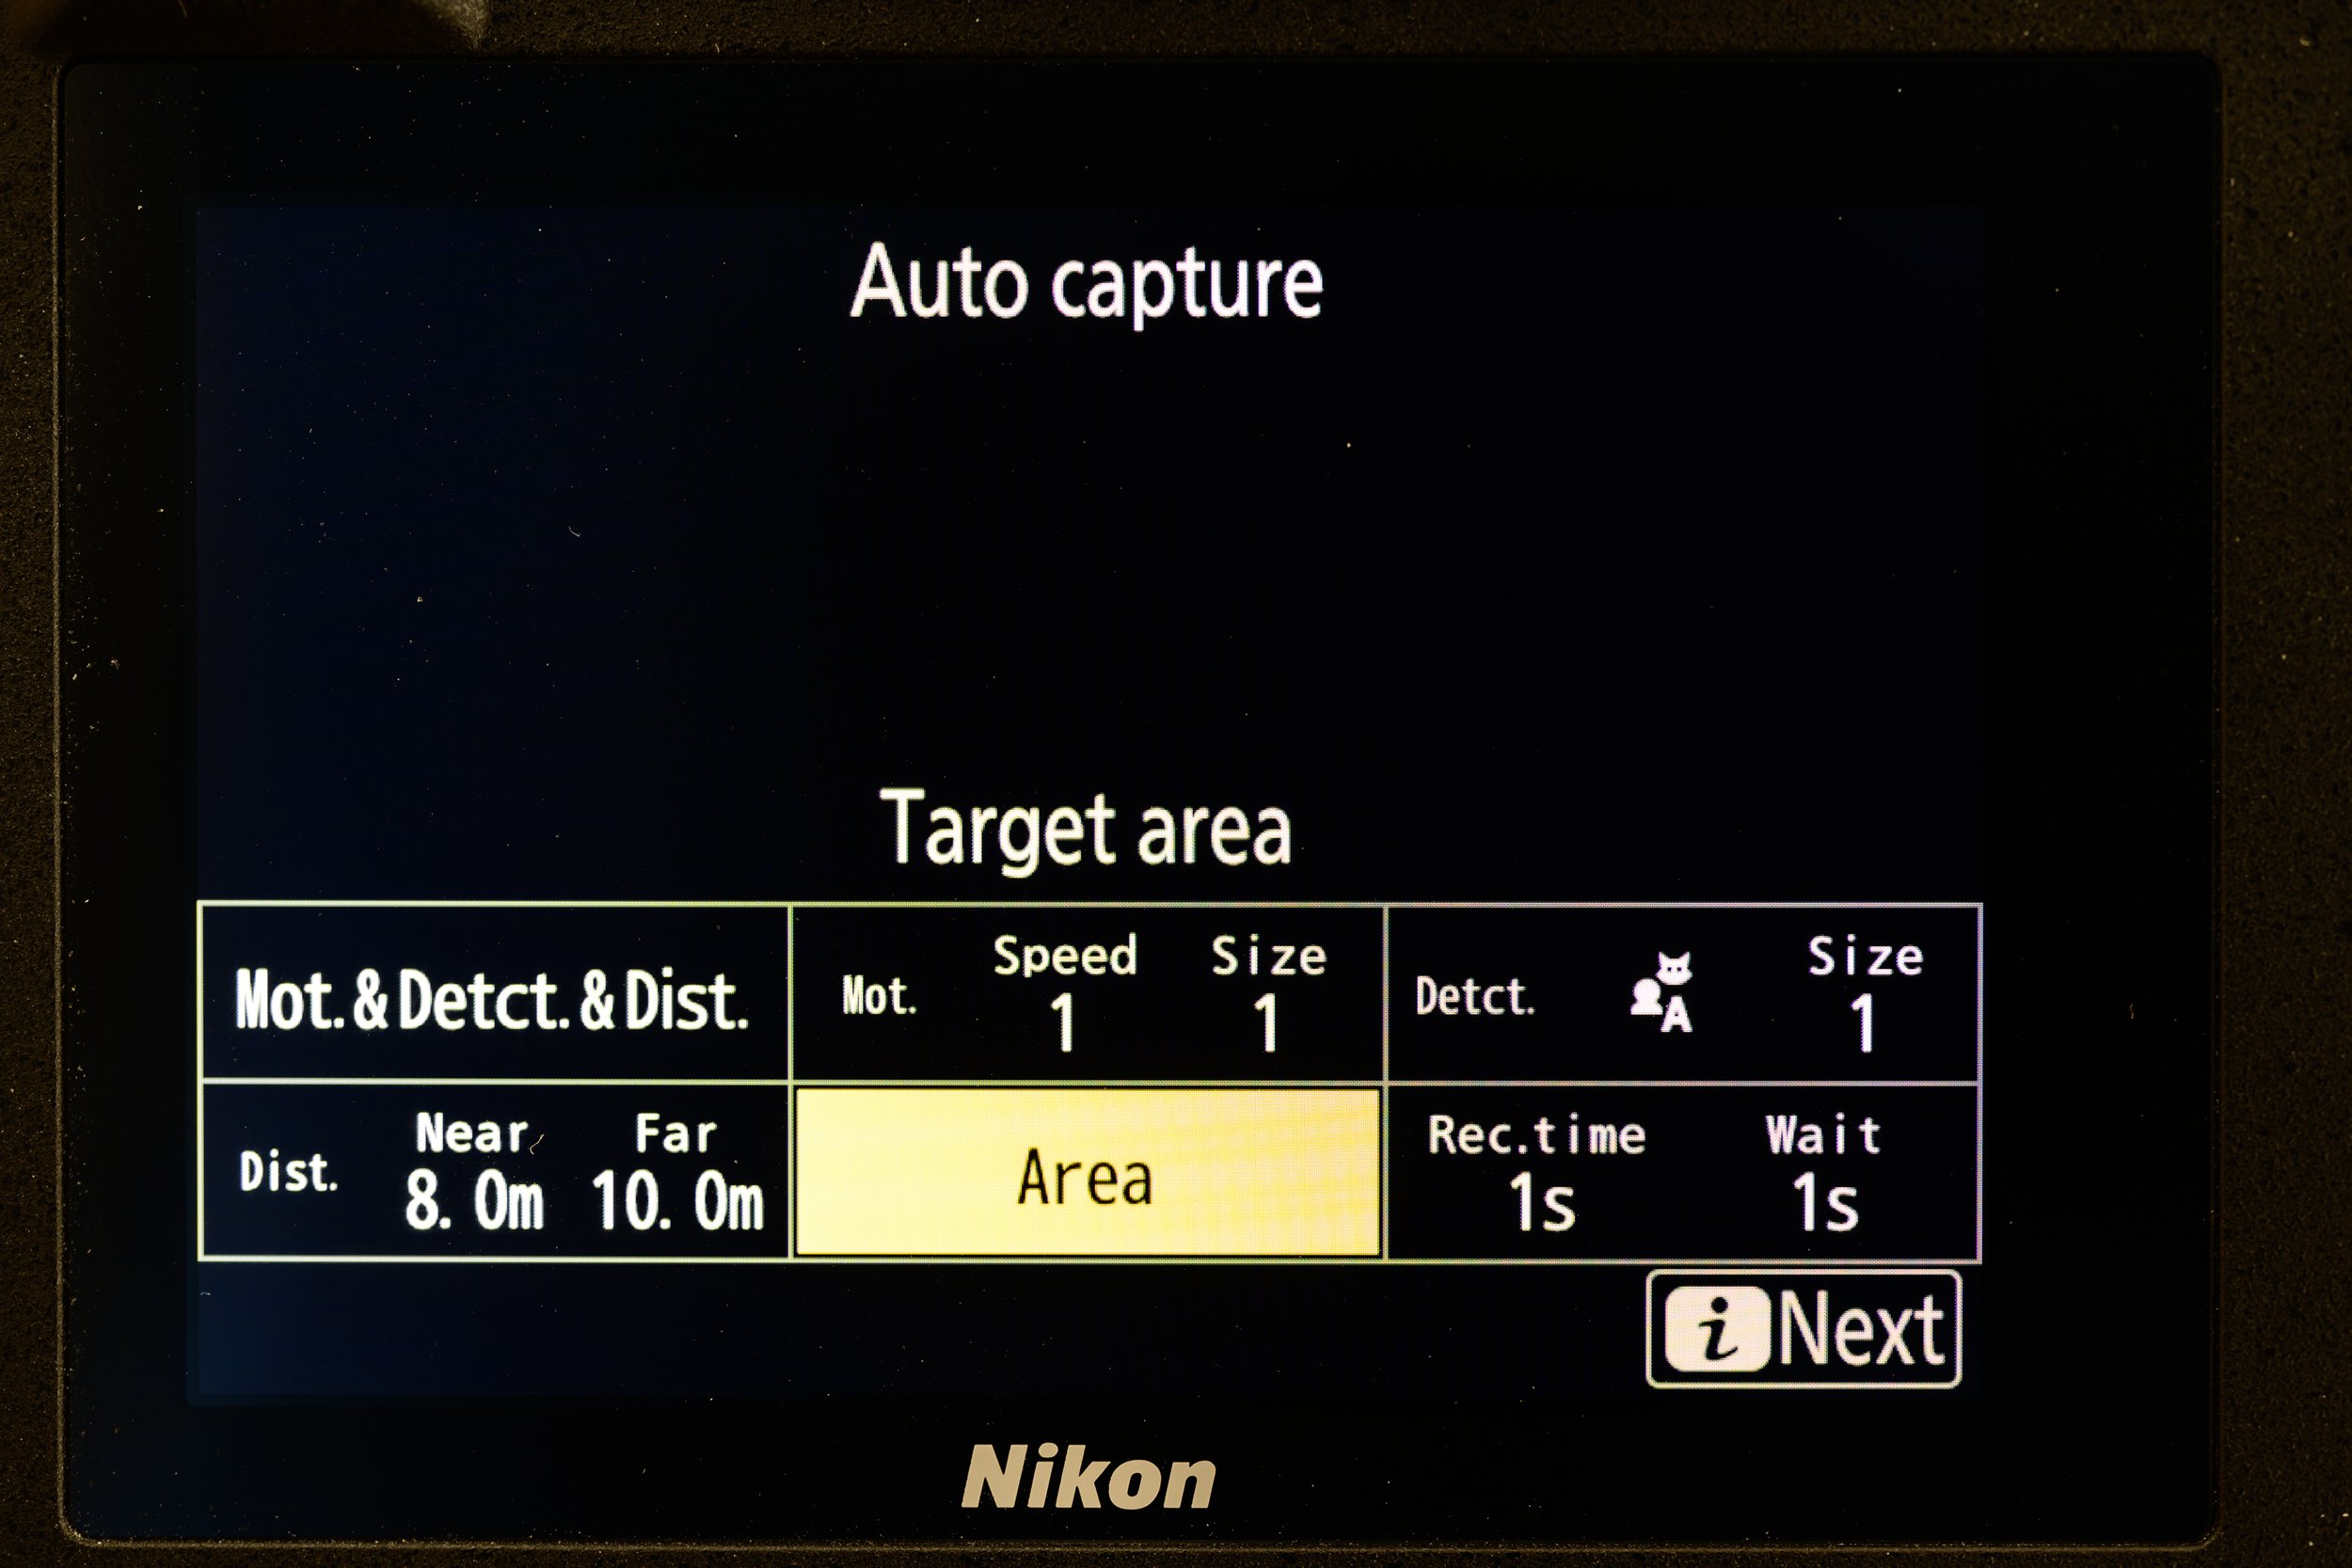
Pressing Area brings up the watched area submenu, right
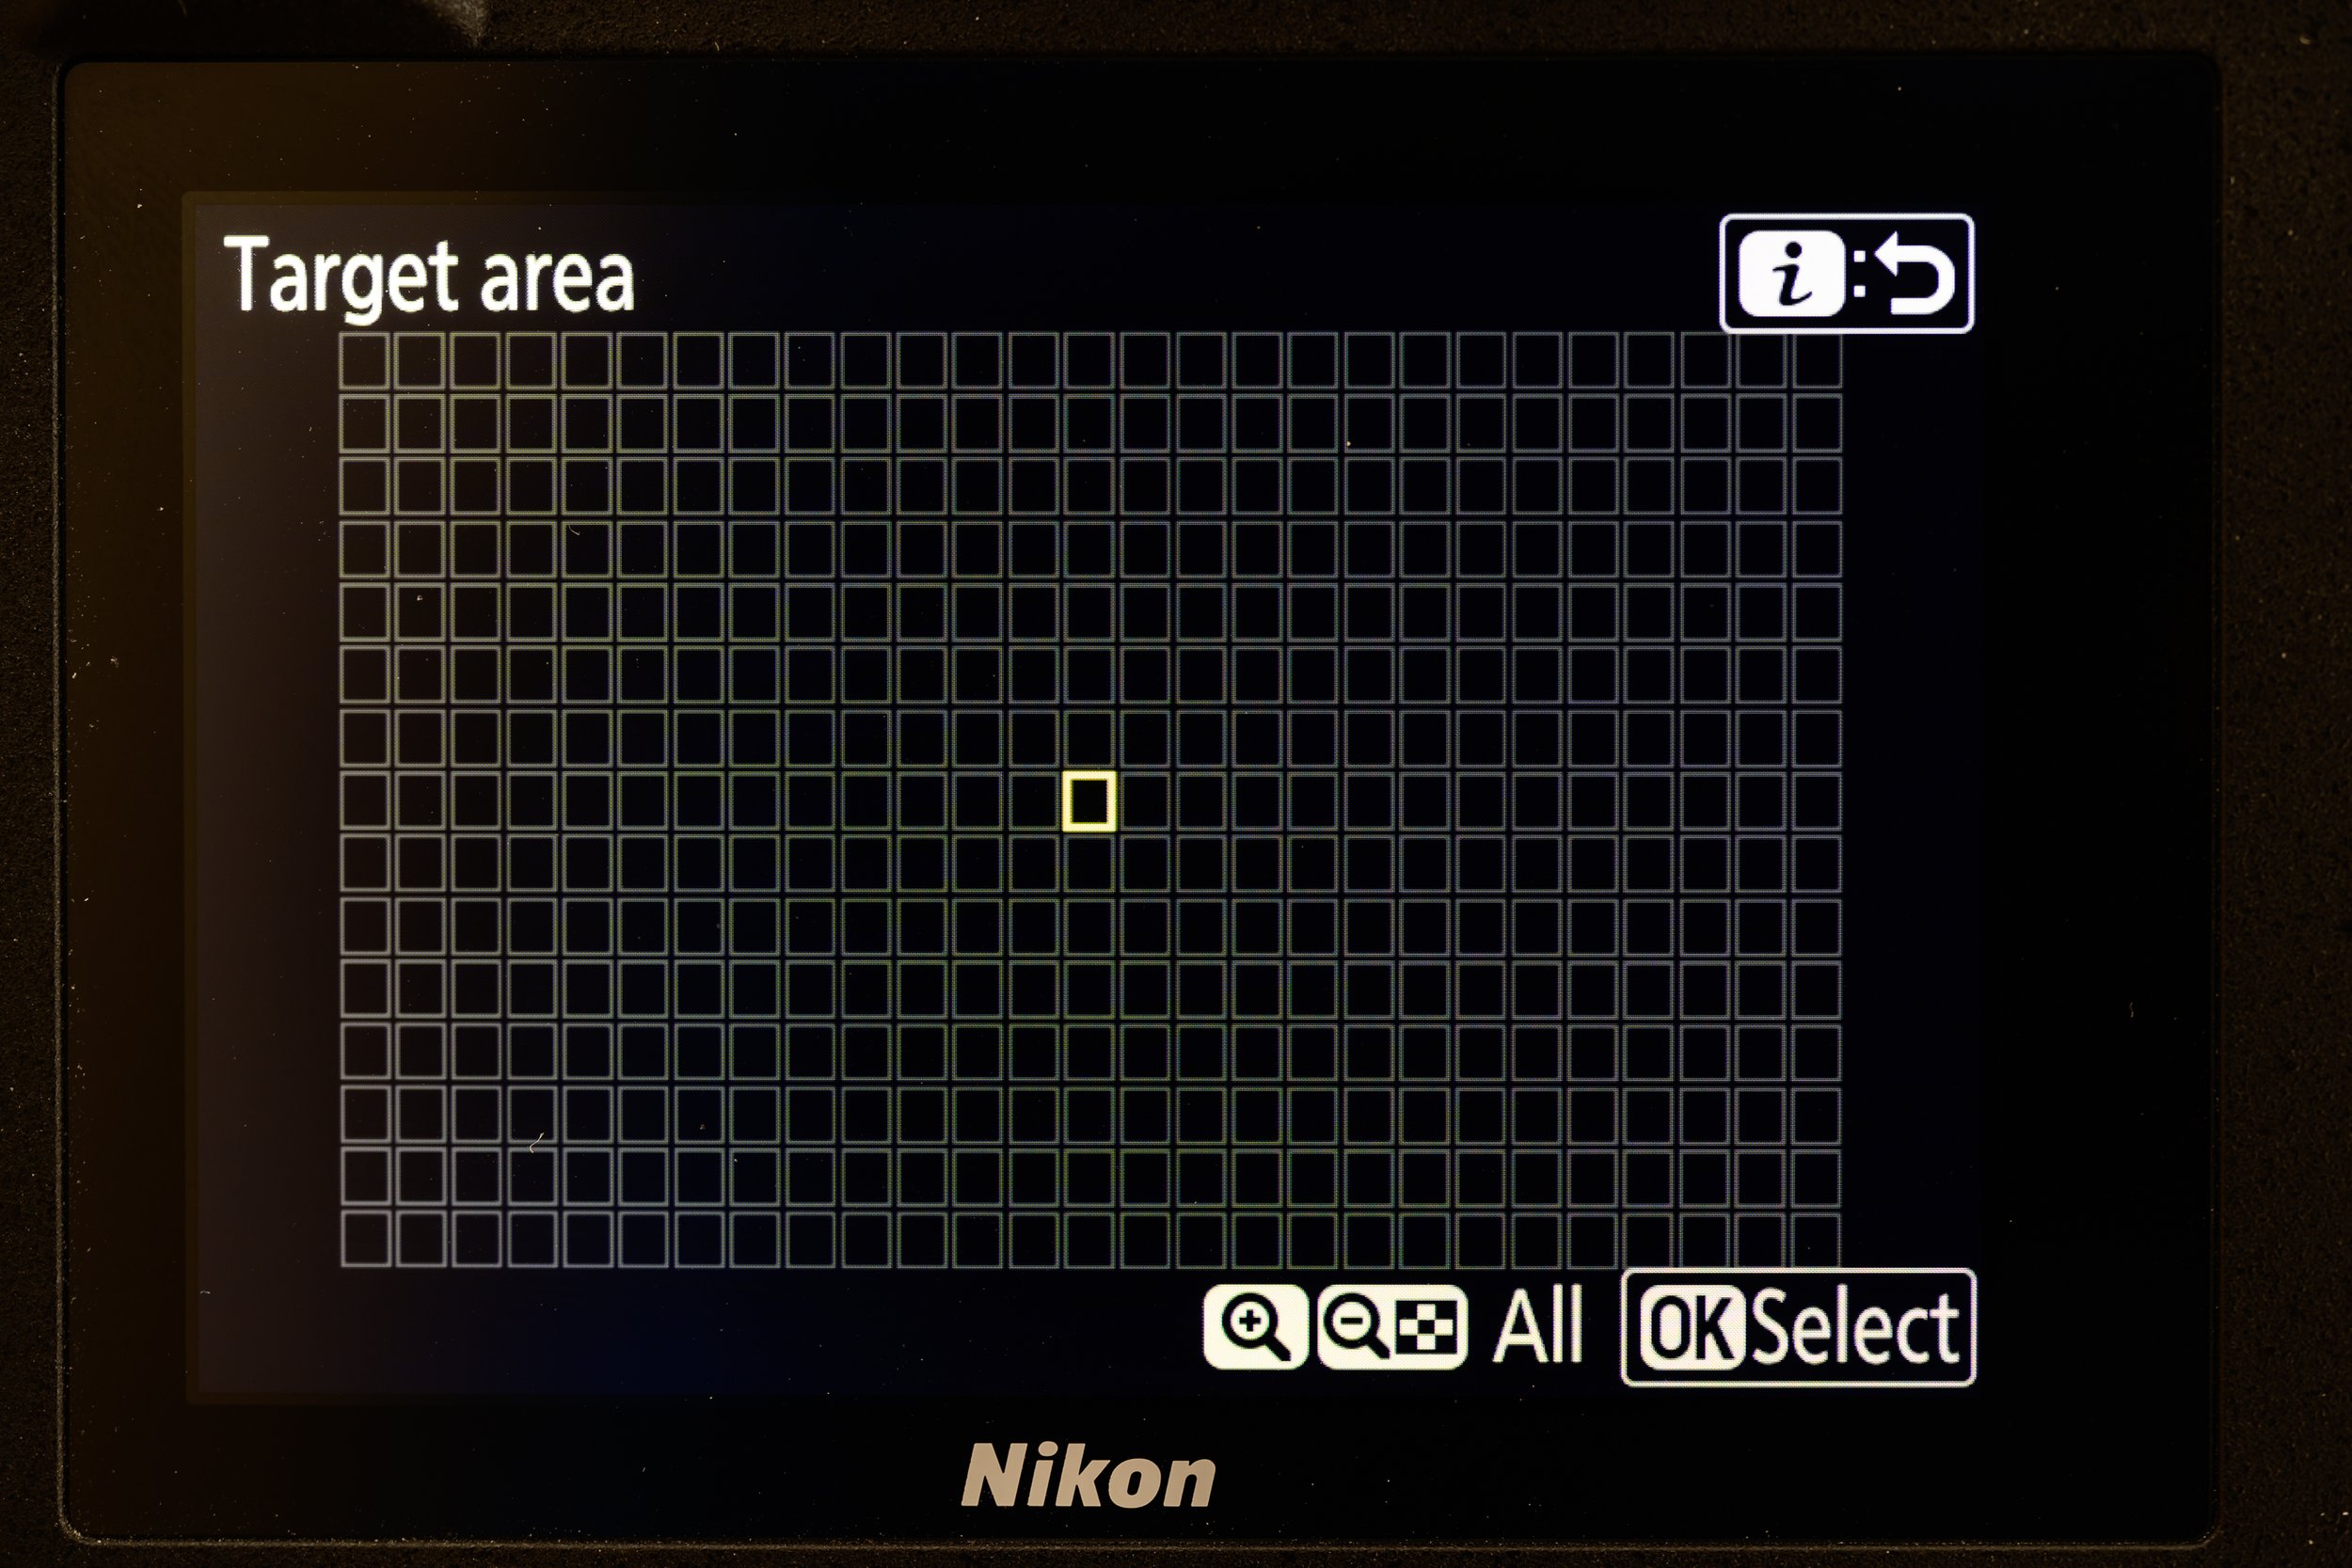
You can use this screen to exclude areas of the frame you don’t want the camera to look at,
(for example if Motion triggering is selected you can blank off areas of moving leaves, water, etc that you don’t want to trigger the camera. This is easier to visualise with the lens cap off as you can see what parts of the scene to exclude).
In my scenario the only subject motion would be from the bird itself so I left all the image area as being watched.
The final option is the Record Time / Wait Time box.
Press the Rec Time/Wait box to bring up another customisation submenu, right
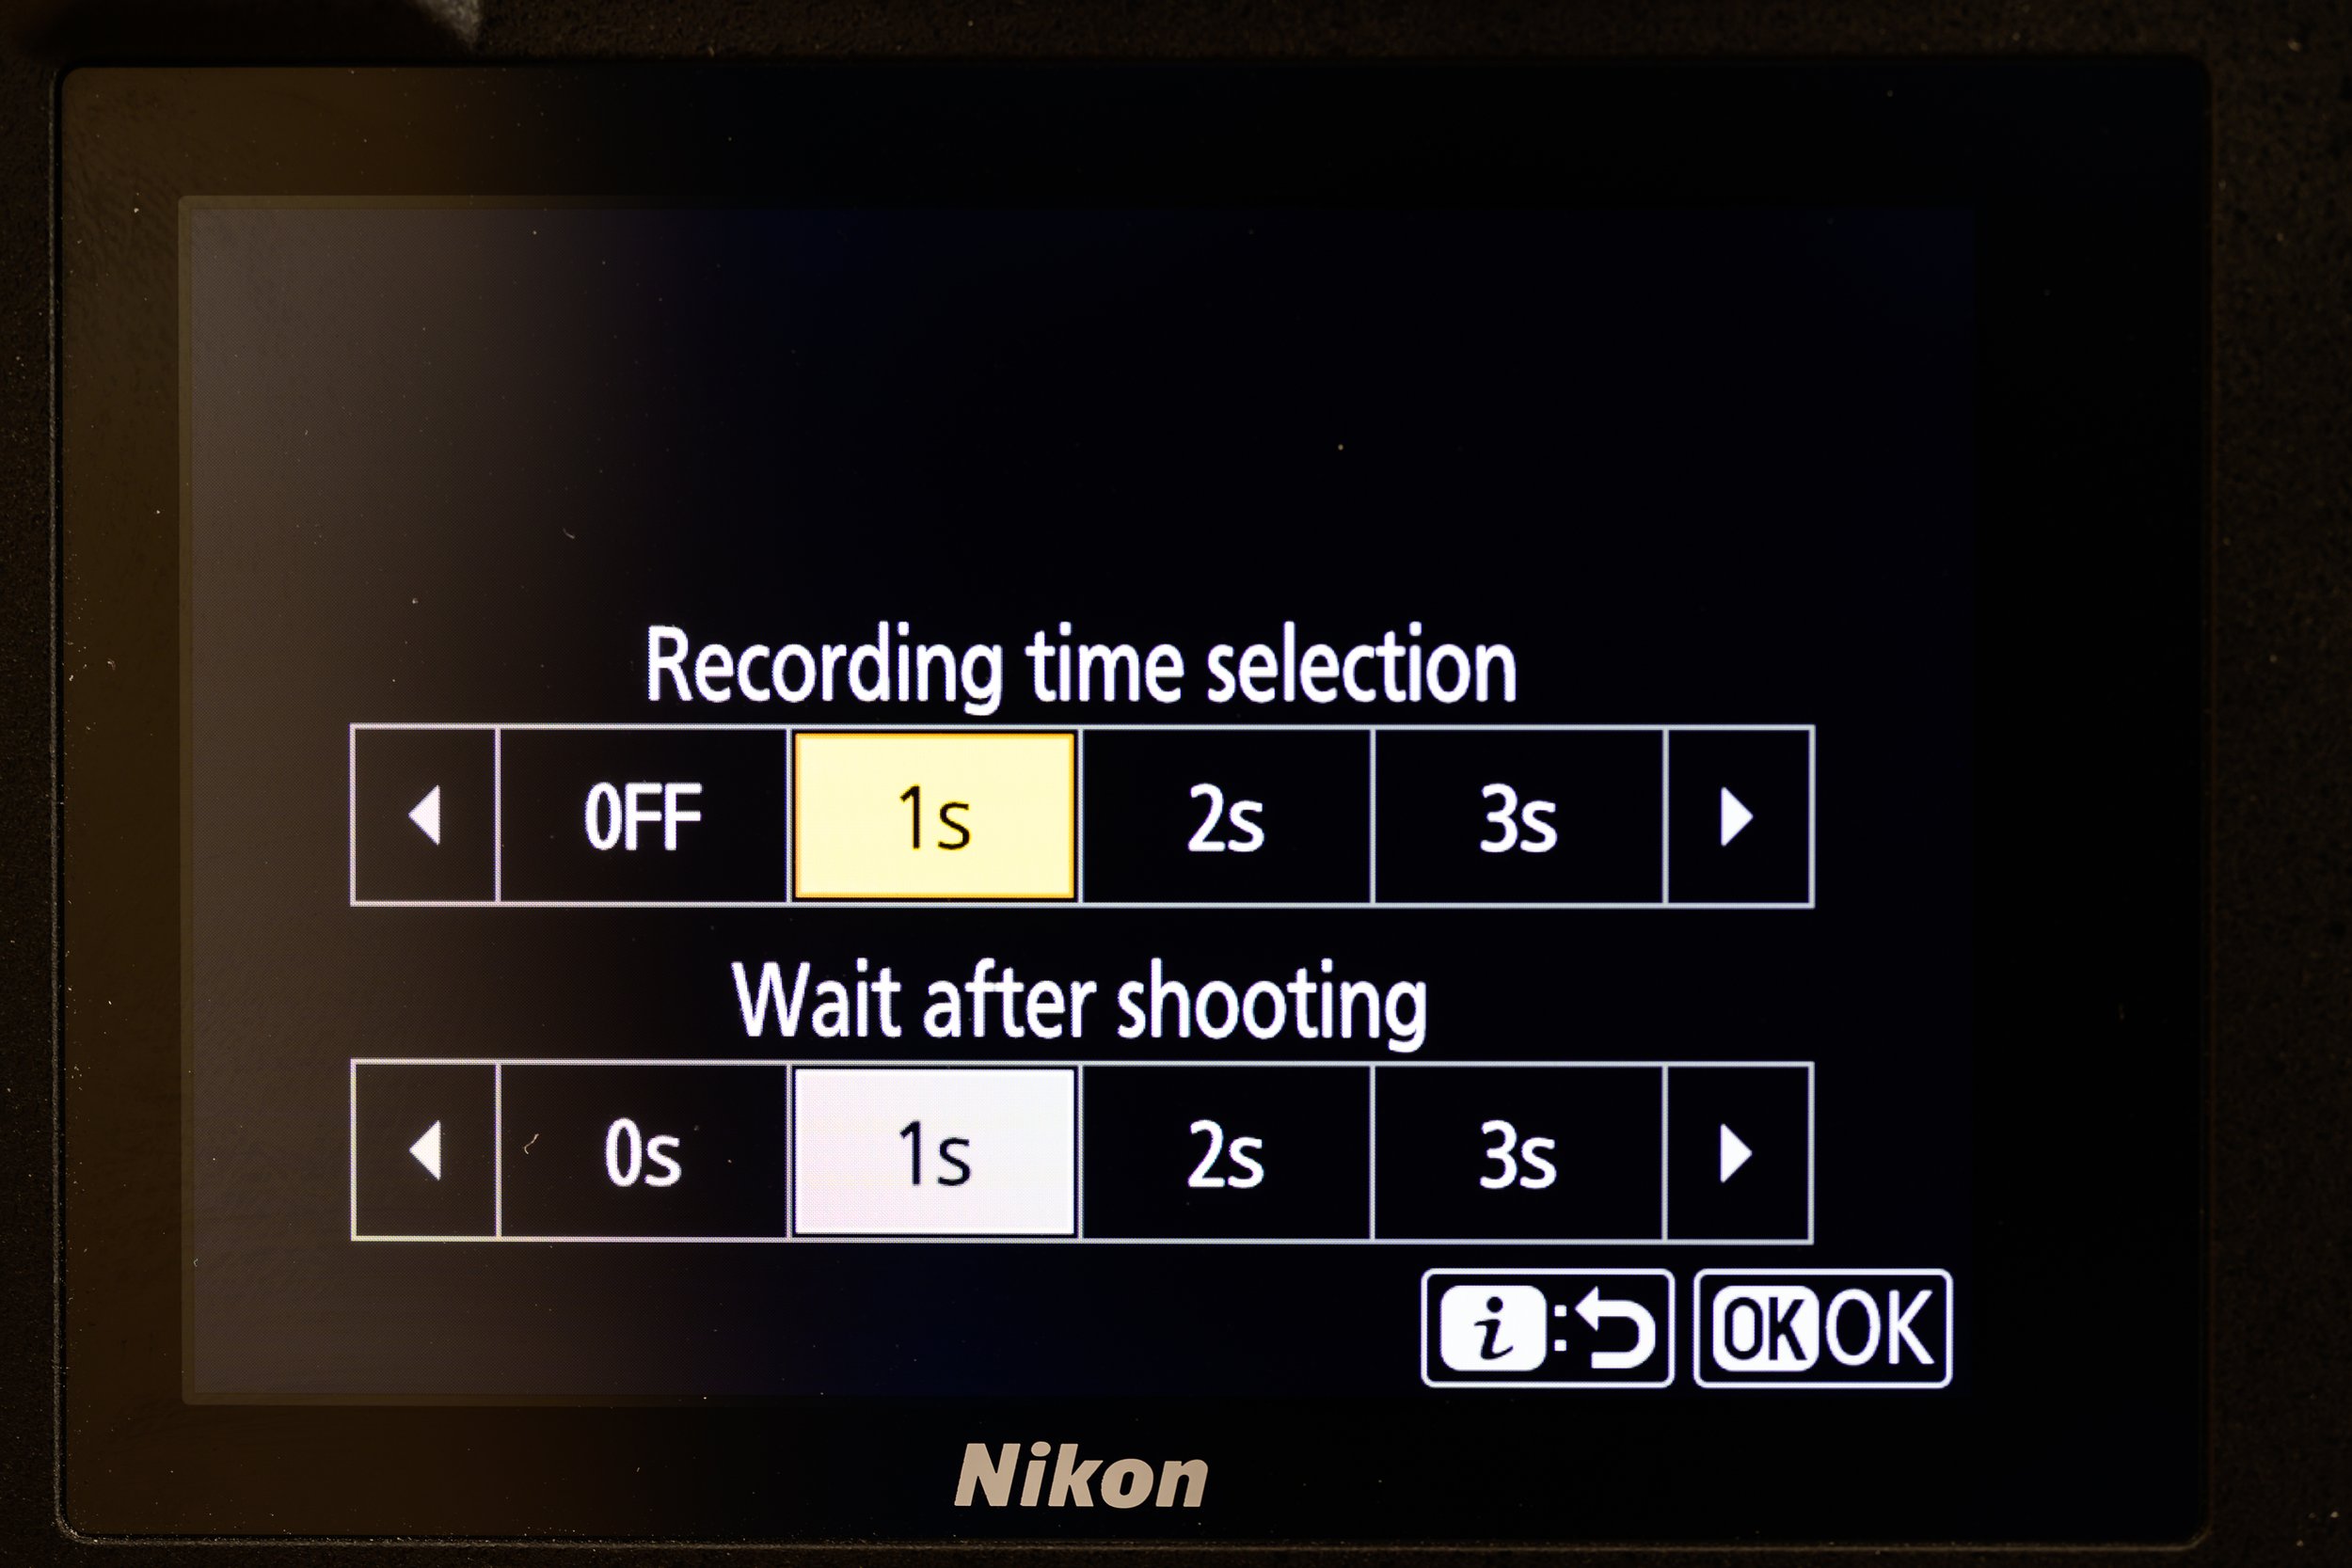
This submenu allows you to choose the length of time to shoot for and the length of time before applying the auto capture again
e.g. you can instruct the camera to shoot for 1s after being triggered, and when complete, wait 1 second before triggering again. This allows you to ensure that the camera doesn’t continually fire at the same subject all of the time resulting in hundreds of shots of the same pose
I set the Record Time and Wait options to Off and 0 respectively. This ensured that the camera would fire only while it detected the animal moving in the frame.
Note that the camera will shoot at whatever you have set for the drive mode option - in my case I was set up to shoot in Continuous High at 20 frames per second RAW.
Once all parameters have been set you can now progress to the actual image capture setup. Press the I button from the main Auto capture configuration menu to switch into Auto capture mode. The camera will not actually start looking for the trigger criteria until you start the capture by pressing the Video Record button (next to the shutter).
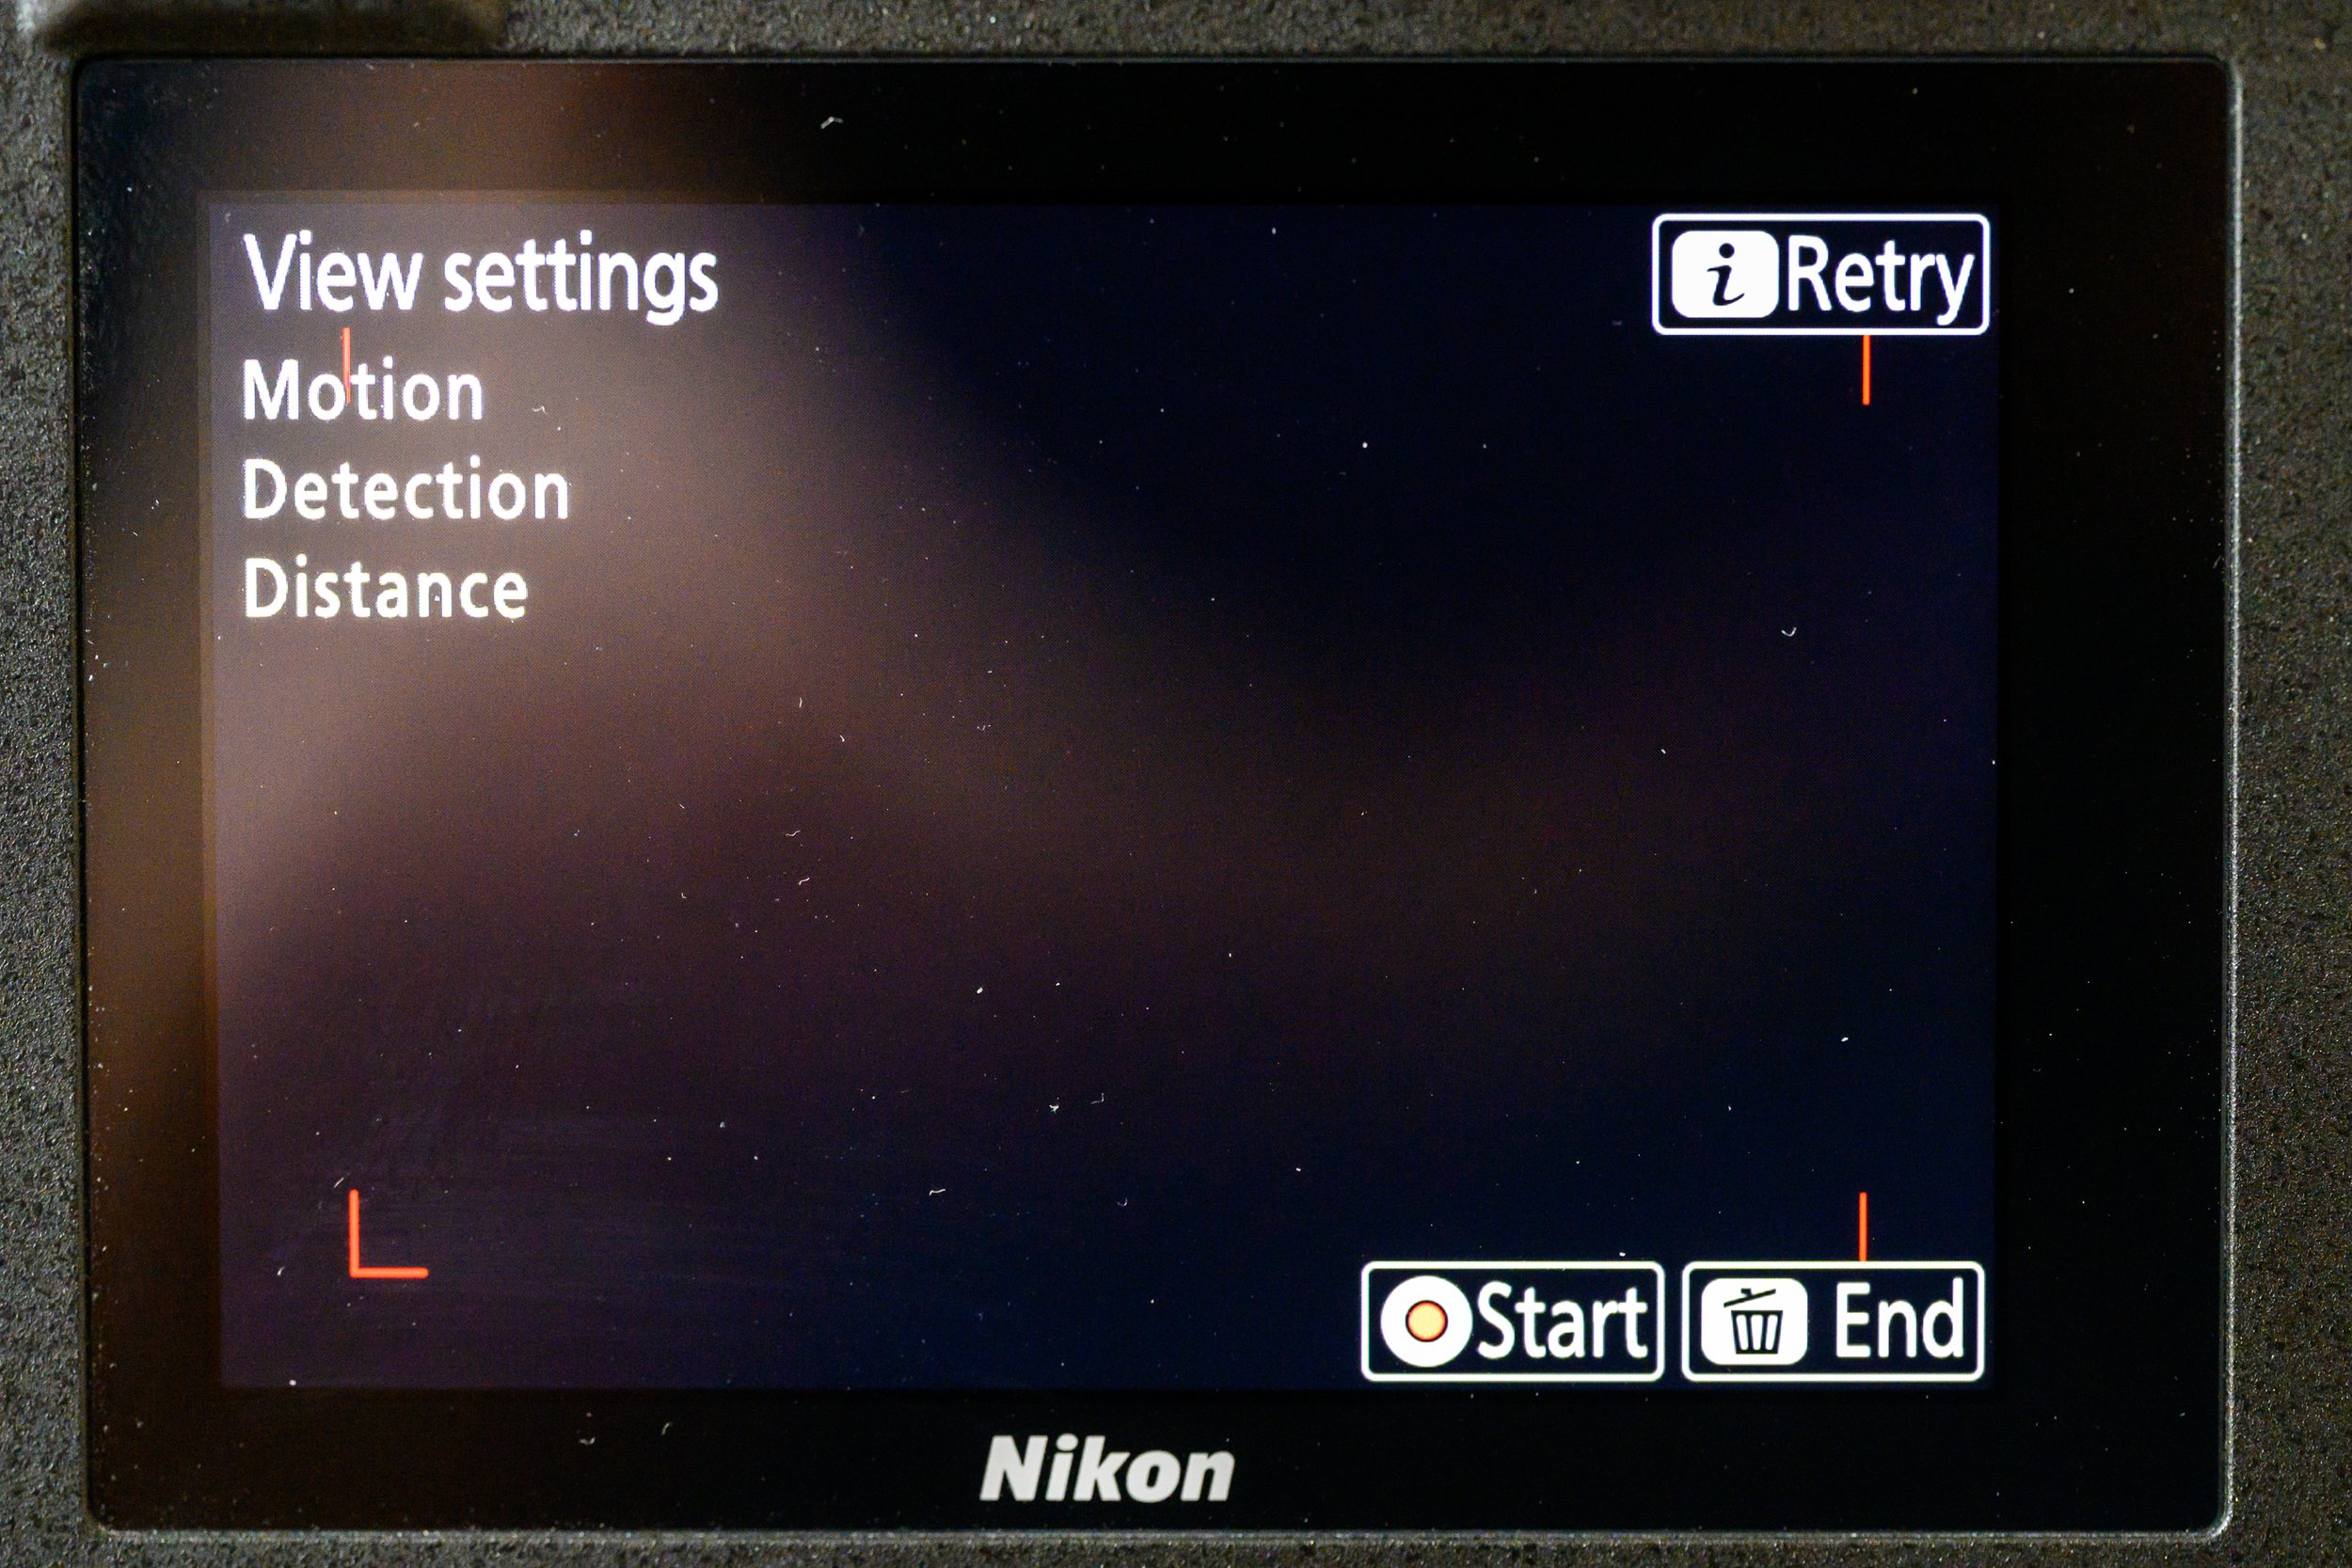
Pressing the I button brings you to the Auto capture mode
Pressing the Video Record button starts the Auto capture
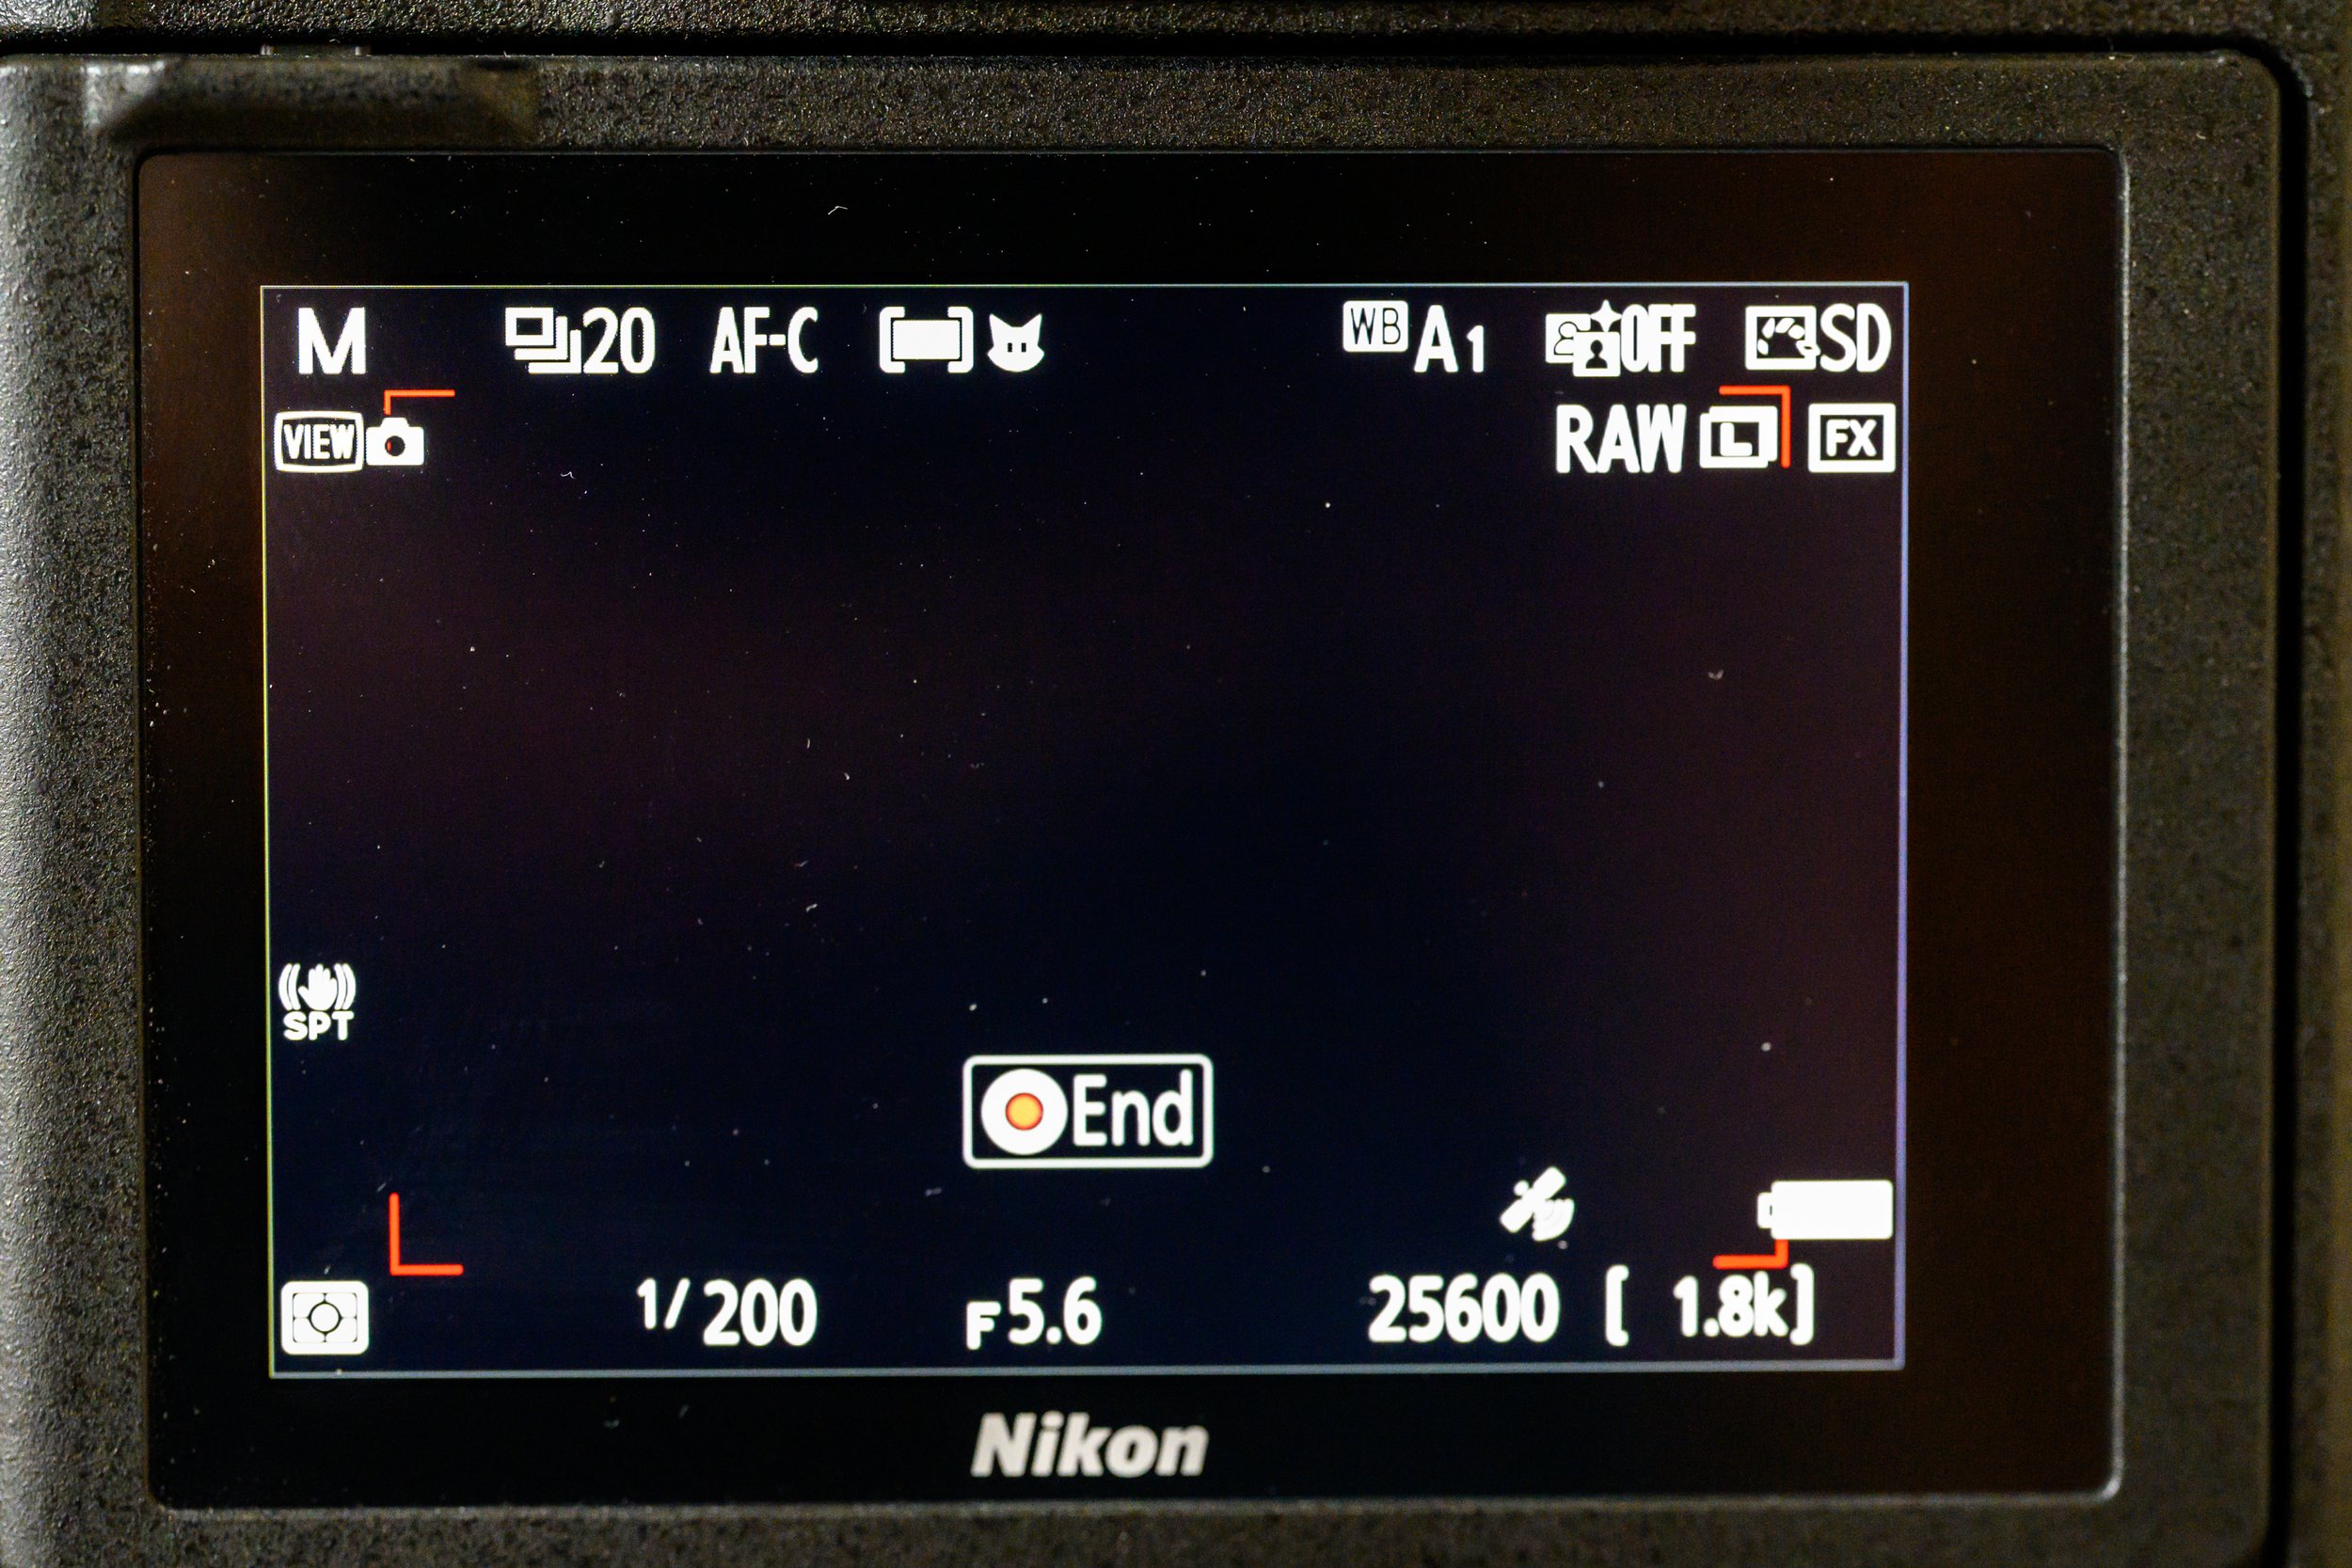
Once the camera has started its Auto capture it will continue to wait for the tigger criteria to be met. The screen will turn off and the camera will look as if it has switched off completely but it will continue to operate like this until the battery expires or you press the Video Record button again to exit the Auto capture mode. (While the camera is sleeping a quick press of the shutter button will waken it).
When you do press the Video Record button, the camera will return to is Auto capture ready state (above left), allowing you to press Video Record again to continue with the same configuration settings, or press the Delete/Bin button to exit the Auto capture mode and return to normal operation.
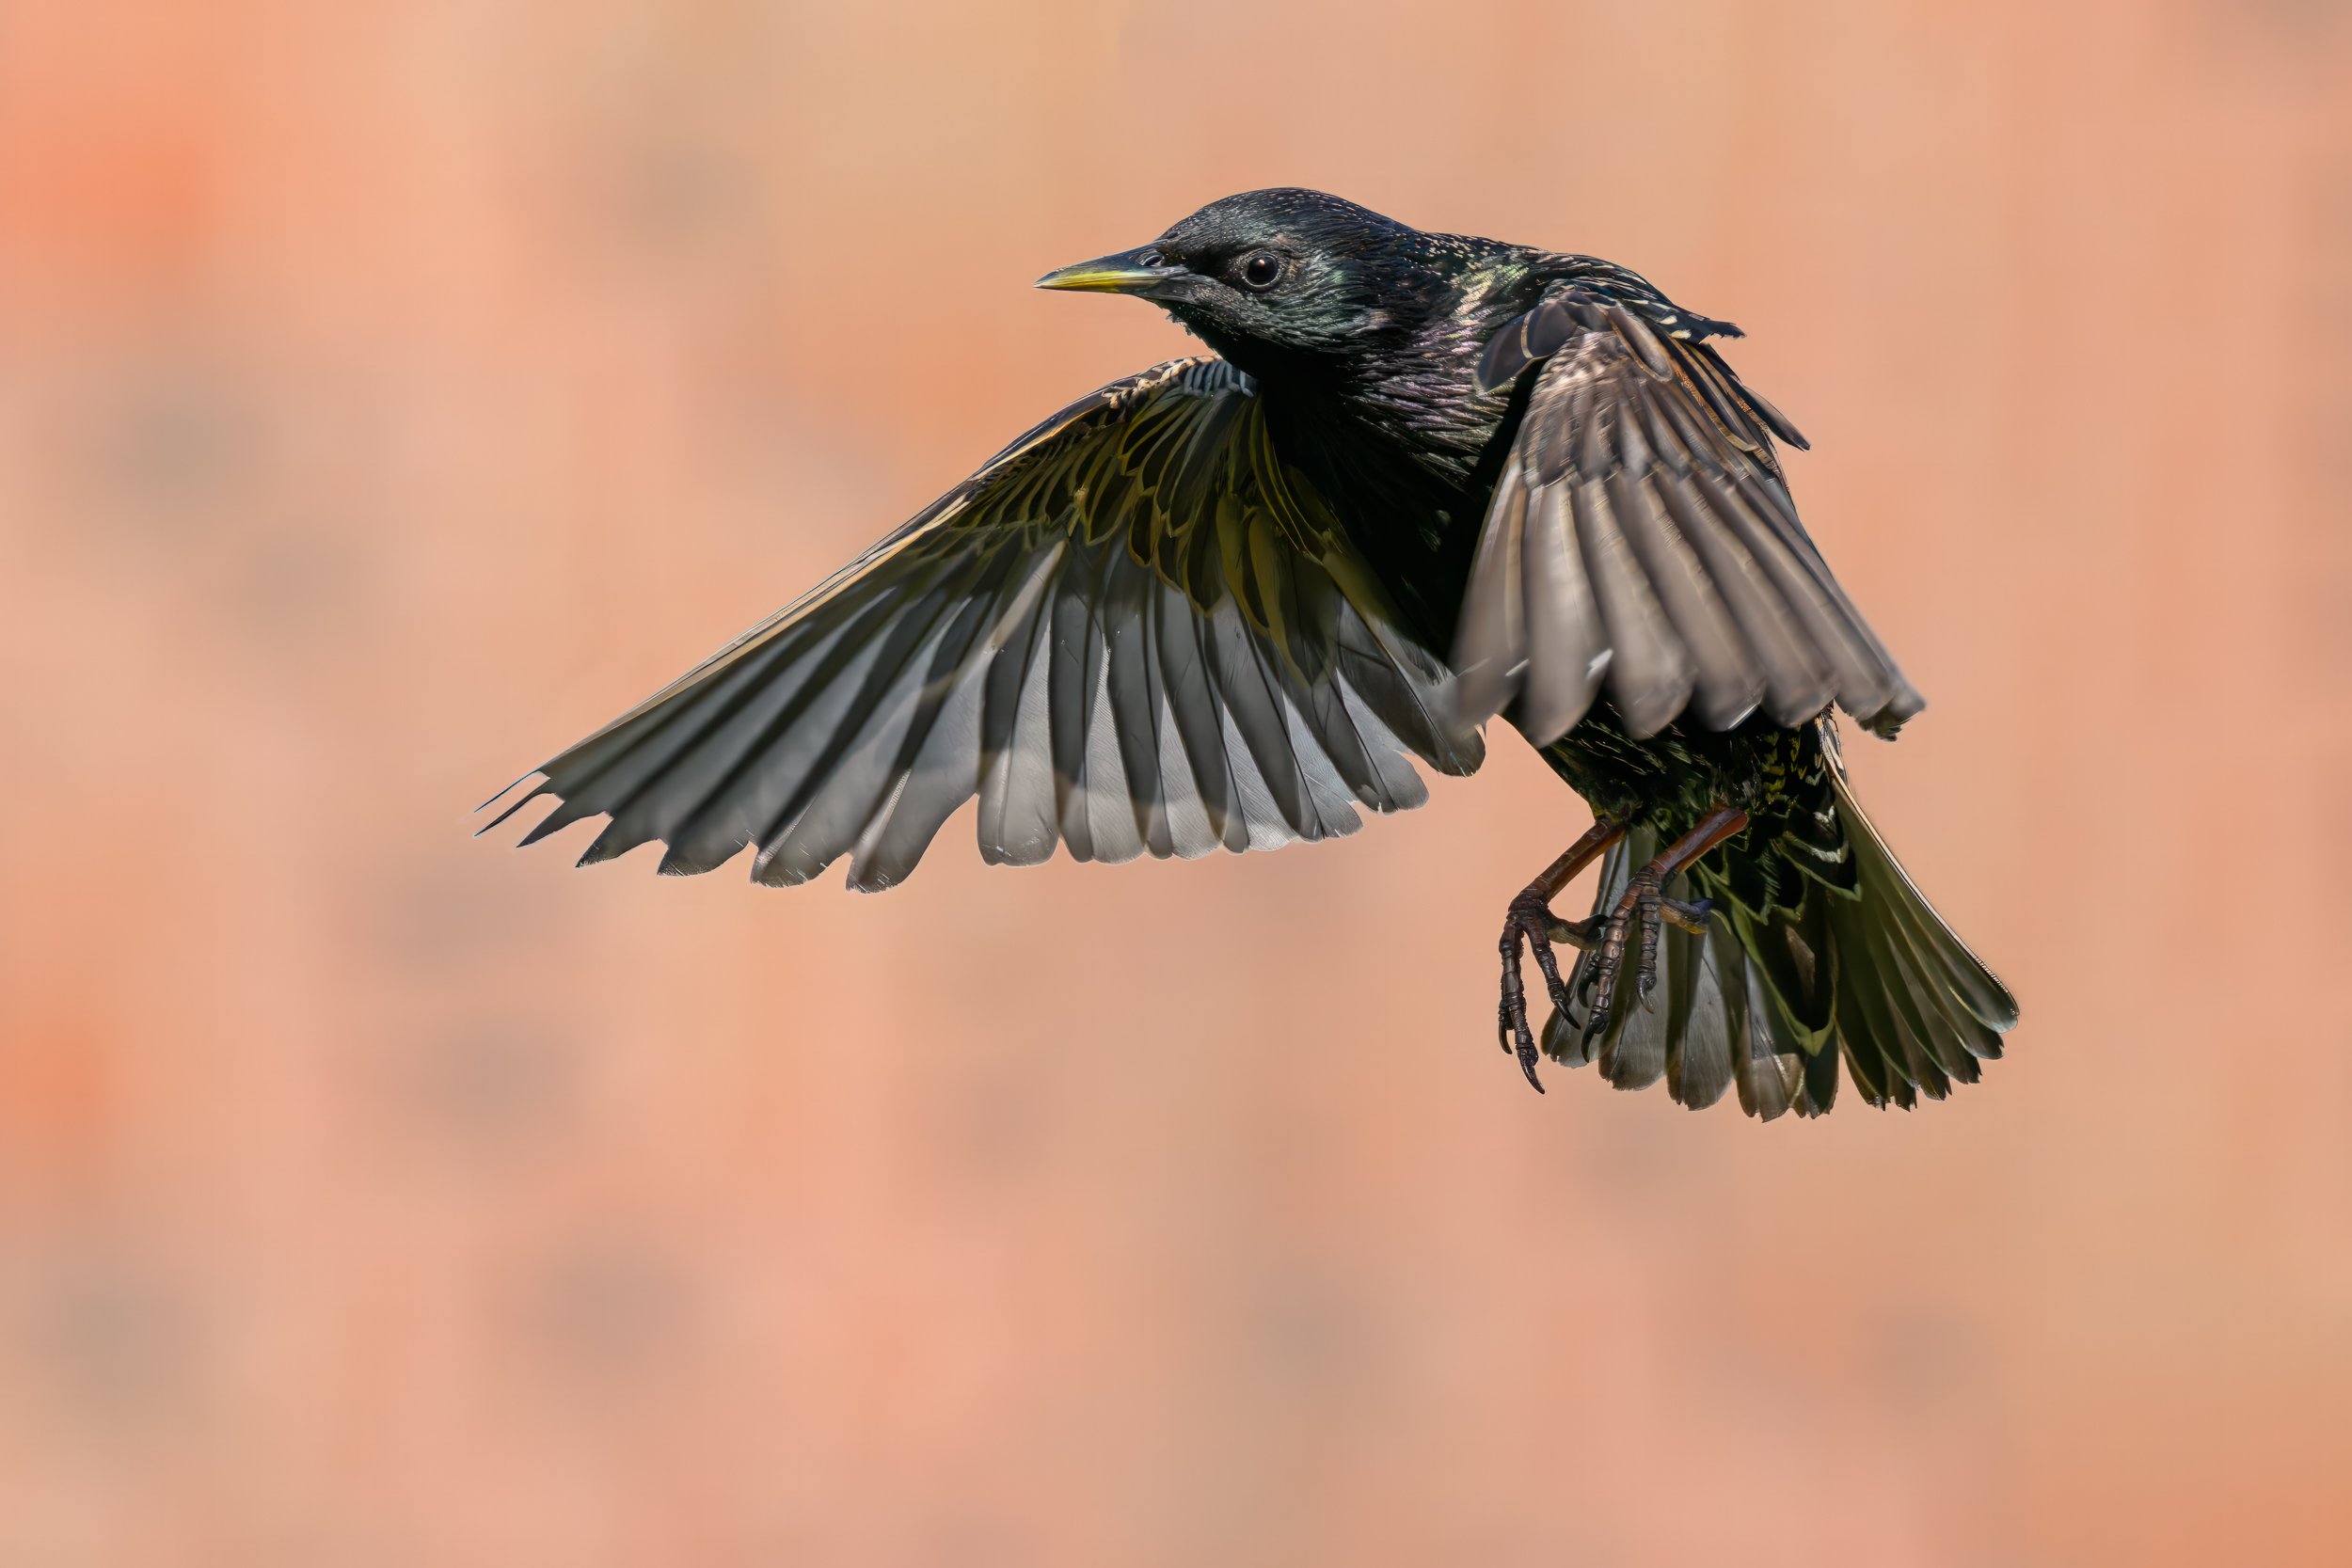
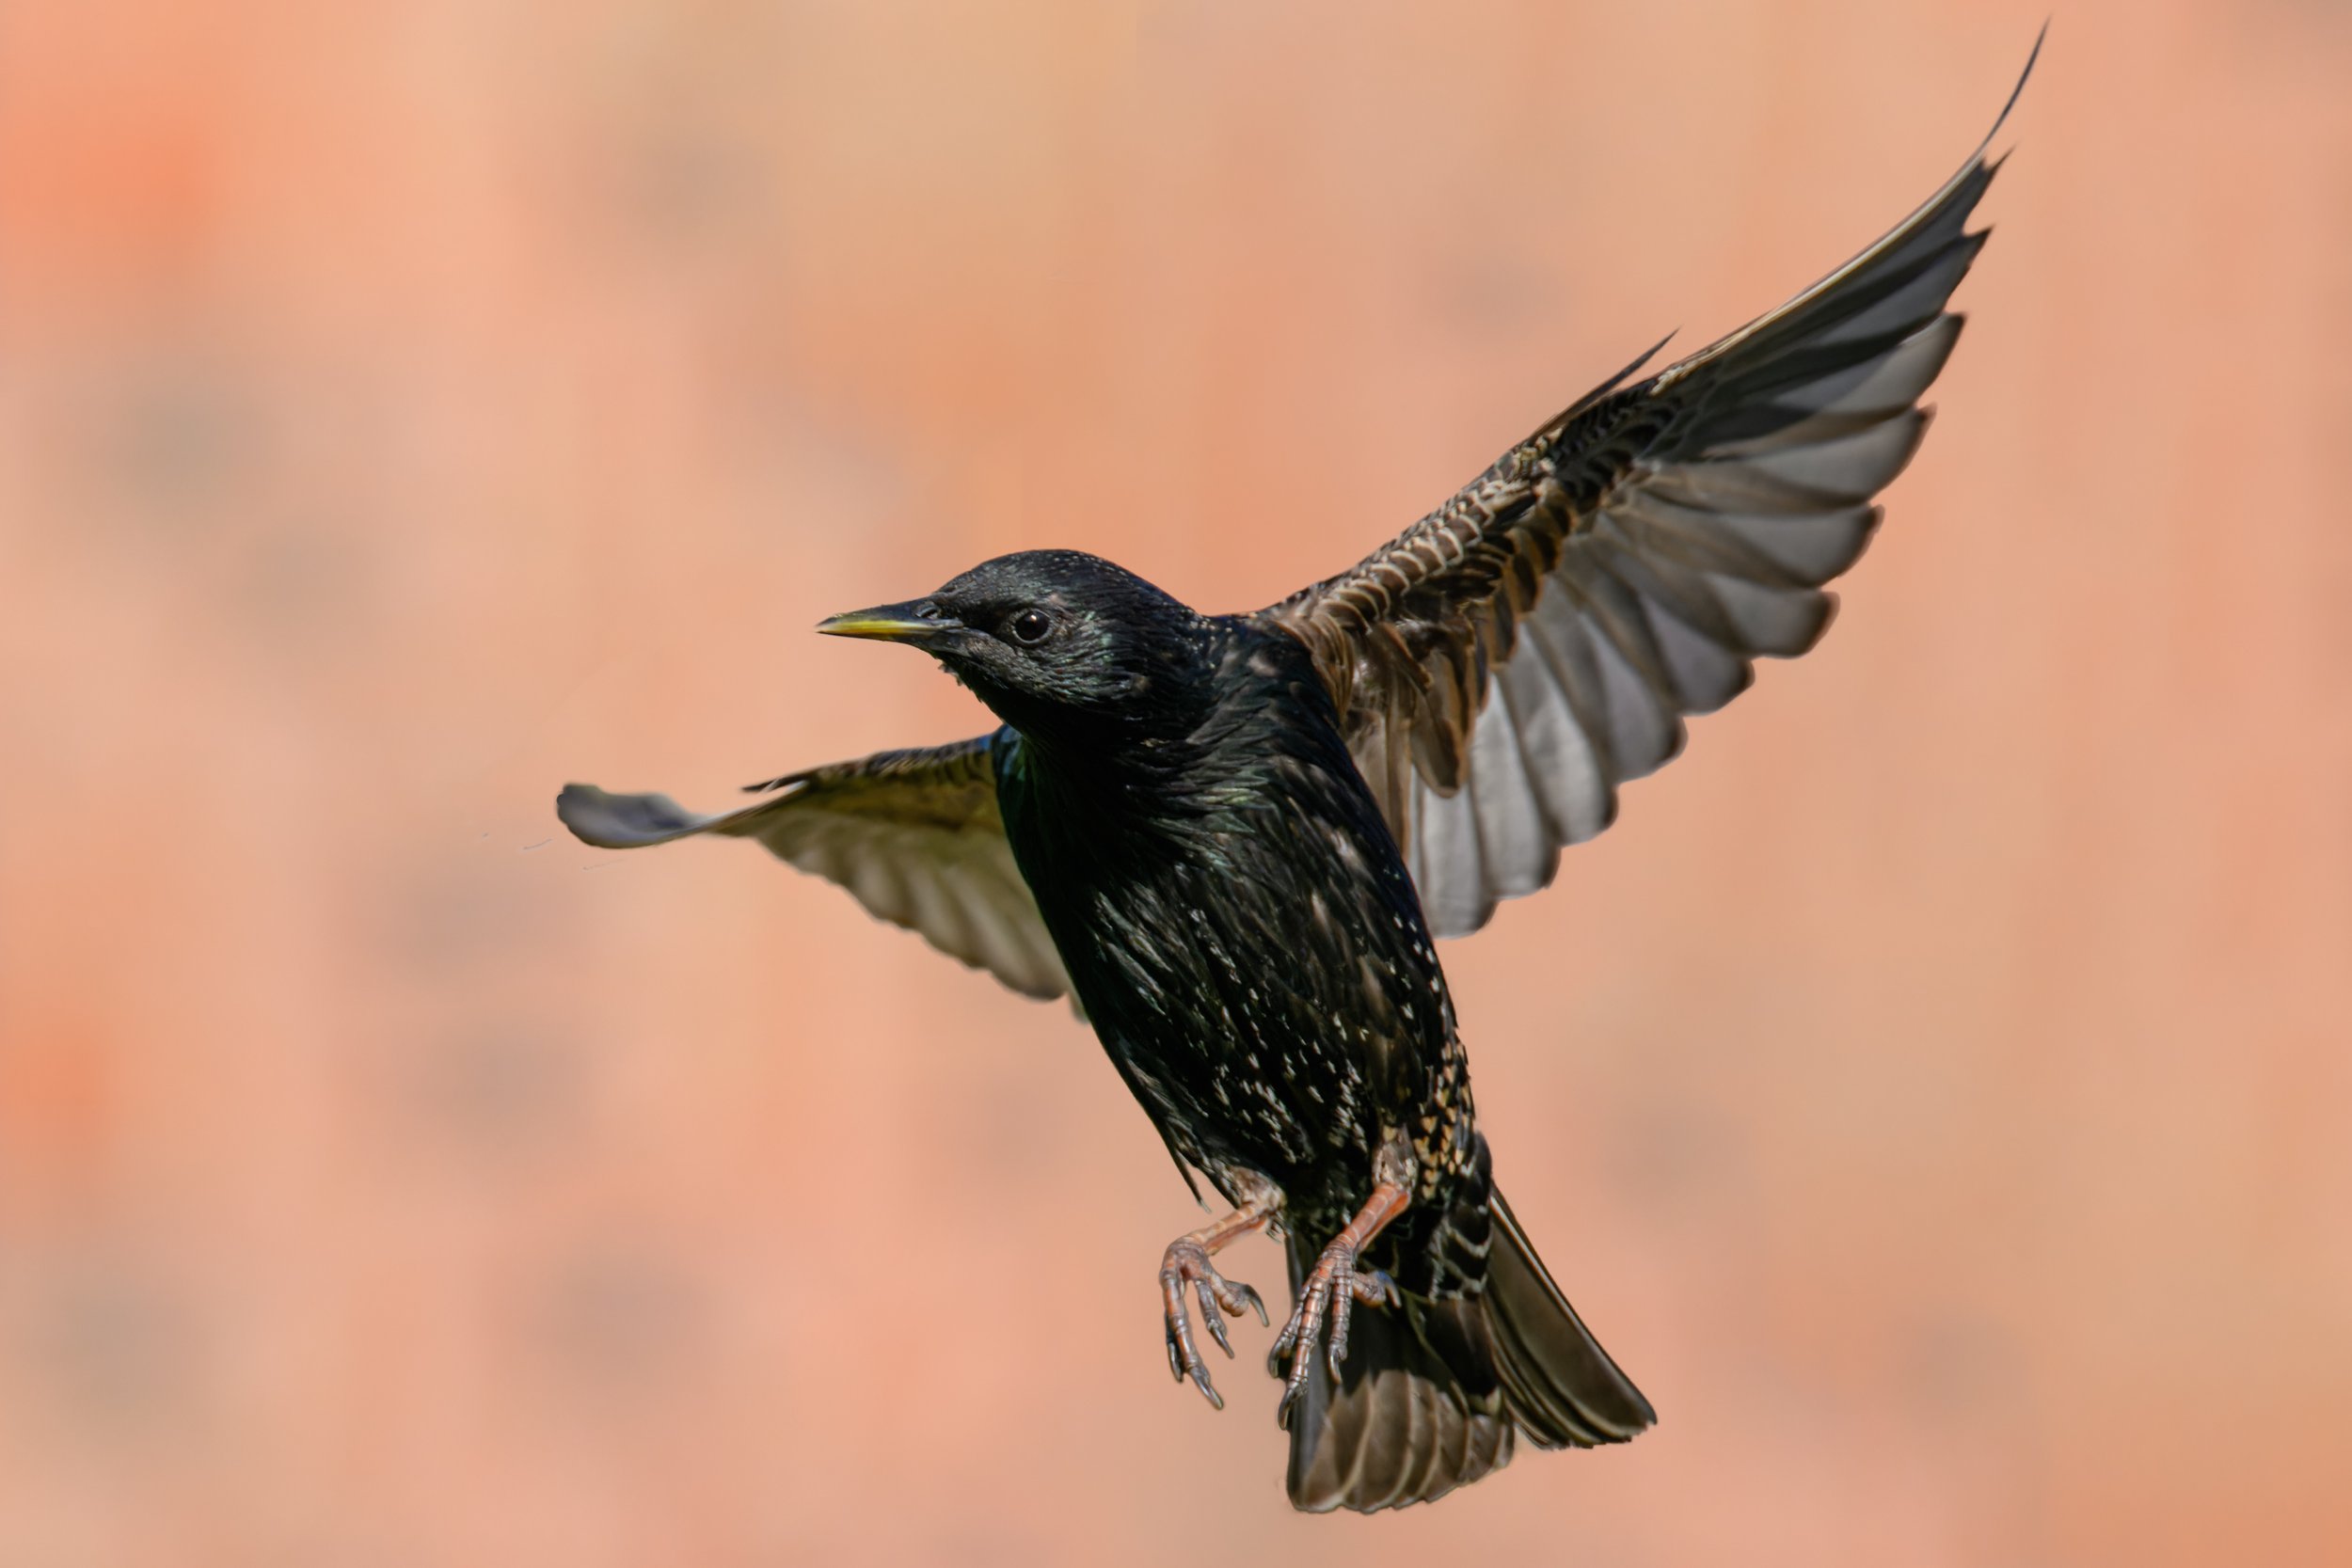
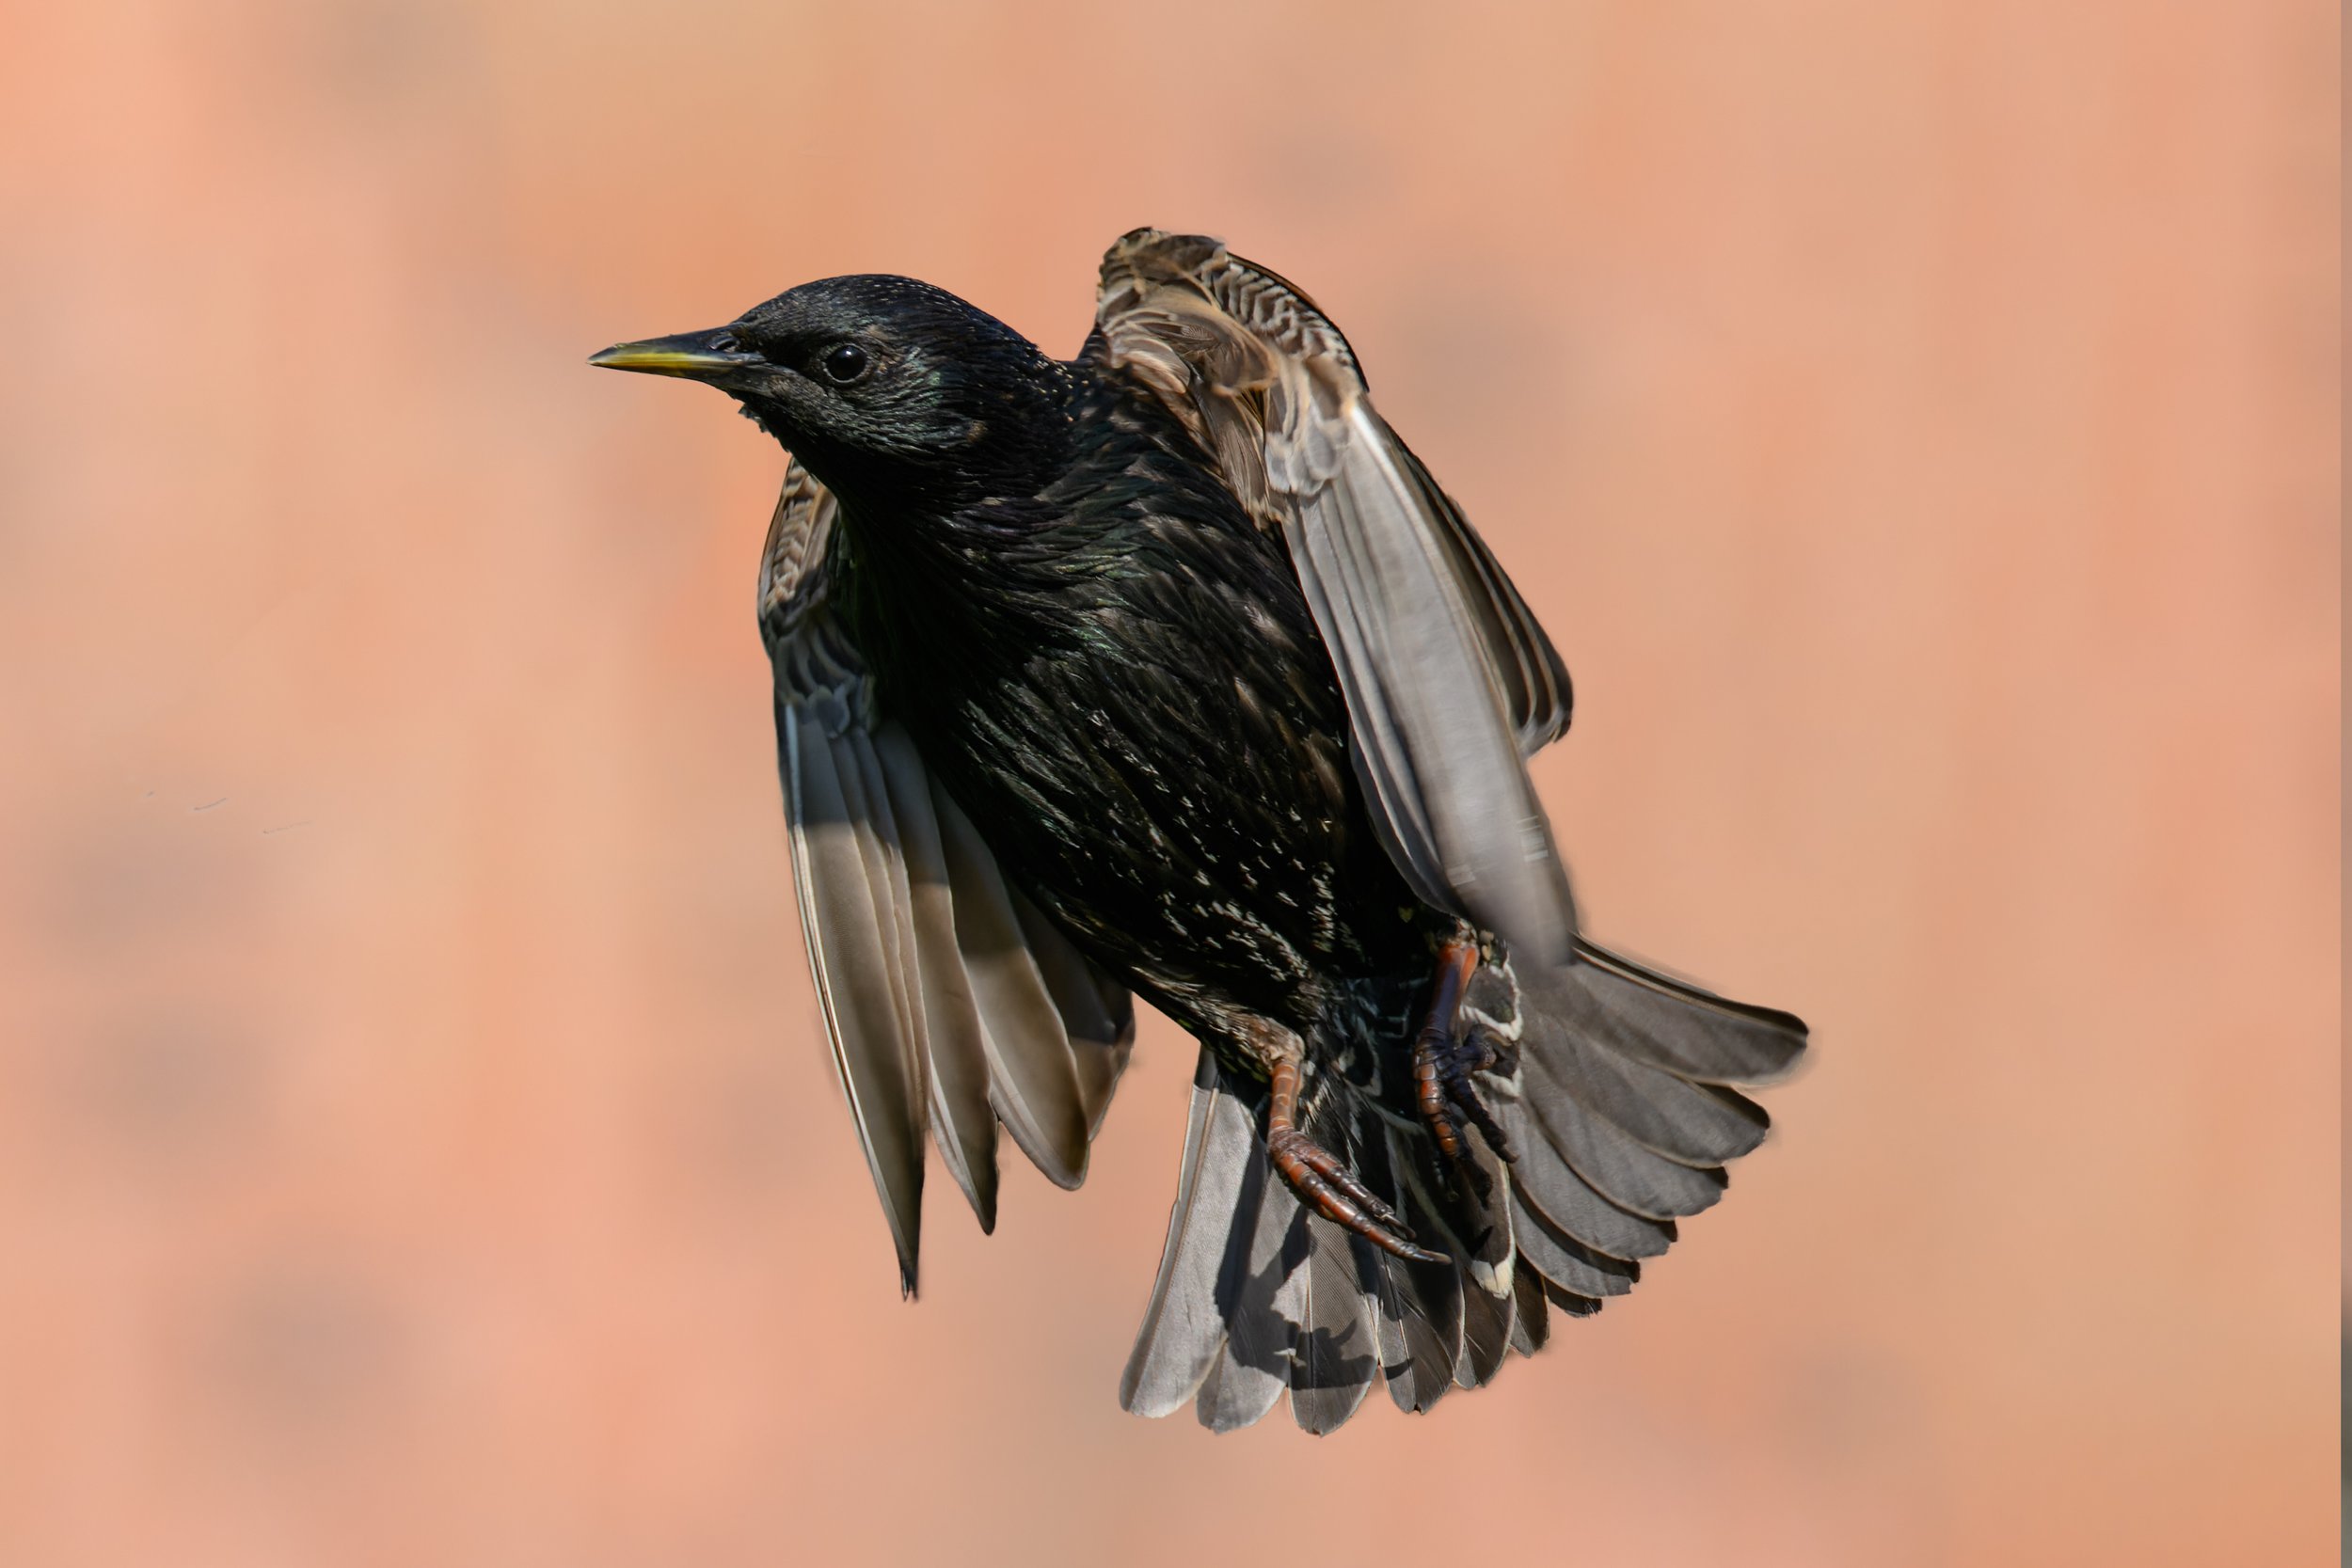
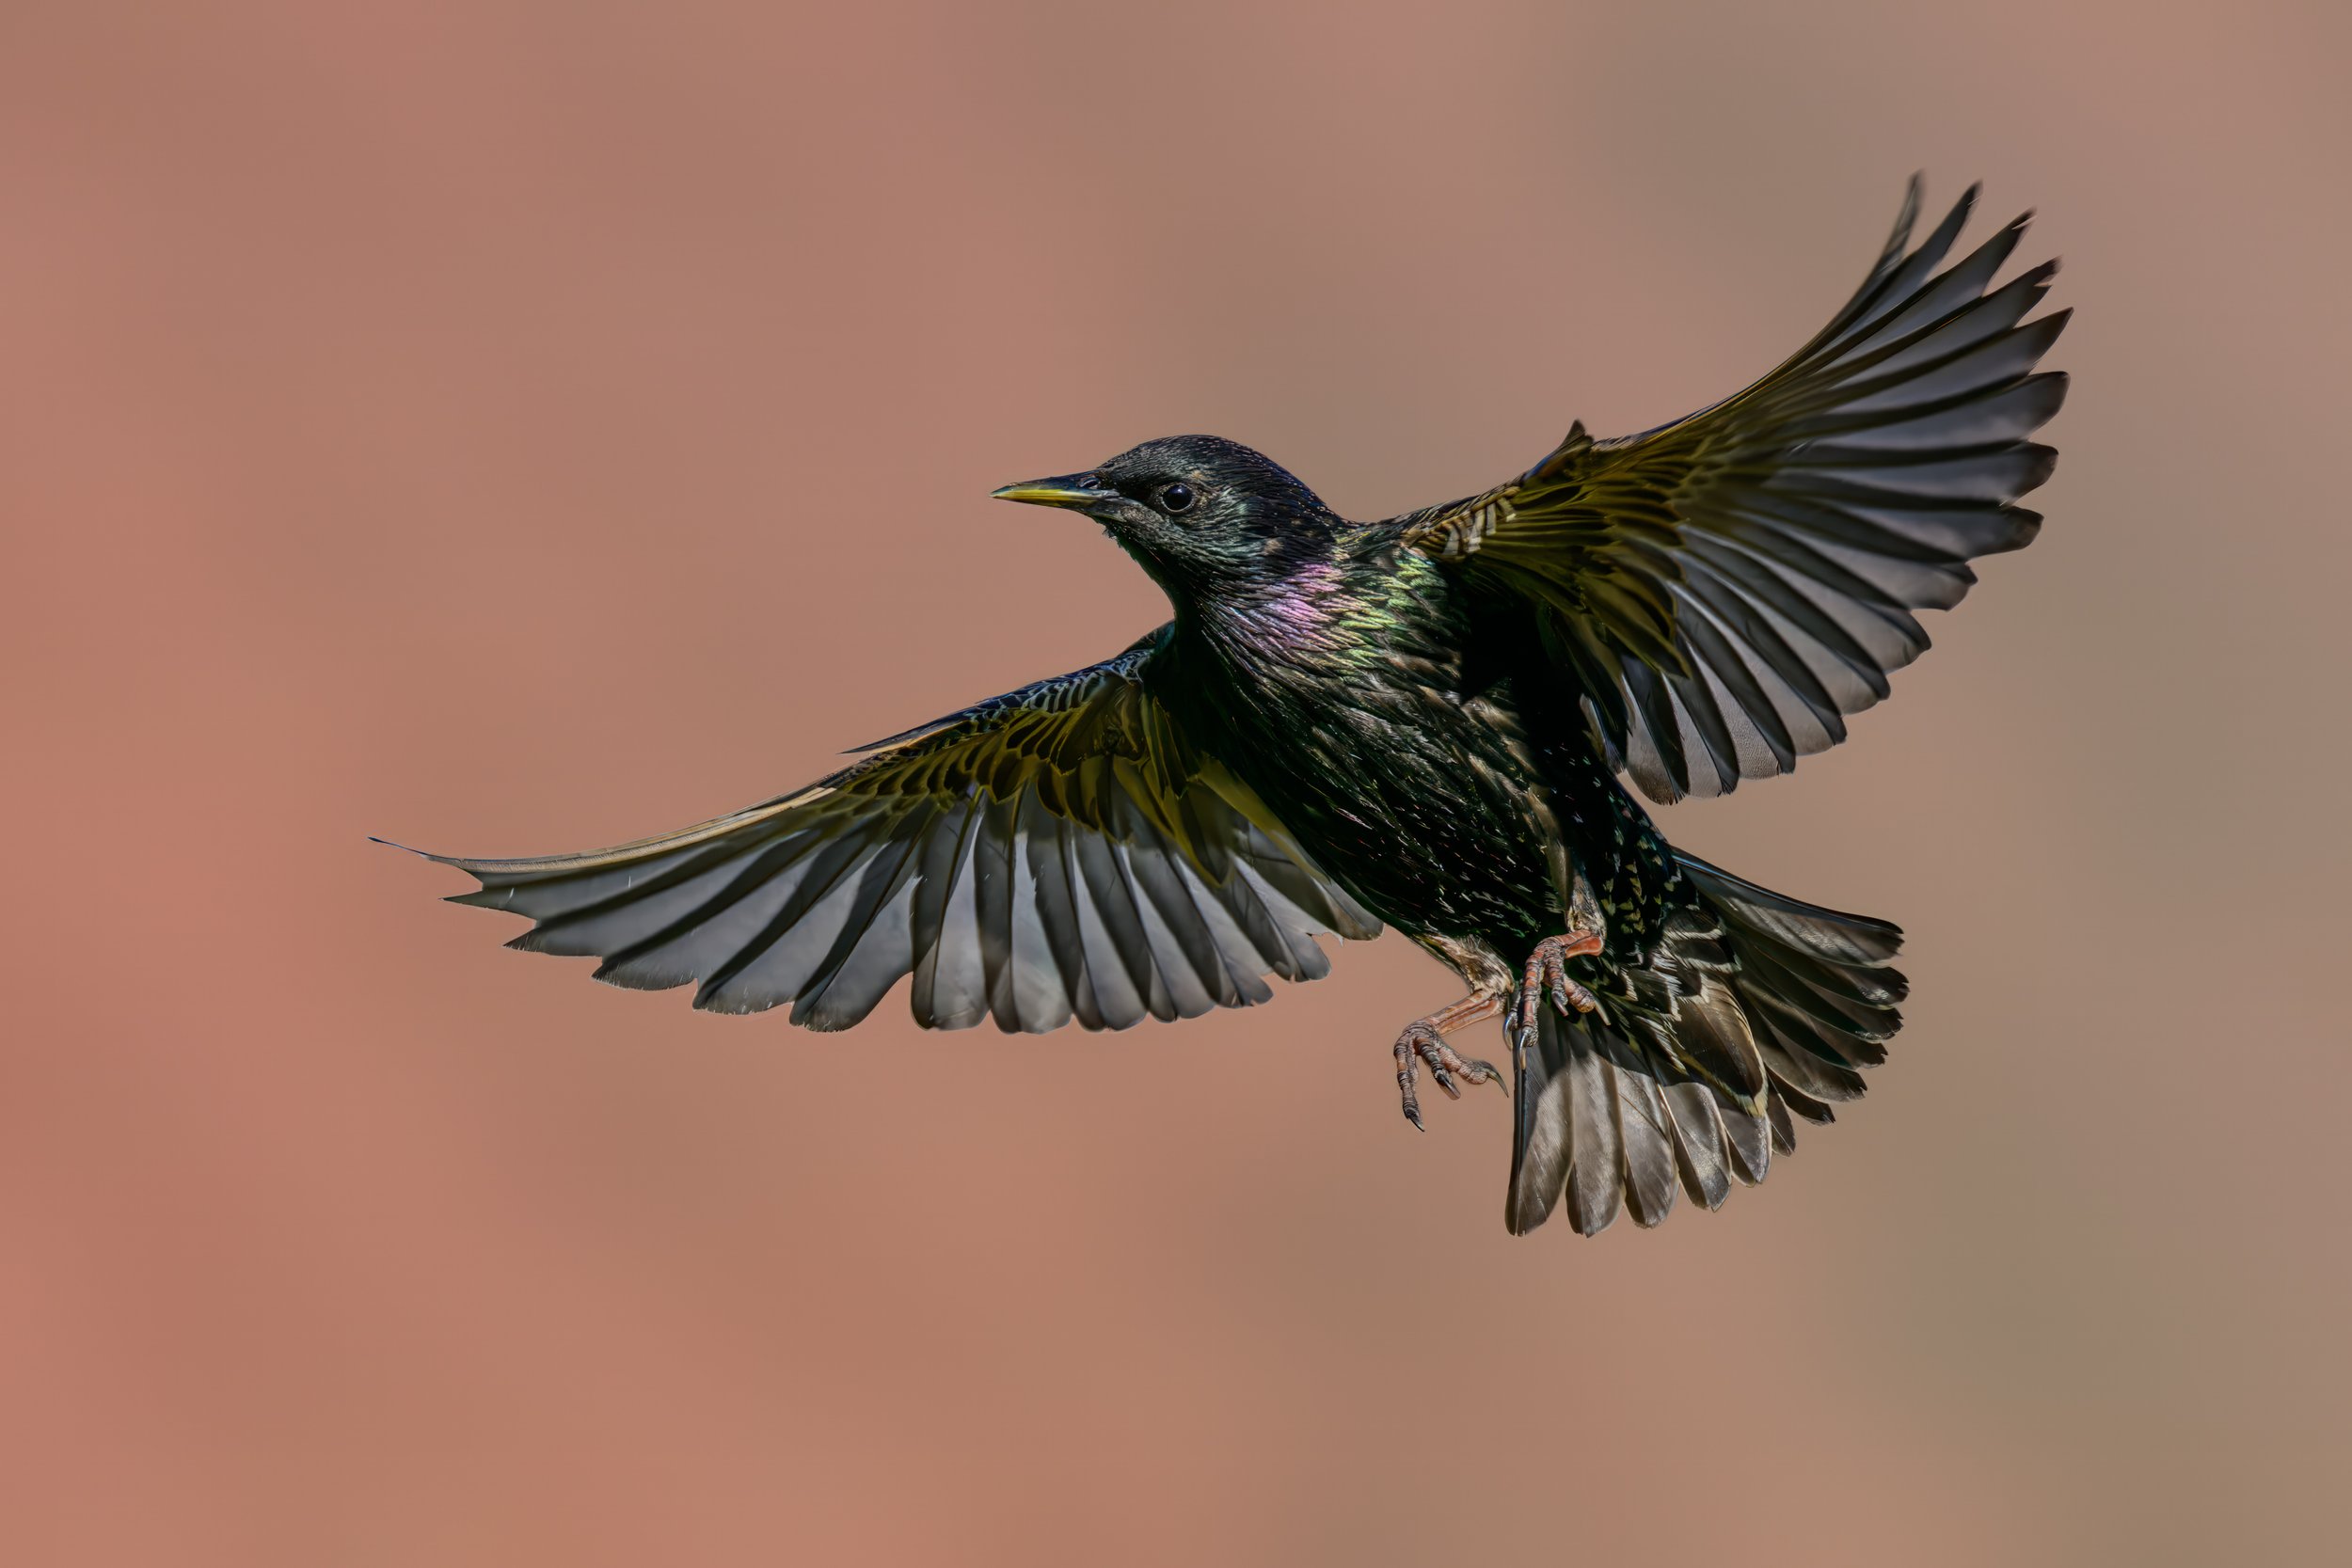
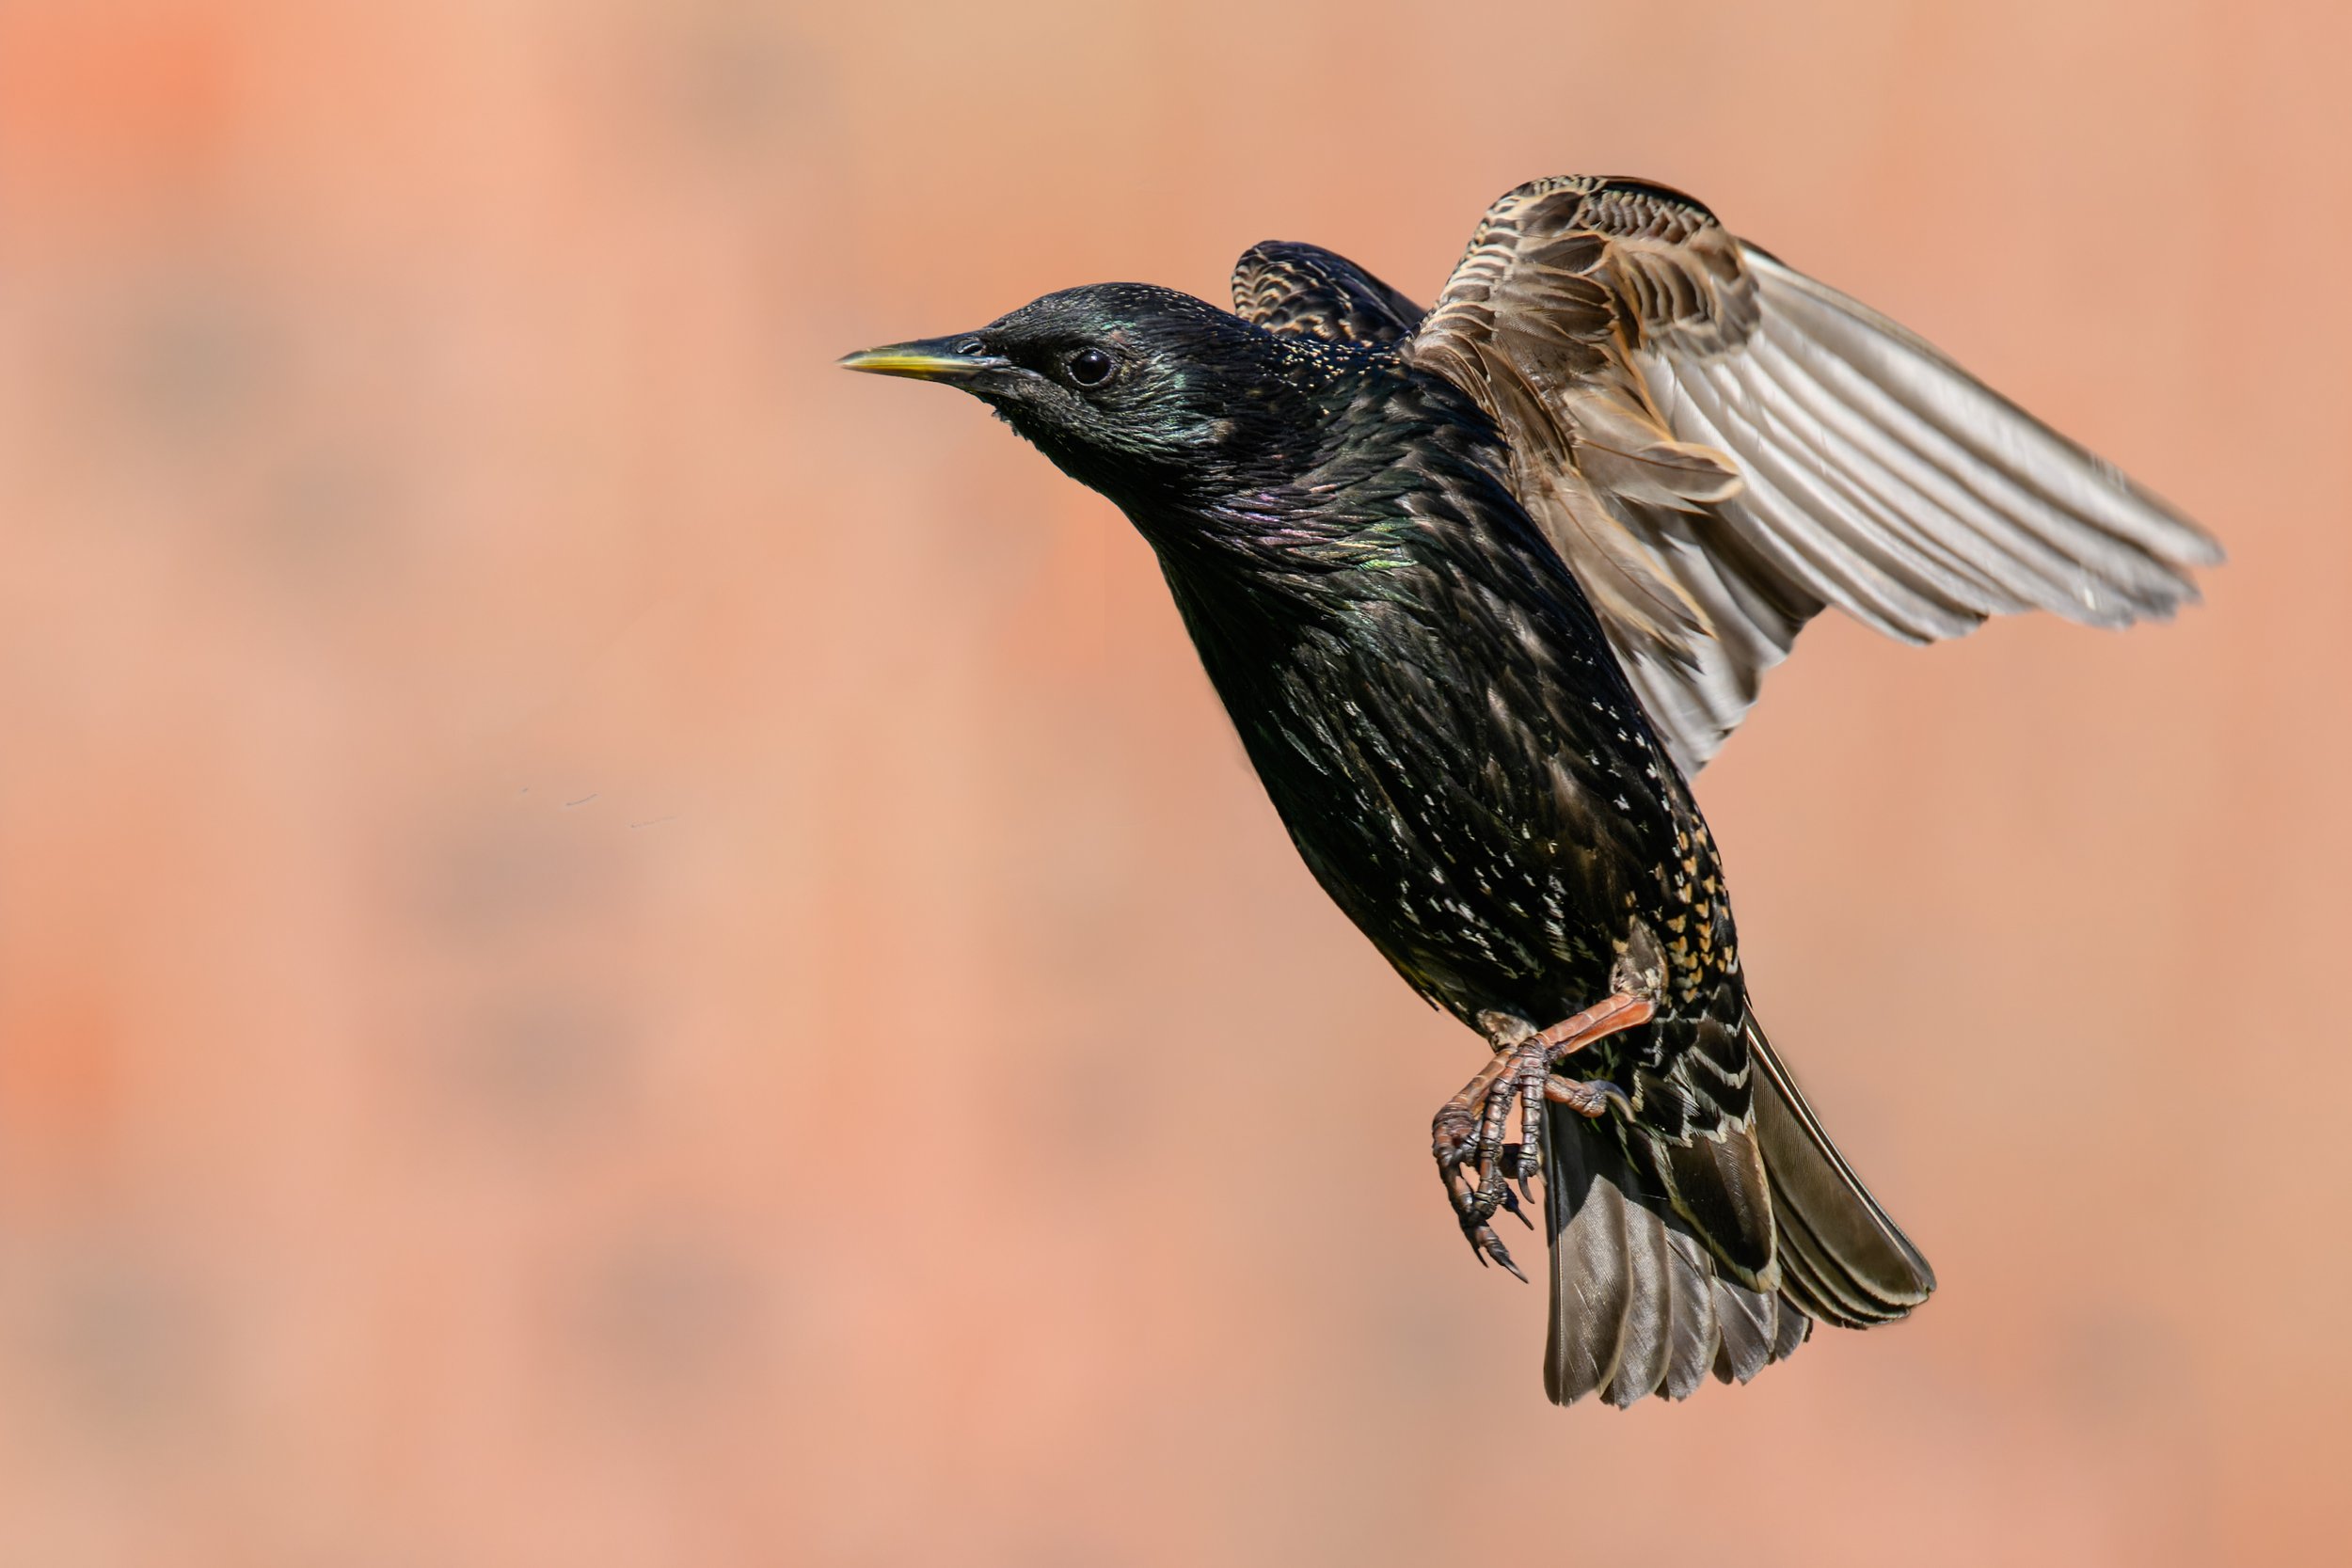
The following sequence of images of a starling (Sturnus vulgaris) in my garden were taken using Auto capture.
Auto capture Settings: Motion, Detect & Distance. Motion: size 1, speed 3. Detect: animals, size 3, Distance: Near 8m, Far 10m, Area: all, Rec Time 0ff, Wait 0
Camera settings: Nikon Z9 with Nikkor Z 100-400 f/4.5-5.6 VR S lens set to 400mm, 1/2000s at f/8, ISO 560. 20fps RAW
To show that the feature works with subjects other than birds I set up the camera to view a Snapdragon flower that was being frequented by bees. In this case only Motion and animal detection were selected as the lens was focused closer than the distance setting allowed.
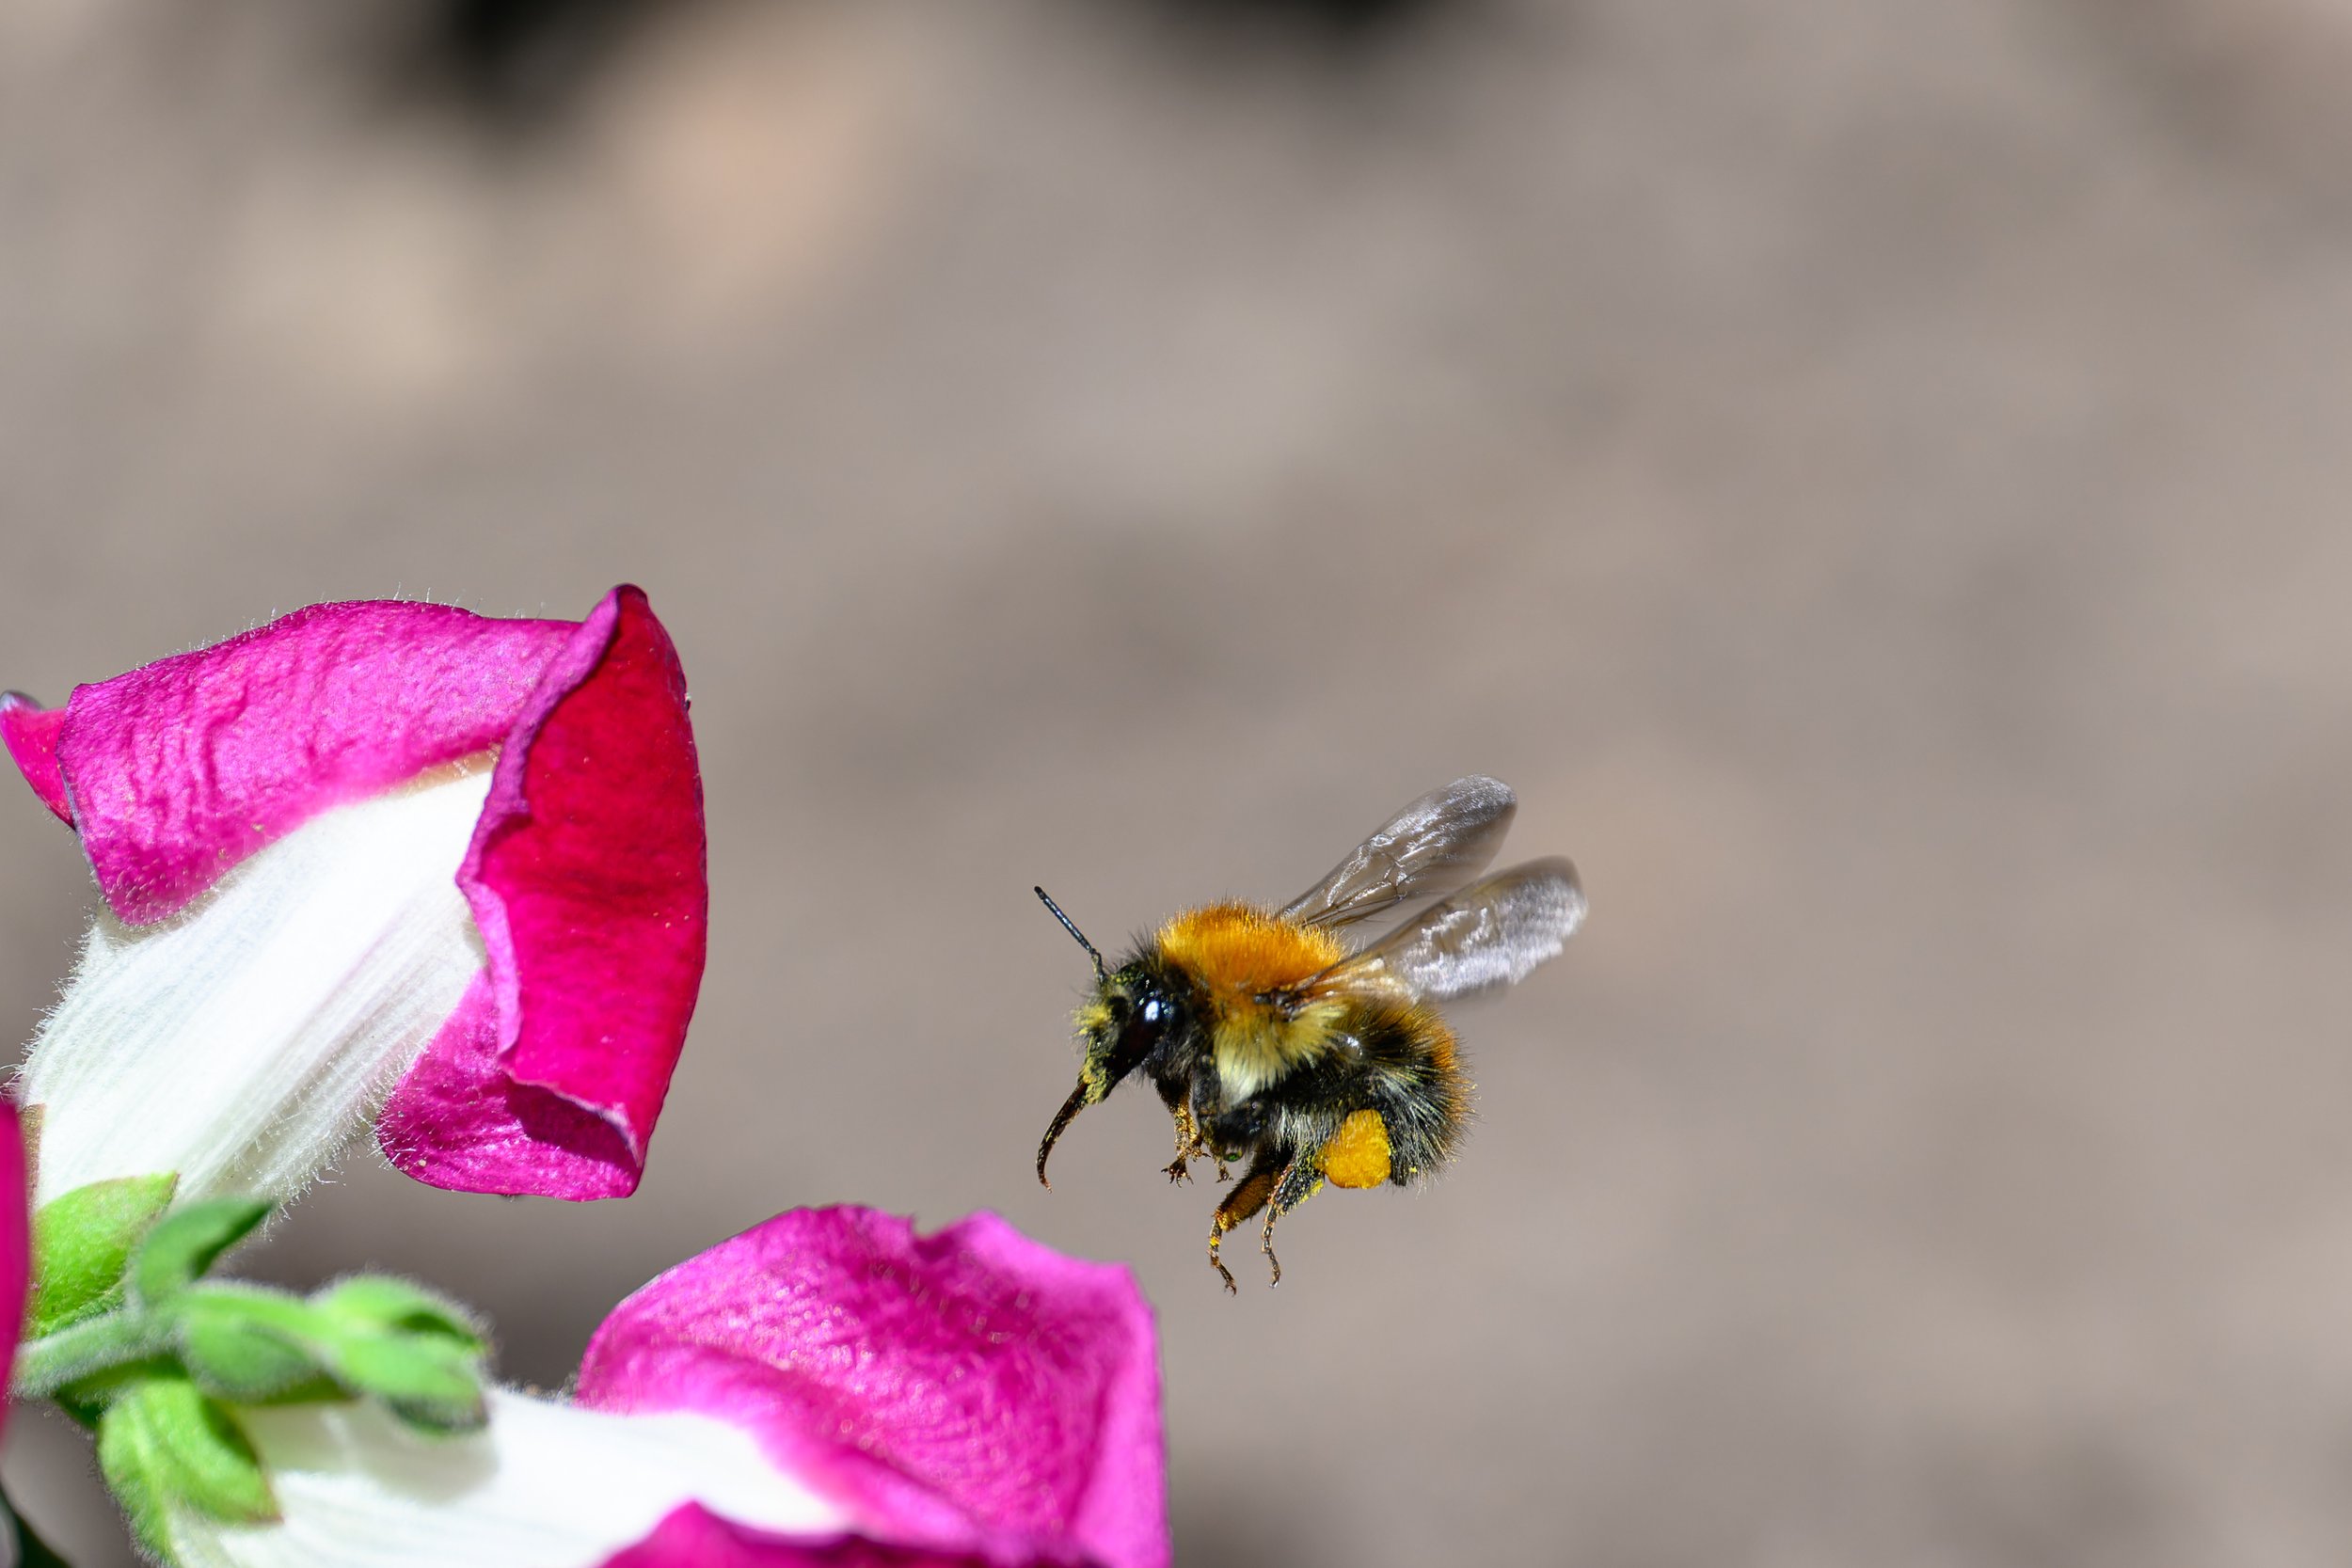
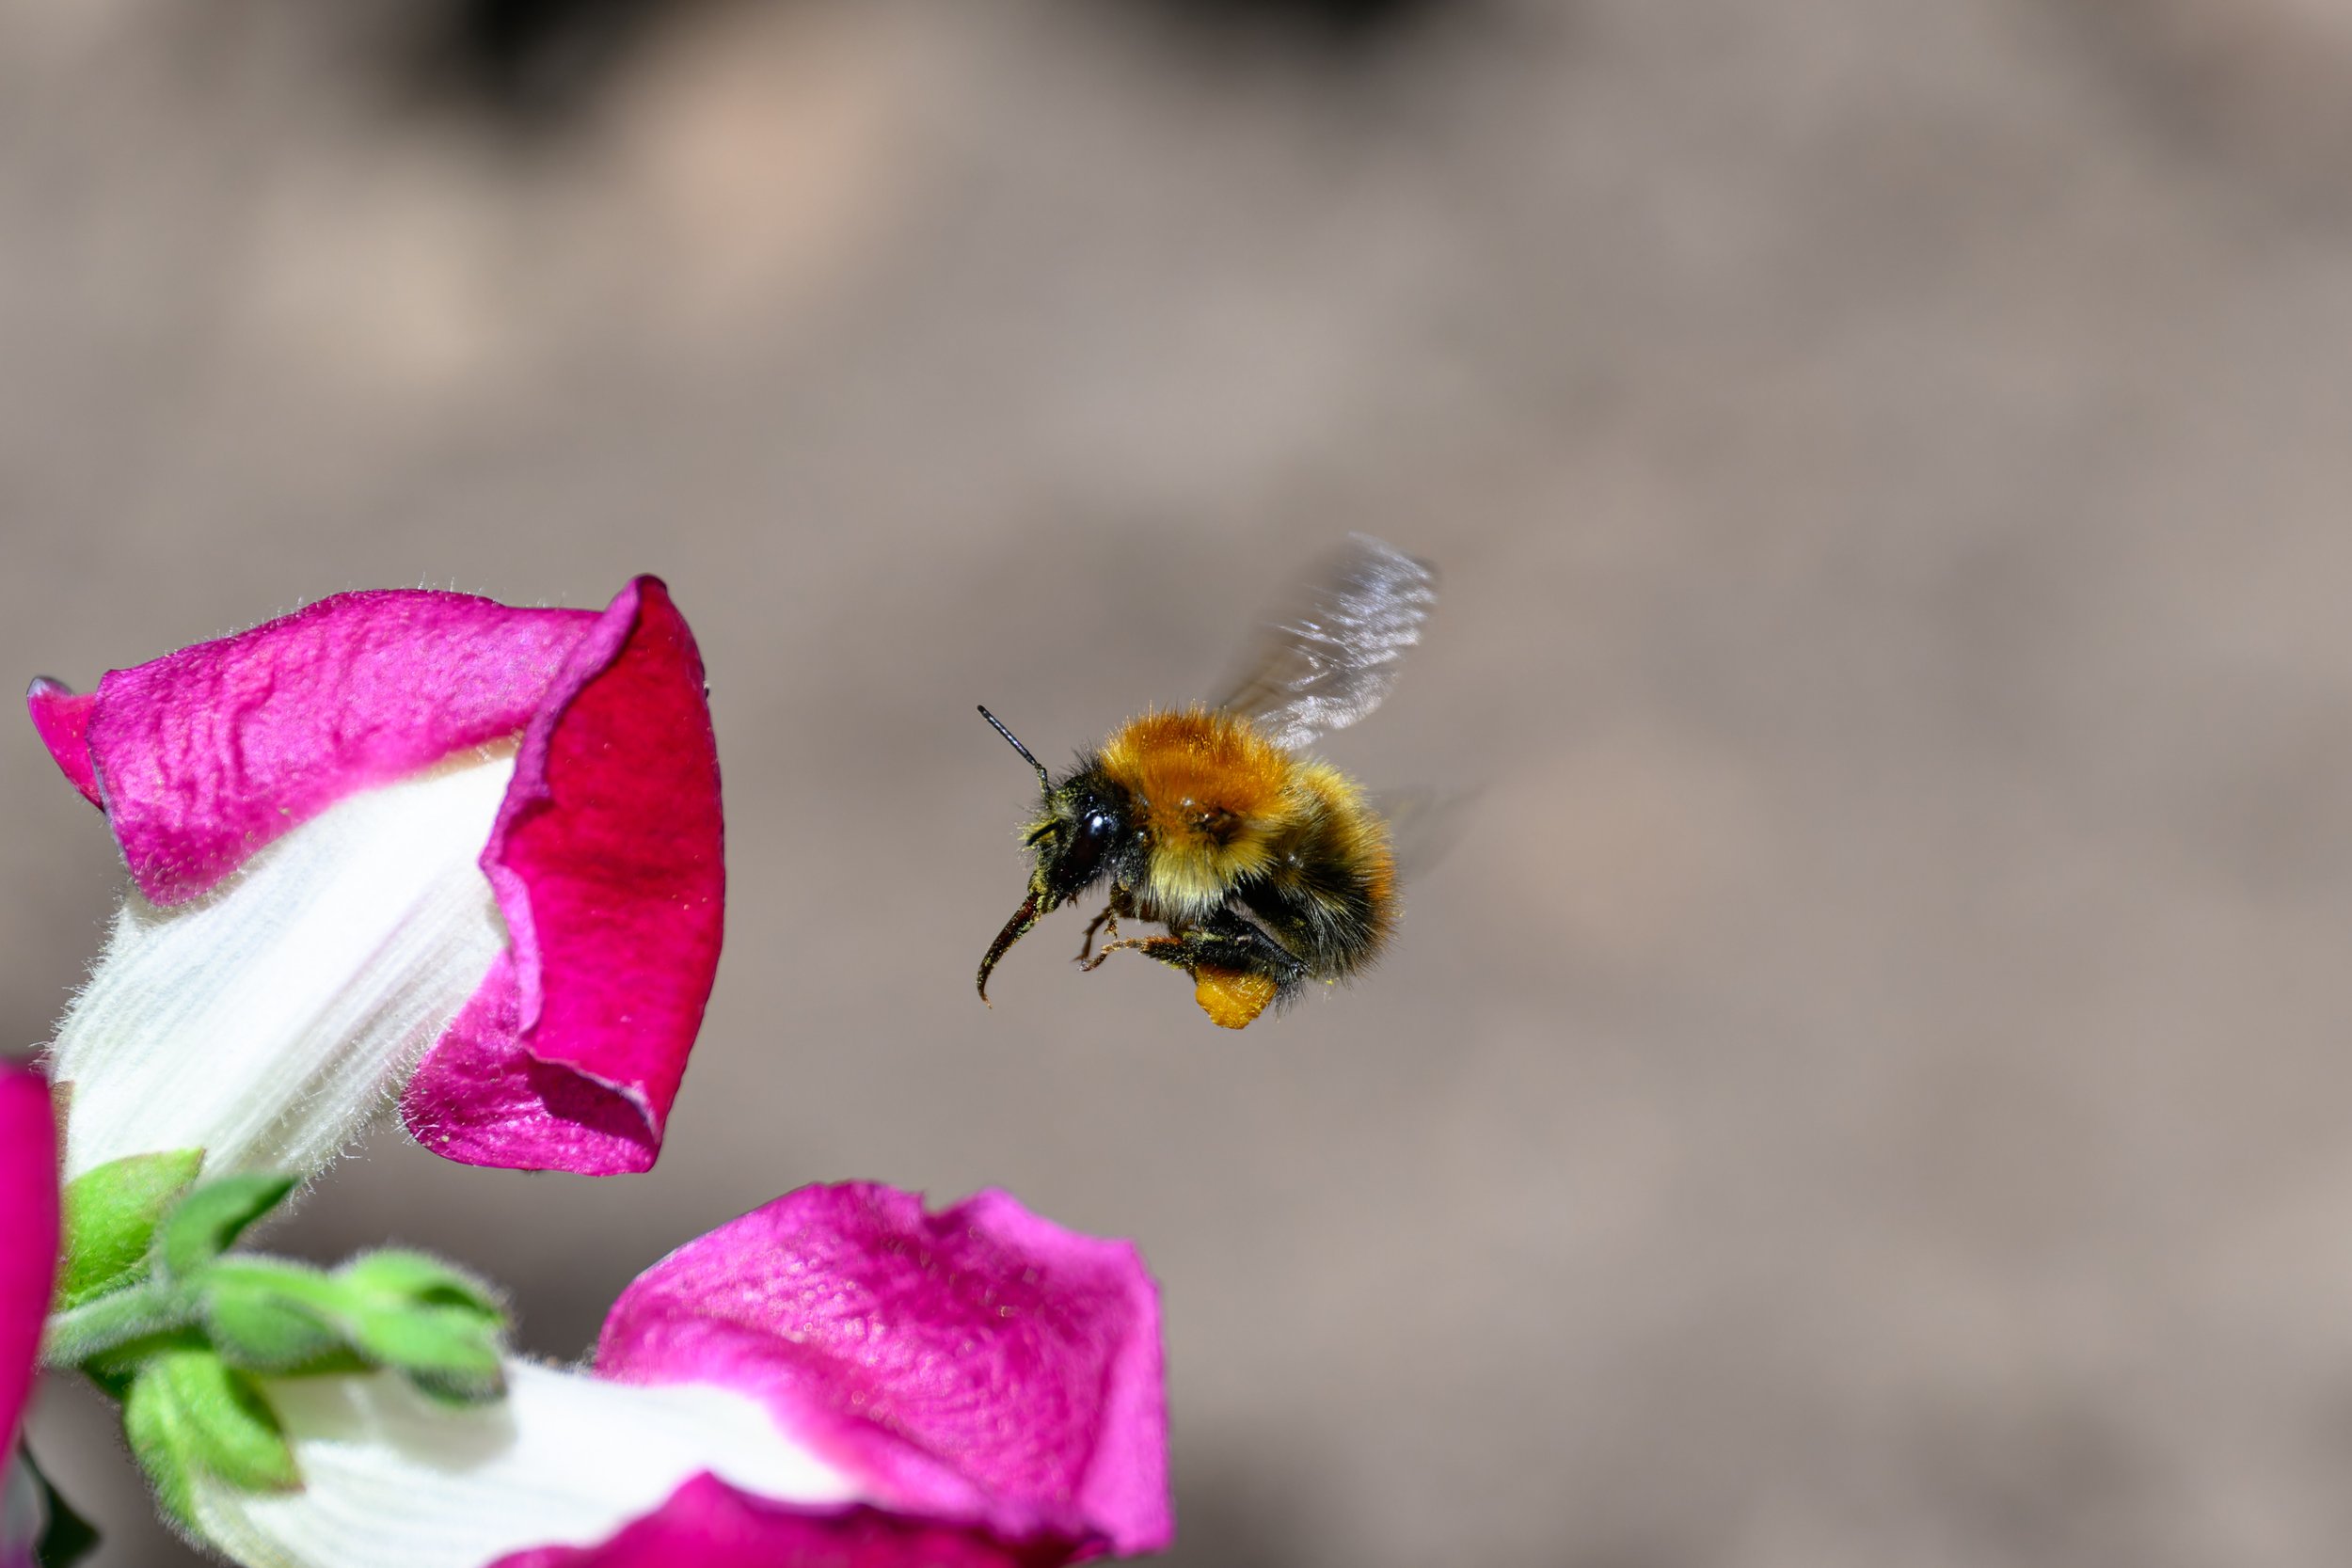
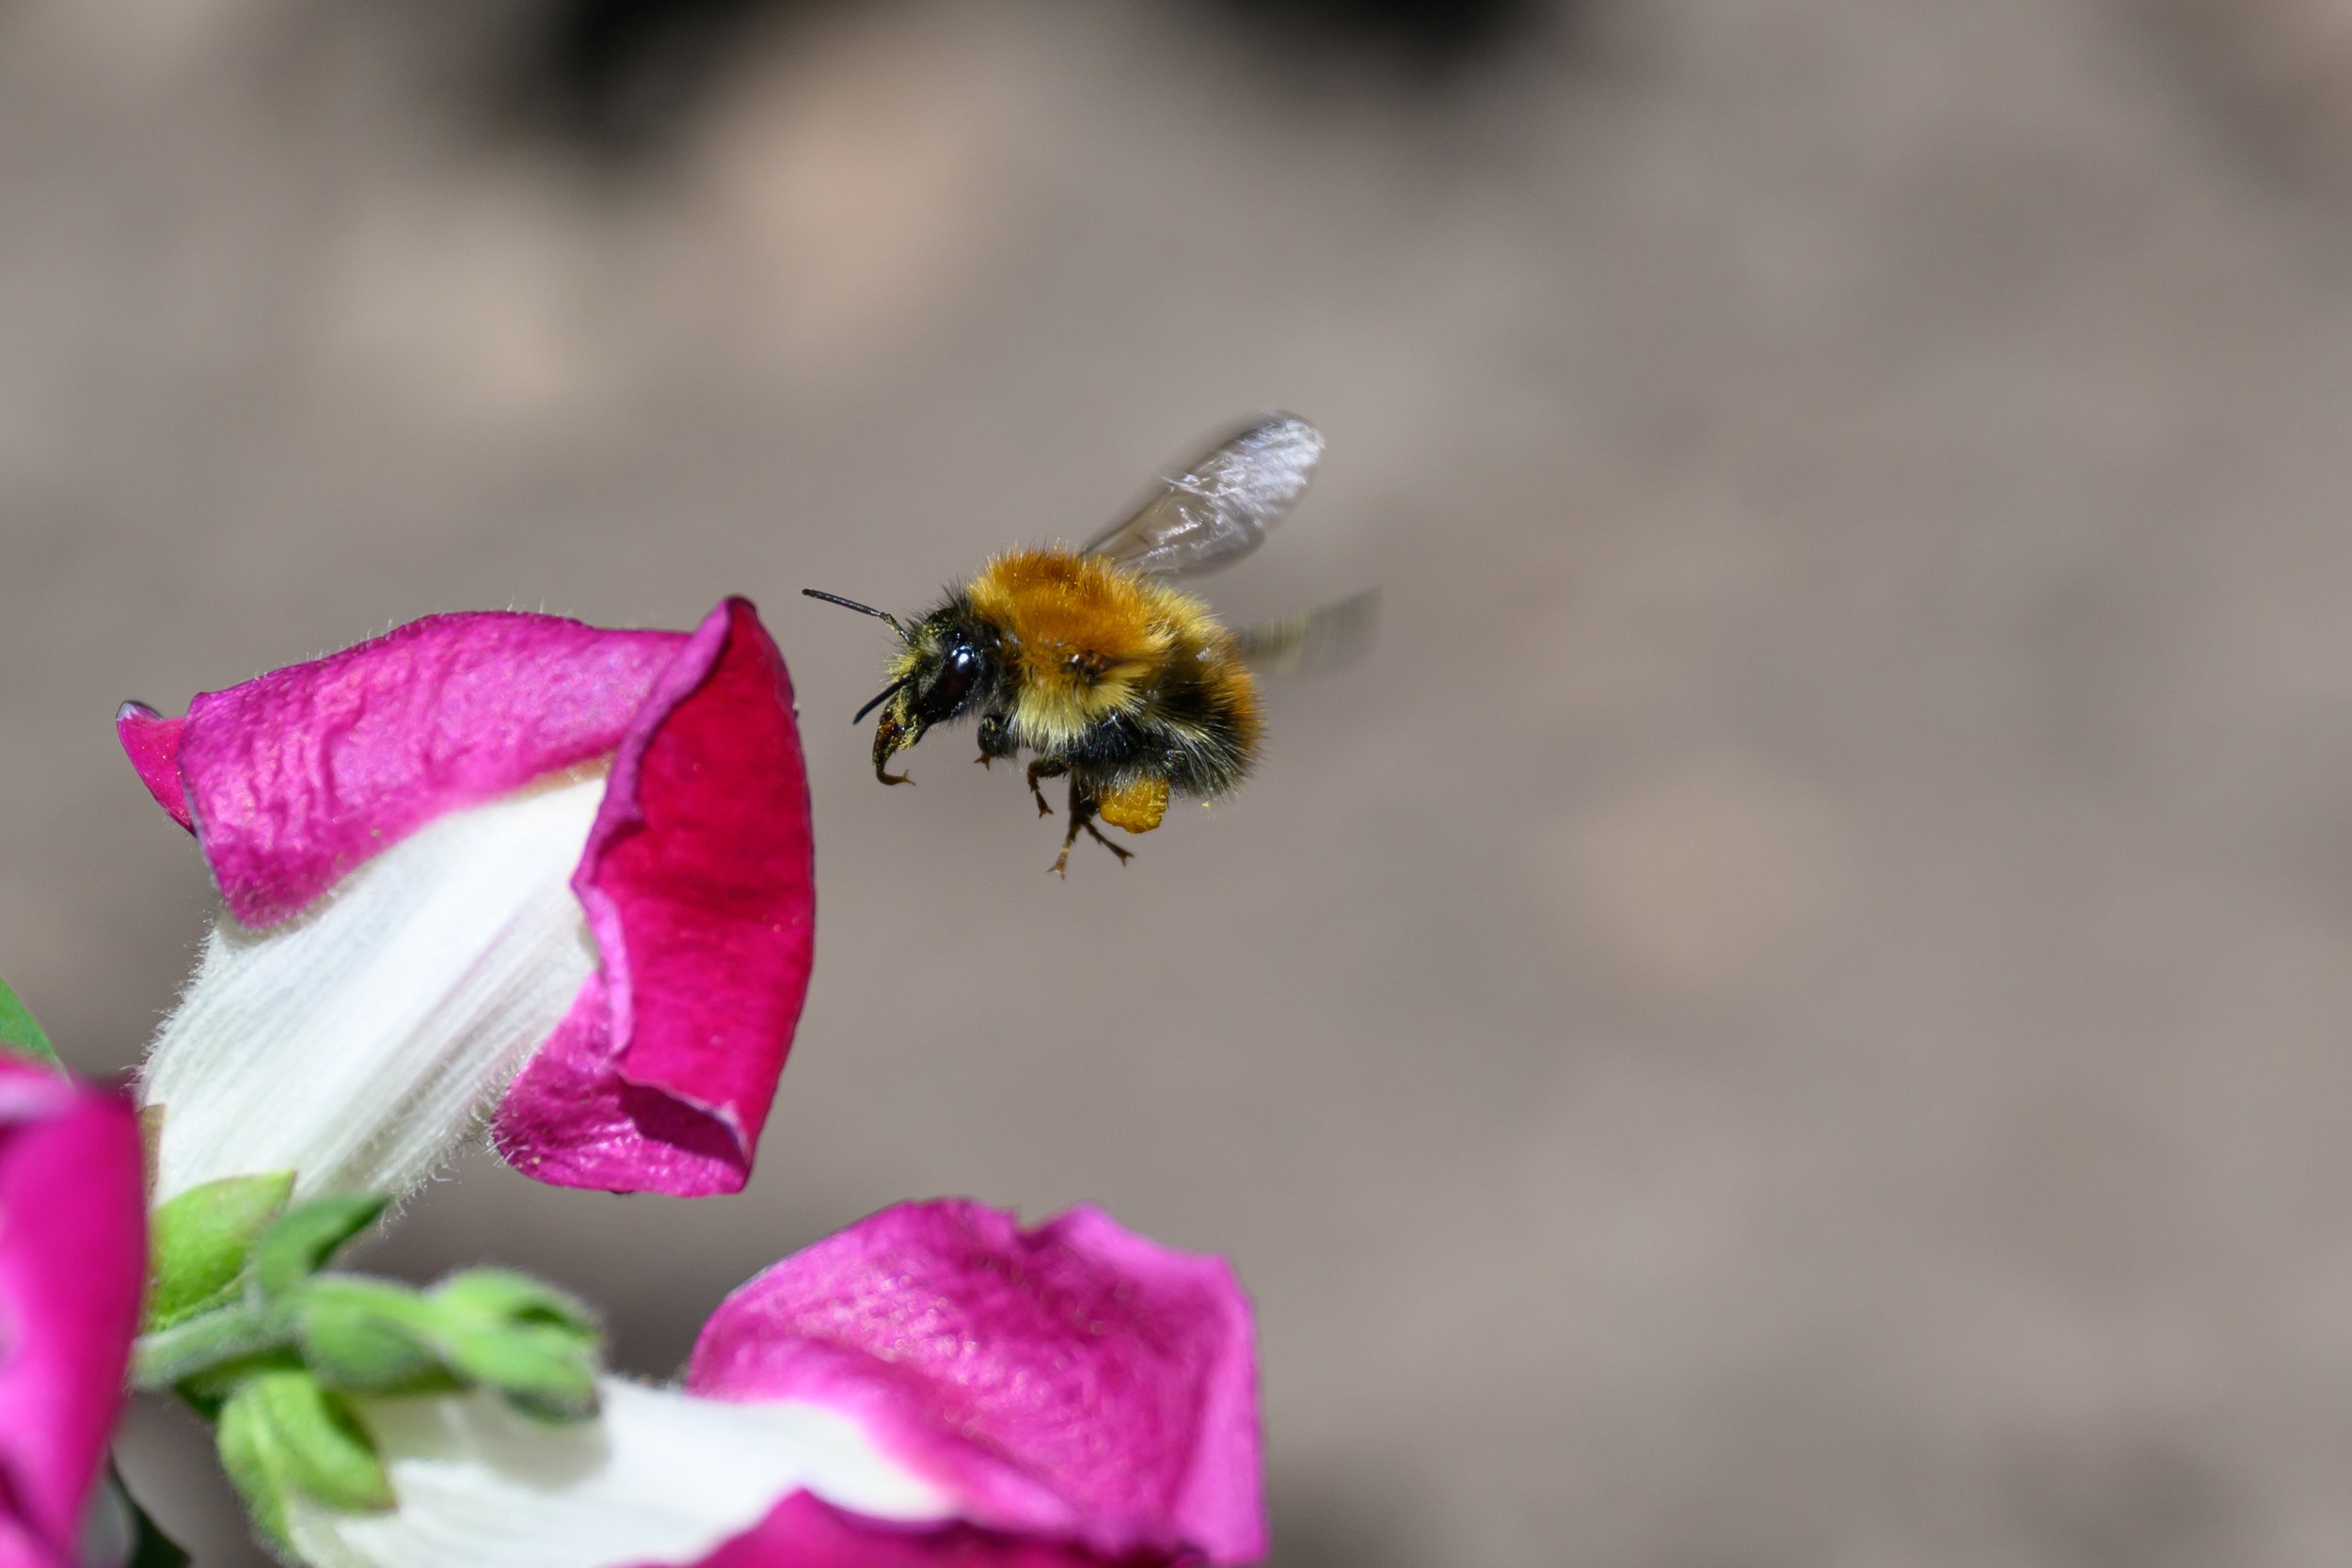
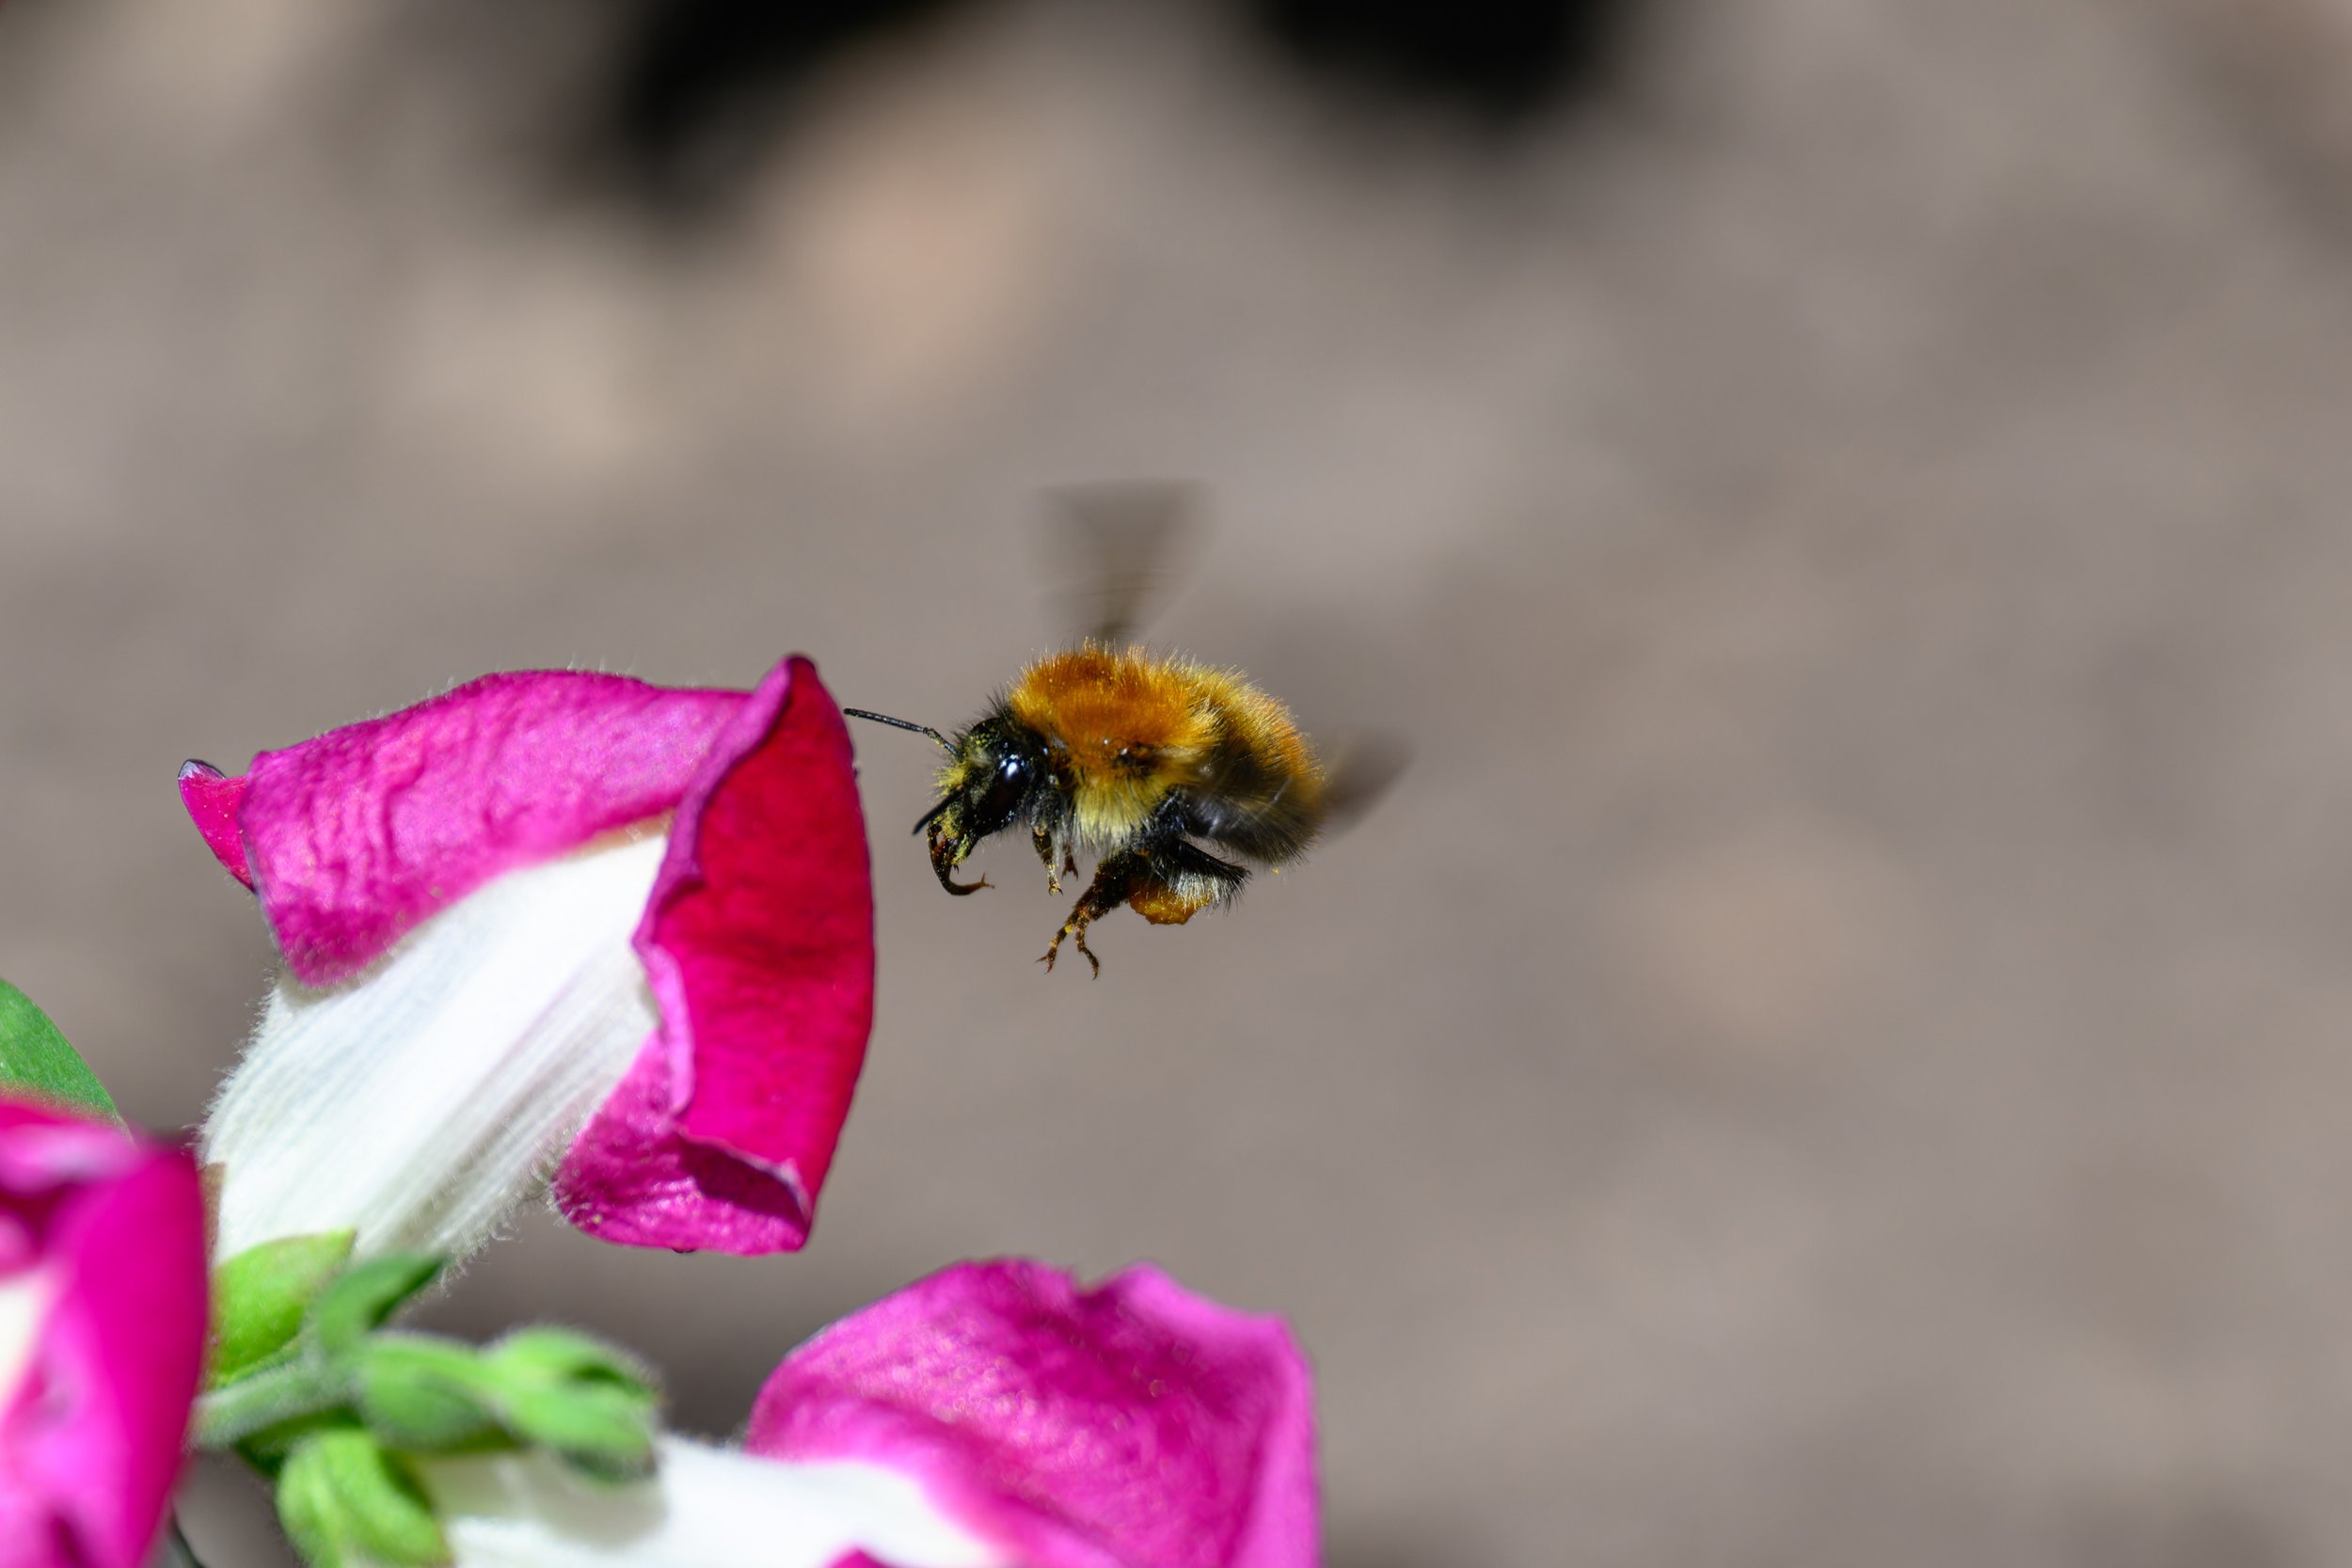
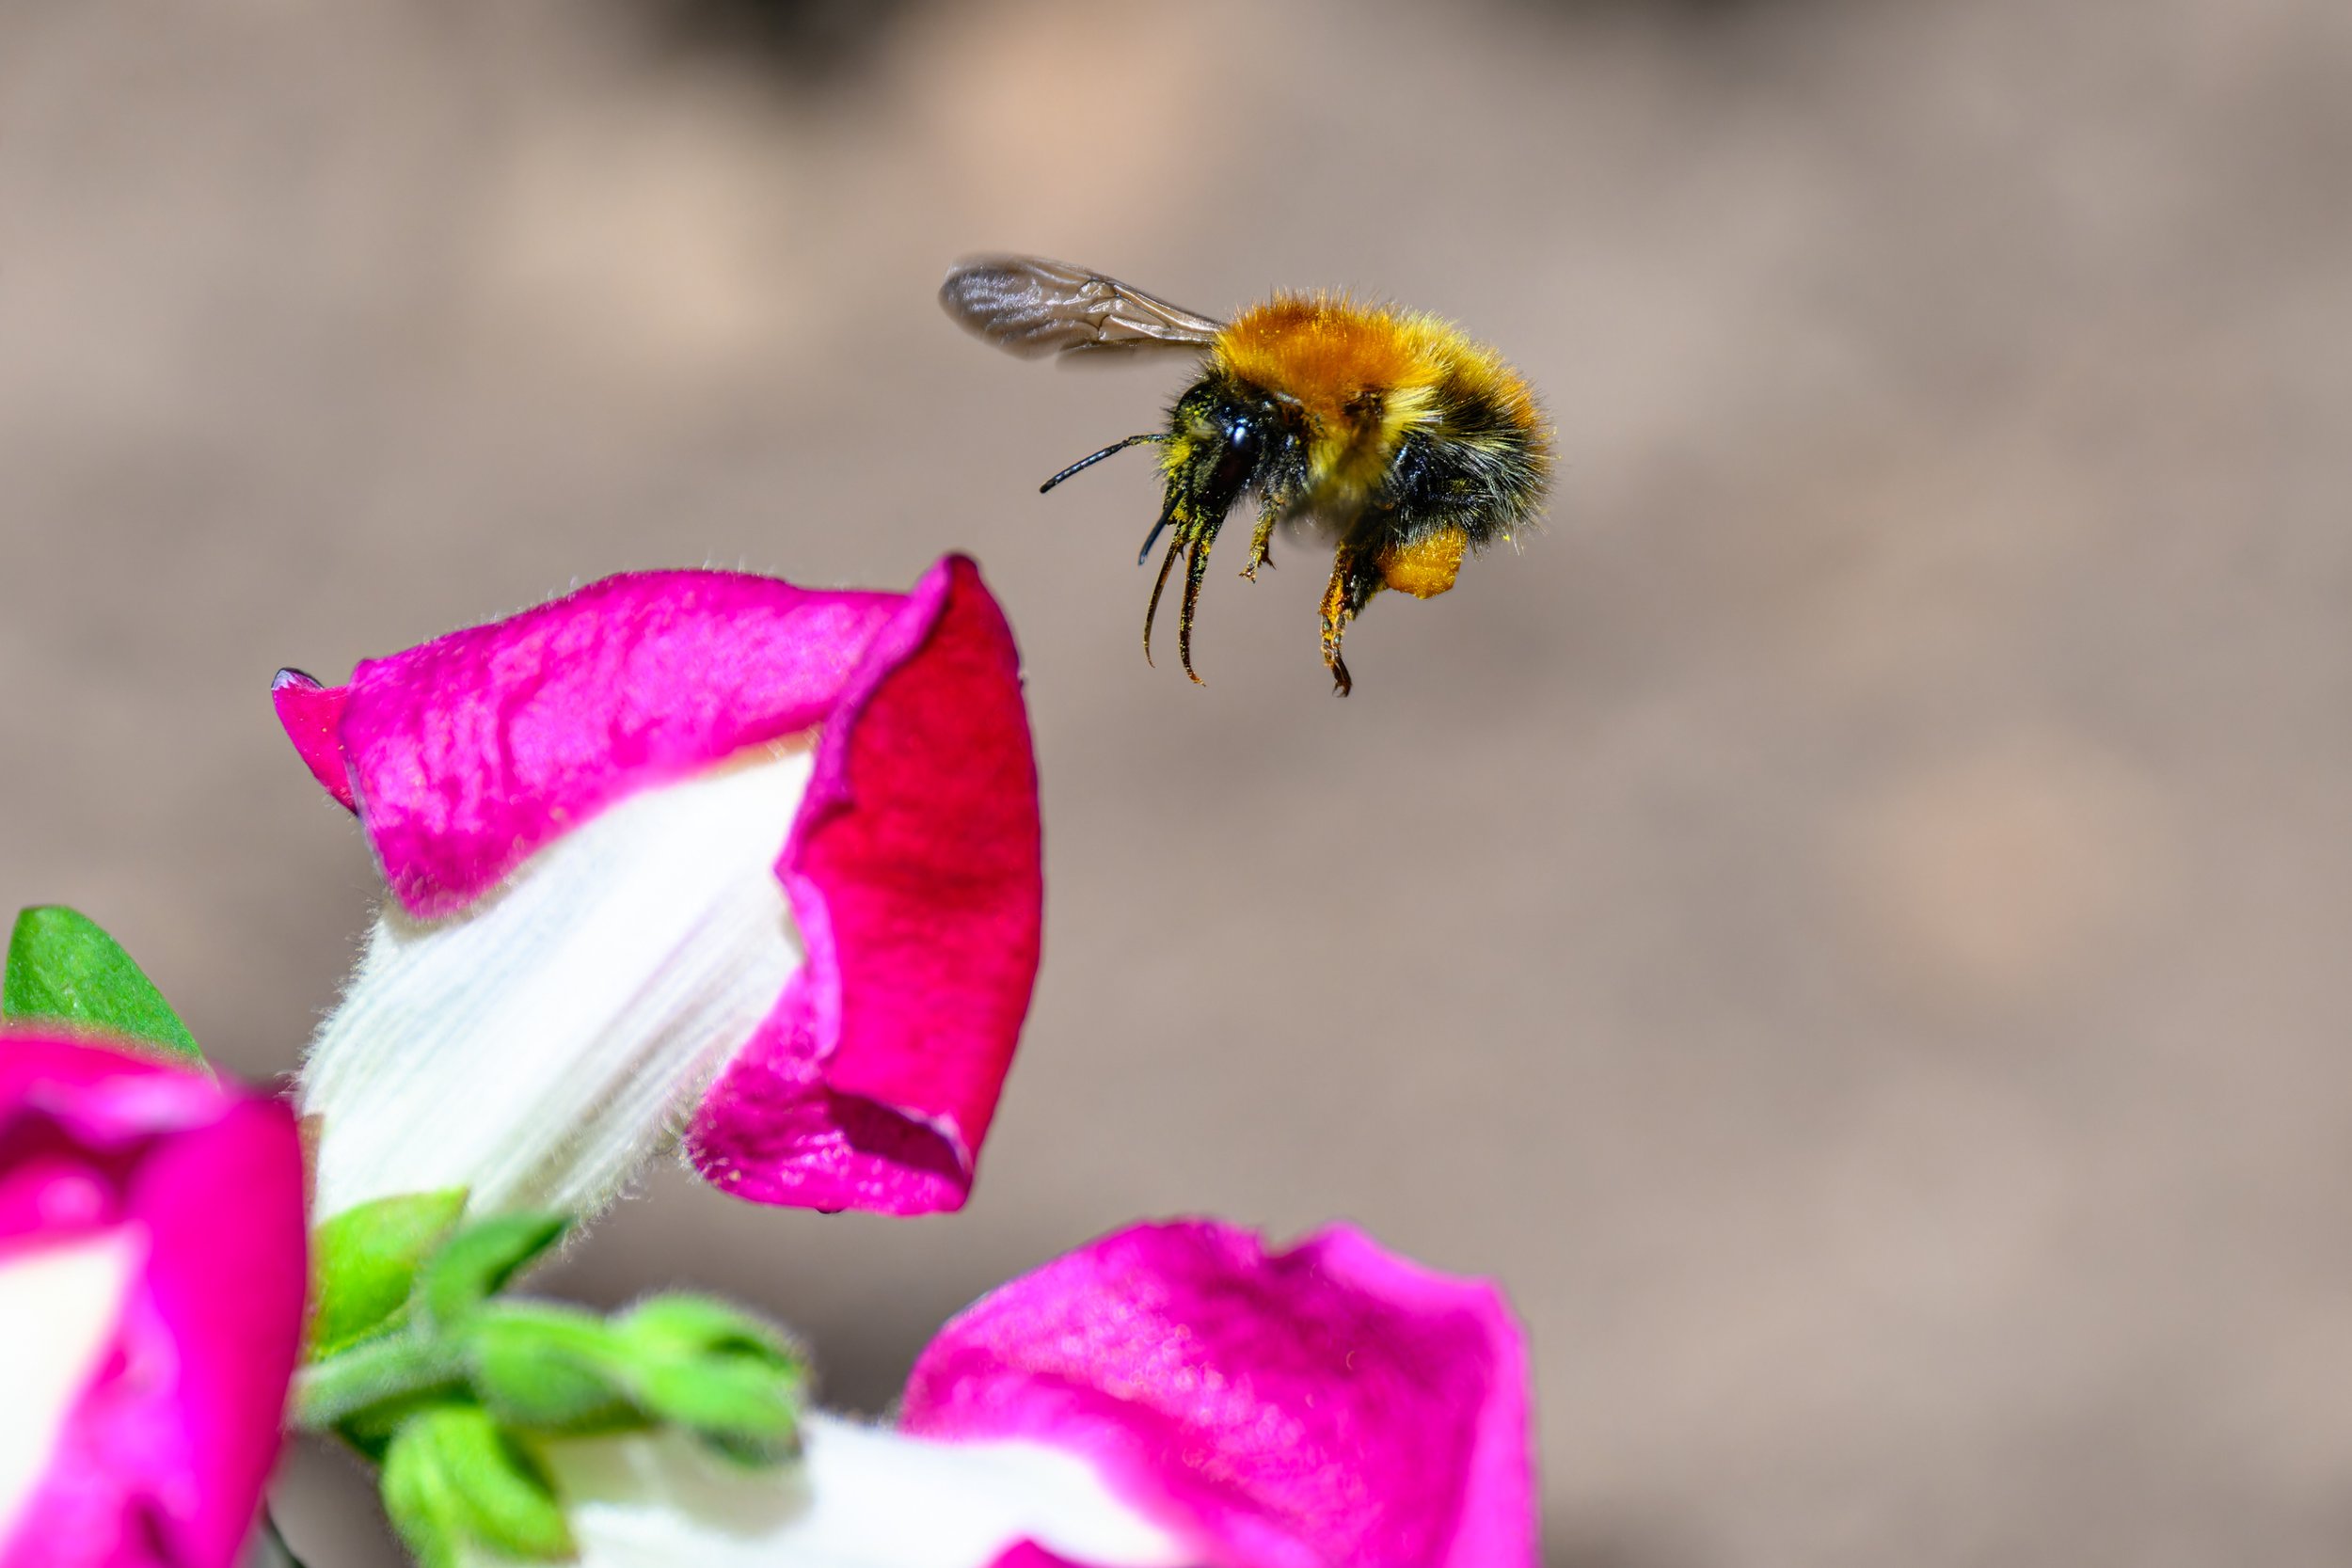
Auto capture appears to work extremely well and allows images to be taken without the need for the photographer to actually trigger the camera. As I mentioned earlier I could have taken these shots manually or by using the pre-capture facility but that would have meant sitting with the camera with my finger poised on the shutter button for long periods of time and would have been extremely uncomfortable, particularly lying in the flower bed waiting for the bees.