
How To: Photograph a Total Lunar Eclipse
Astronomy enthusiasts will witness the first total lunar eclipse of 2021 on May 26 so it is timely for this post. Total lunar eclipses occur when the Earth comes in between the Sun and the Moon and completely blocks the Sun’s rays from reaching the Moon. Total lunar eclipses occur when the entire moon passes through the Earth’s shadow. During the total phase (totality), the moon turns a vibrant red colour. They are often referred to as Blood Moons due to this red colour..
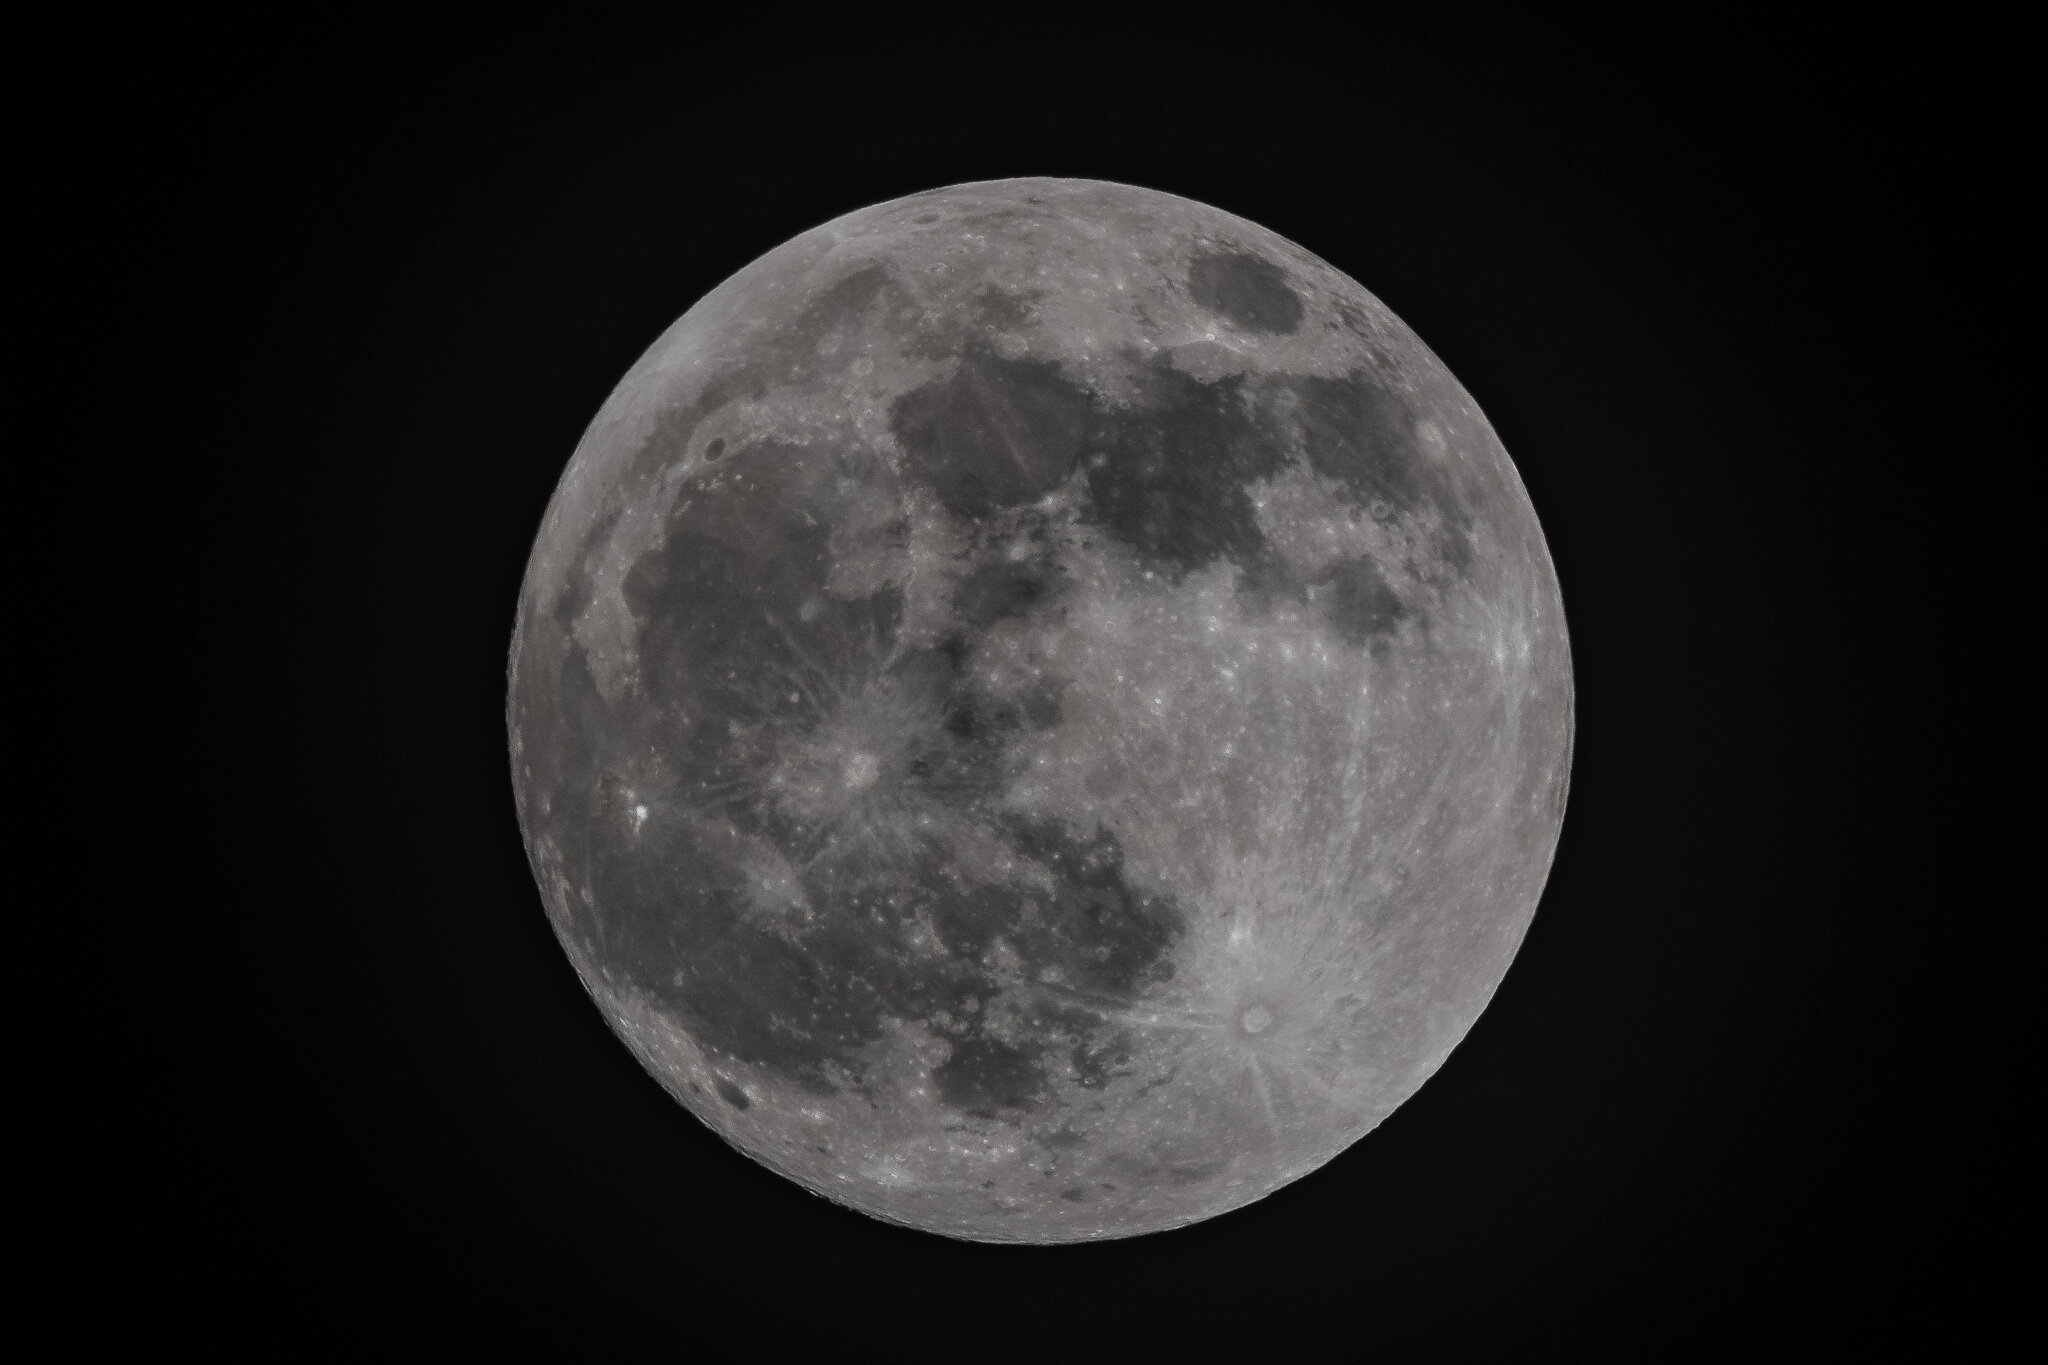
Full moon taken with Nikon D500 and Sigma 150-600mm Sport zoom lens with 1.4x teleconverter. Camera settings ISO 400, aperture f/16 and shutter speed 1/500th second (EV15)
A lunar eclipse begins as a small notch slowly appears along one edge of the moon. During the next hour, the moon gradually dips deeper into Earth's dark umbral shadow. If the eclipse is a total one, the last remaining minutes of the partial phases can be quite dramatic. If you're away from city lights, the Milky Way becomes bright and beautiful as the total phase begins.
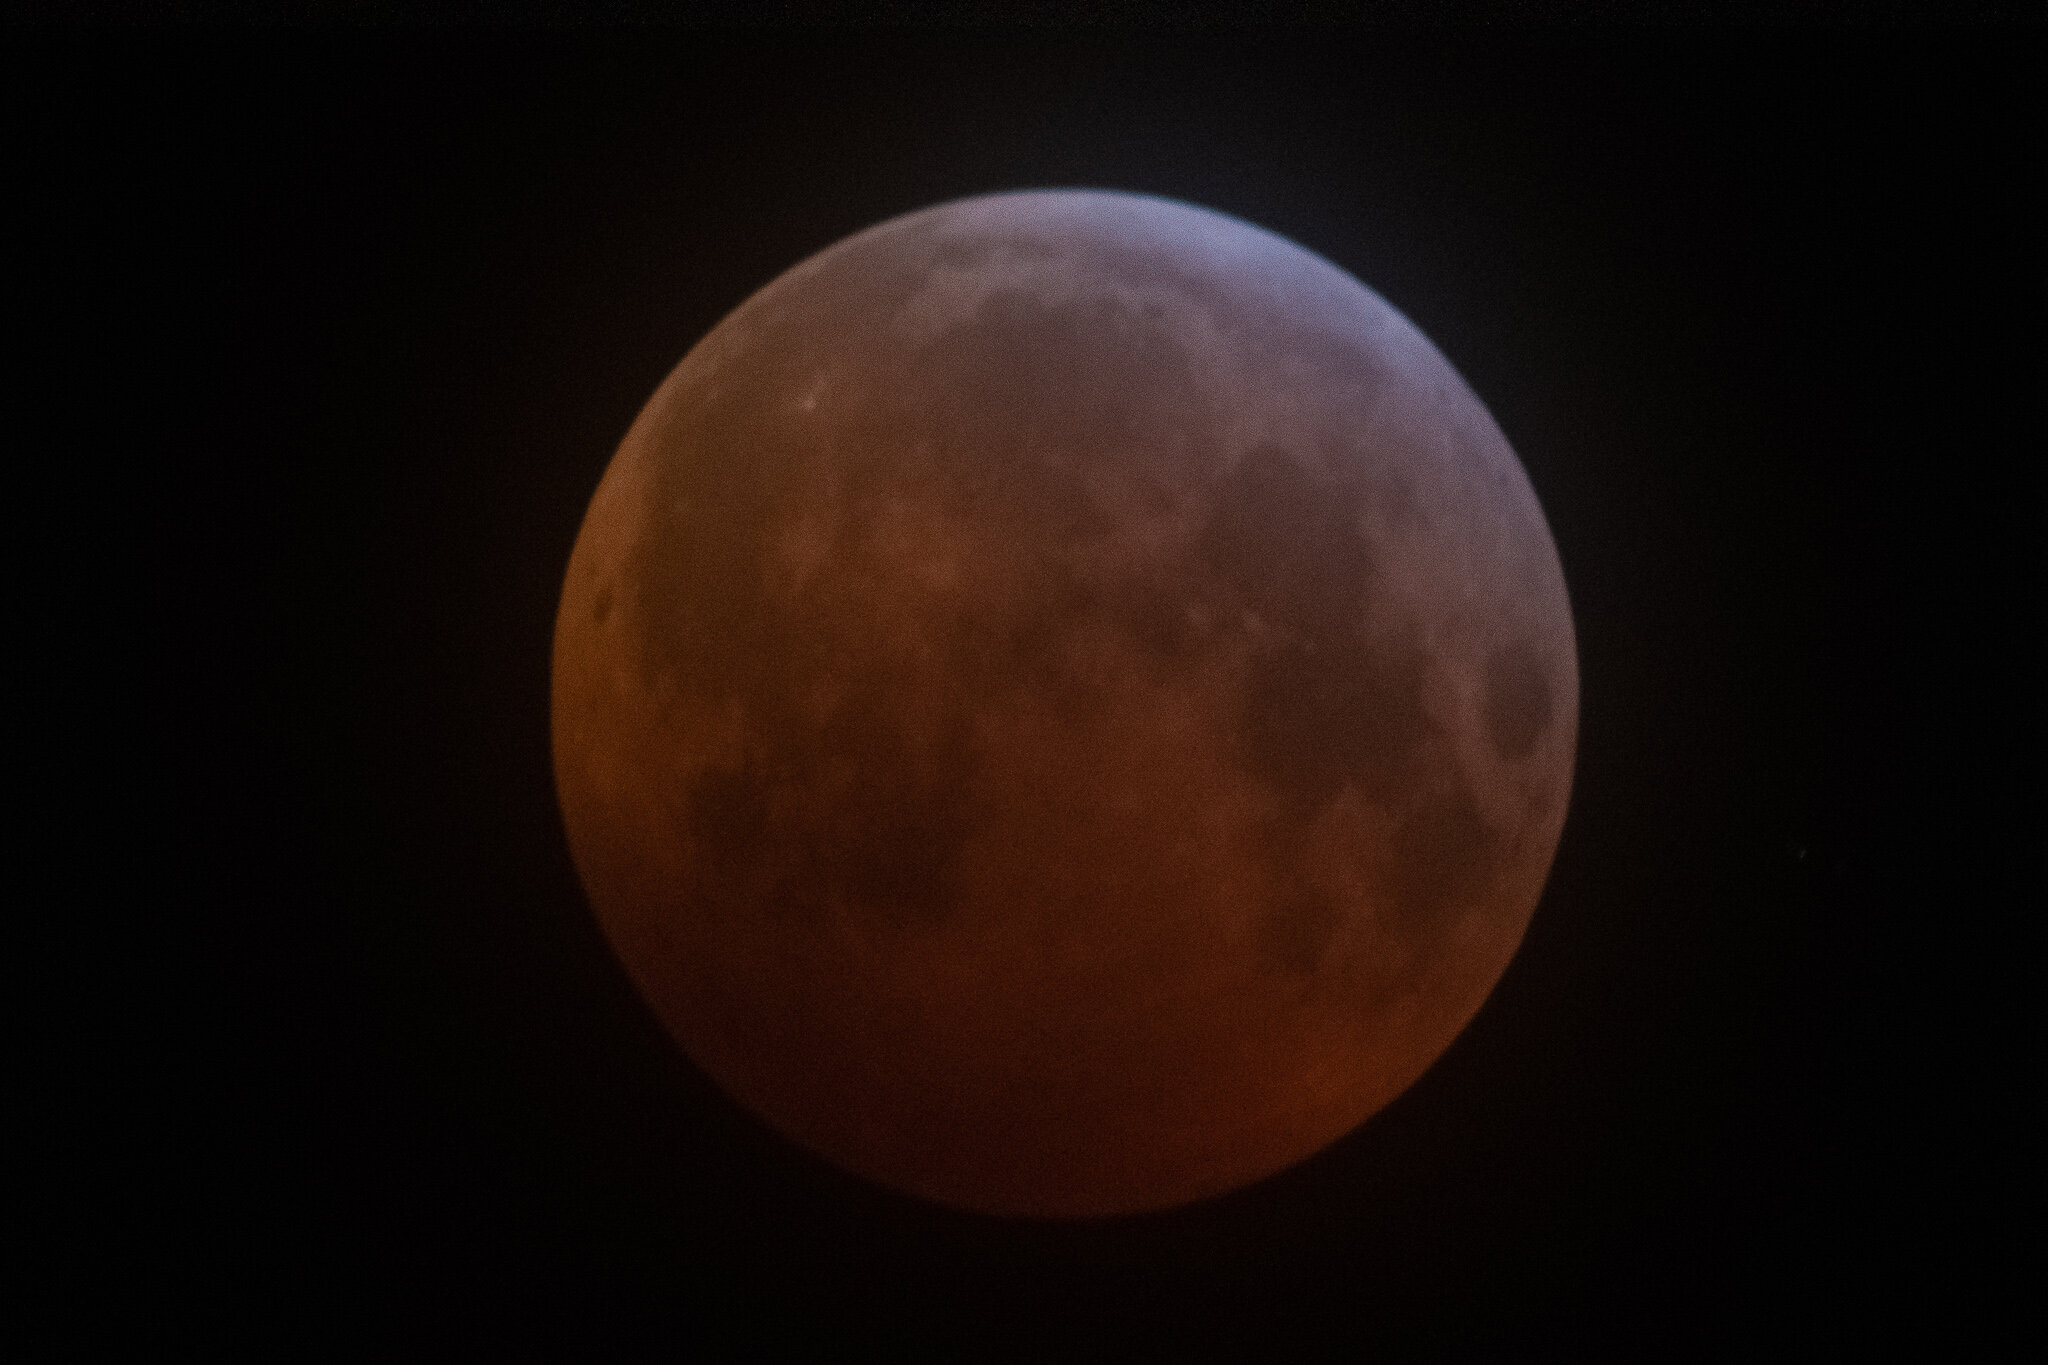
Full moon during total eclipse, taken with Nikon D500 and Sigma 15-600mm Sport zoom lens with 1.4x teleconverter. Camera settings ISO 10,000 aperture f/9 and shutter speed 2/3rds second (EV 1.5)
Photographing a lunar eclipse is not the same as photographing the Moon because of the lack of light. When you photograph the Moon it is lit by the Sun and is usually so bright that you can easily use fast shutter speeds and low ISO without having to worry about noise and motion blur. Photographing a lunar eclipse is much more challenging because the Moon gets very dim when it is in the Earth’s shadow. Not only will you have to drastically decrease your shutter speed but you will also have to increase camera ISO to a much higher value, especially if you are shooting with long lenses.
Having a good DSLR or a mirrorless camera that can handle noise at high ISO levels will help. Long telephoto lenses will magnify the moon and provide some surface details for your images. Unless you are planning to capture the moon with some type of foreground element, it is best to use the longest lens you have. Longer lenses, however, present another problem for moon photography – the moon moves surprisingly quickly.
This is the part where the focal length of your lens works against you. The longer the lens, the more you need to worry about two major problems – shutter speed and camera shake. A long lens (above 300mm) will make the Moon larger in your picture, but at the same time means that the Moon will move very quickly through your frame. Using a slow shutter speed is not possible because the moon features will suffer from motion blur. Therefore, your only choice is to shoot at maximum aperture and increase your camera ISO.
When you shoot a bright full Moon, exposure is typically about 1/125-1/250th of a second at f/8 and an ISO of 100. When the eclipse starts, this exposure should be fine to expose the bright part of the Moon, while the unlit side of the Moon is not going to be visible at all. In my case, the exposure for the full Moon before the eclipse started was 1/500th second at f16 and ISO 400.
At some point though you will have to change your shutter speed to expose for the unlit side of the Moon. So, what should your shutter speed be? It depends on the focal length of your lens. A rough guide used in astrophotography is to divide 500 by the focal length of the lens being used. If you are shooting with a 1.5x crop factor camera body (like the Nikon D500 used here), using a 70-300mm lens you should aim for shutter speeds faster than about 1 second. If you are using a longer lens, you will have to use even faster shutter speeds to get a blur-free image of the Moon.
I was shooting at 840mm (a 150-600mm lens with a 1.4x teleconverter) on a 21MP crop sensor camera and I found that my limit was about 1/4 second before the Moon started to get too blurry. This was with the camera mounted on a sturdy tripod, using a remote shutter release, mirror up mode and a 1-second exposure delay after raising the mirror. During the totality phase I had to increase my shutter speed to 2/3rd of a second and ISO to 10,000 due to the maximum aperture of the lens being only f/9.
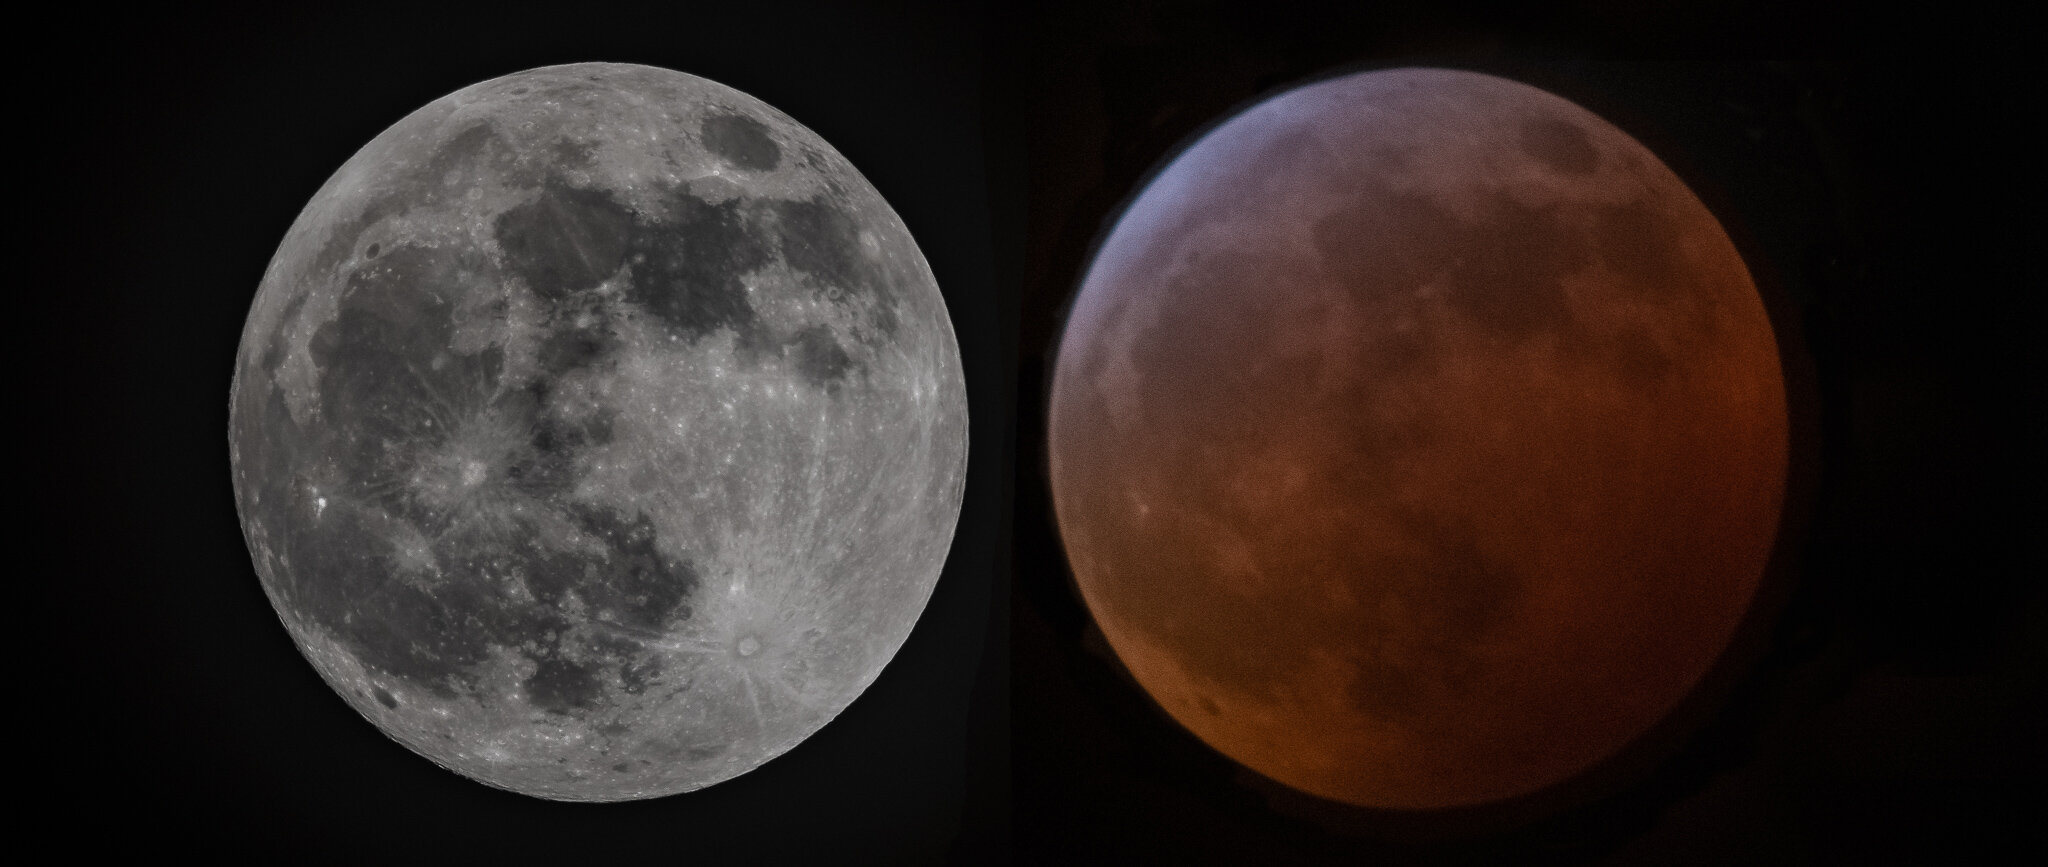
A composite image showing the full moon before and during totality. In reality the full Moon images would be over 8000 times the brightness of the Moon during eclipse.
The exposure difference between the full moon and eclipsed moon was a surprising 13 stops, over 8000 times difference in brightness!
The images taken during the eclipse were quite noisy due to the high ISO used so I took a series of images and picked the best 10 or so, rejecting images with the most motion blur. These images were exposure stacked using the RegiStax 6 software favoured by astrophotographers to get a combined image showing less noise. There are many tutorials on YouTube explaining how to use RegiStax so I won’t go into detail here.
The final image is a composite of the full Moon image and the Blood Moon during the total eclipse. The relative brightnesses of the two images does not represent the factor of 8000 reduction in intensity in real life.
In summary:
Use the longest lens you can to get the maximum detail of the Moon. Teleconverters may also help.
When using a heavy lens, always mount the lens on a tripod instead of the camera to prevent strain on the camera mount but also to balance the weight evenly.
Use a stable tripod and a solid tripod head that can easily handle the weight of your camera and lens. Telescope tripods are often more sturdy than photographic tripods but are significantly heavier.
Make sure to properly focus your lens. Do it before the eclipse starts when the moon is bright. Once the lens is focused, turn off autofocus.
Start at low ISO during the partial eclipse and increase ISO as necessary during totality.
Choose the sharpest aperture of the lens for full Moon and partial lunar eclipse shots but open up the lens to the maximum aperture during totality.
Calculate the shutter speed using the 500 rule (divide 500 by the full-frame equivalent focal length of the lens).
Take multiple images and use RegiStax to combine them to reduce high ISO noise.