
How To: Photograph Garden Birds

Female blackbird (Turdus merula) standing on perch outside my office window.
The recent pandemic lockdowns prevented many people from travelling to pursue their photography hobby but, while stuck at home, photographing garden birds can be the perfect way to try a different subject. There is an advantage in being able to use your garden as a makeshift studio to make the most of good light, frost or snow and to have a little control over the subject. It takes thought and patience as well, as there are many factors to take into account when planning a garden bird session.
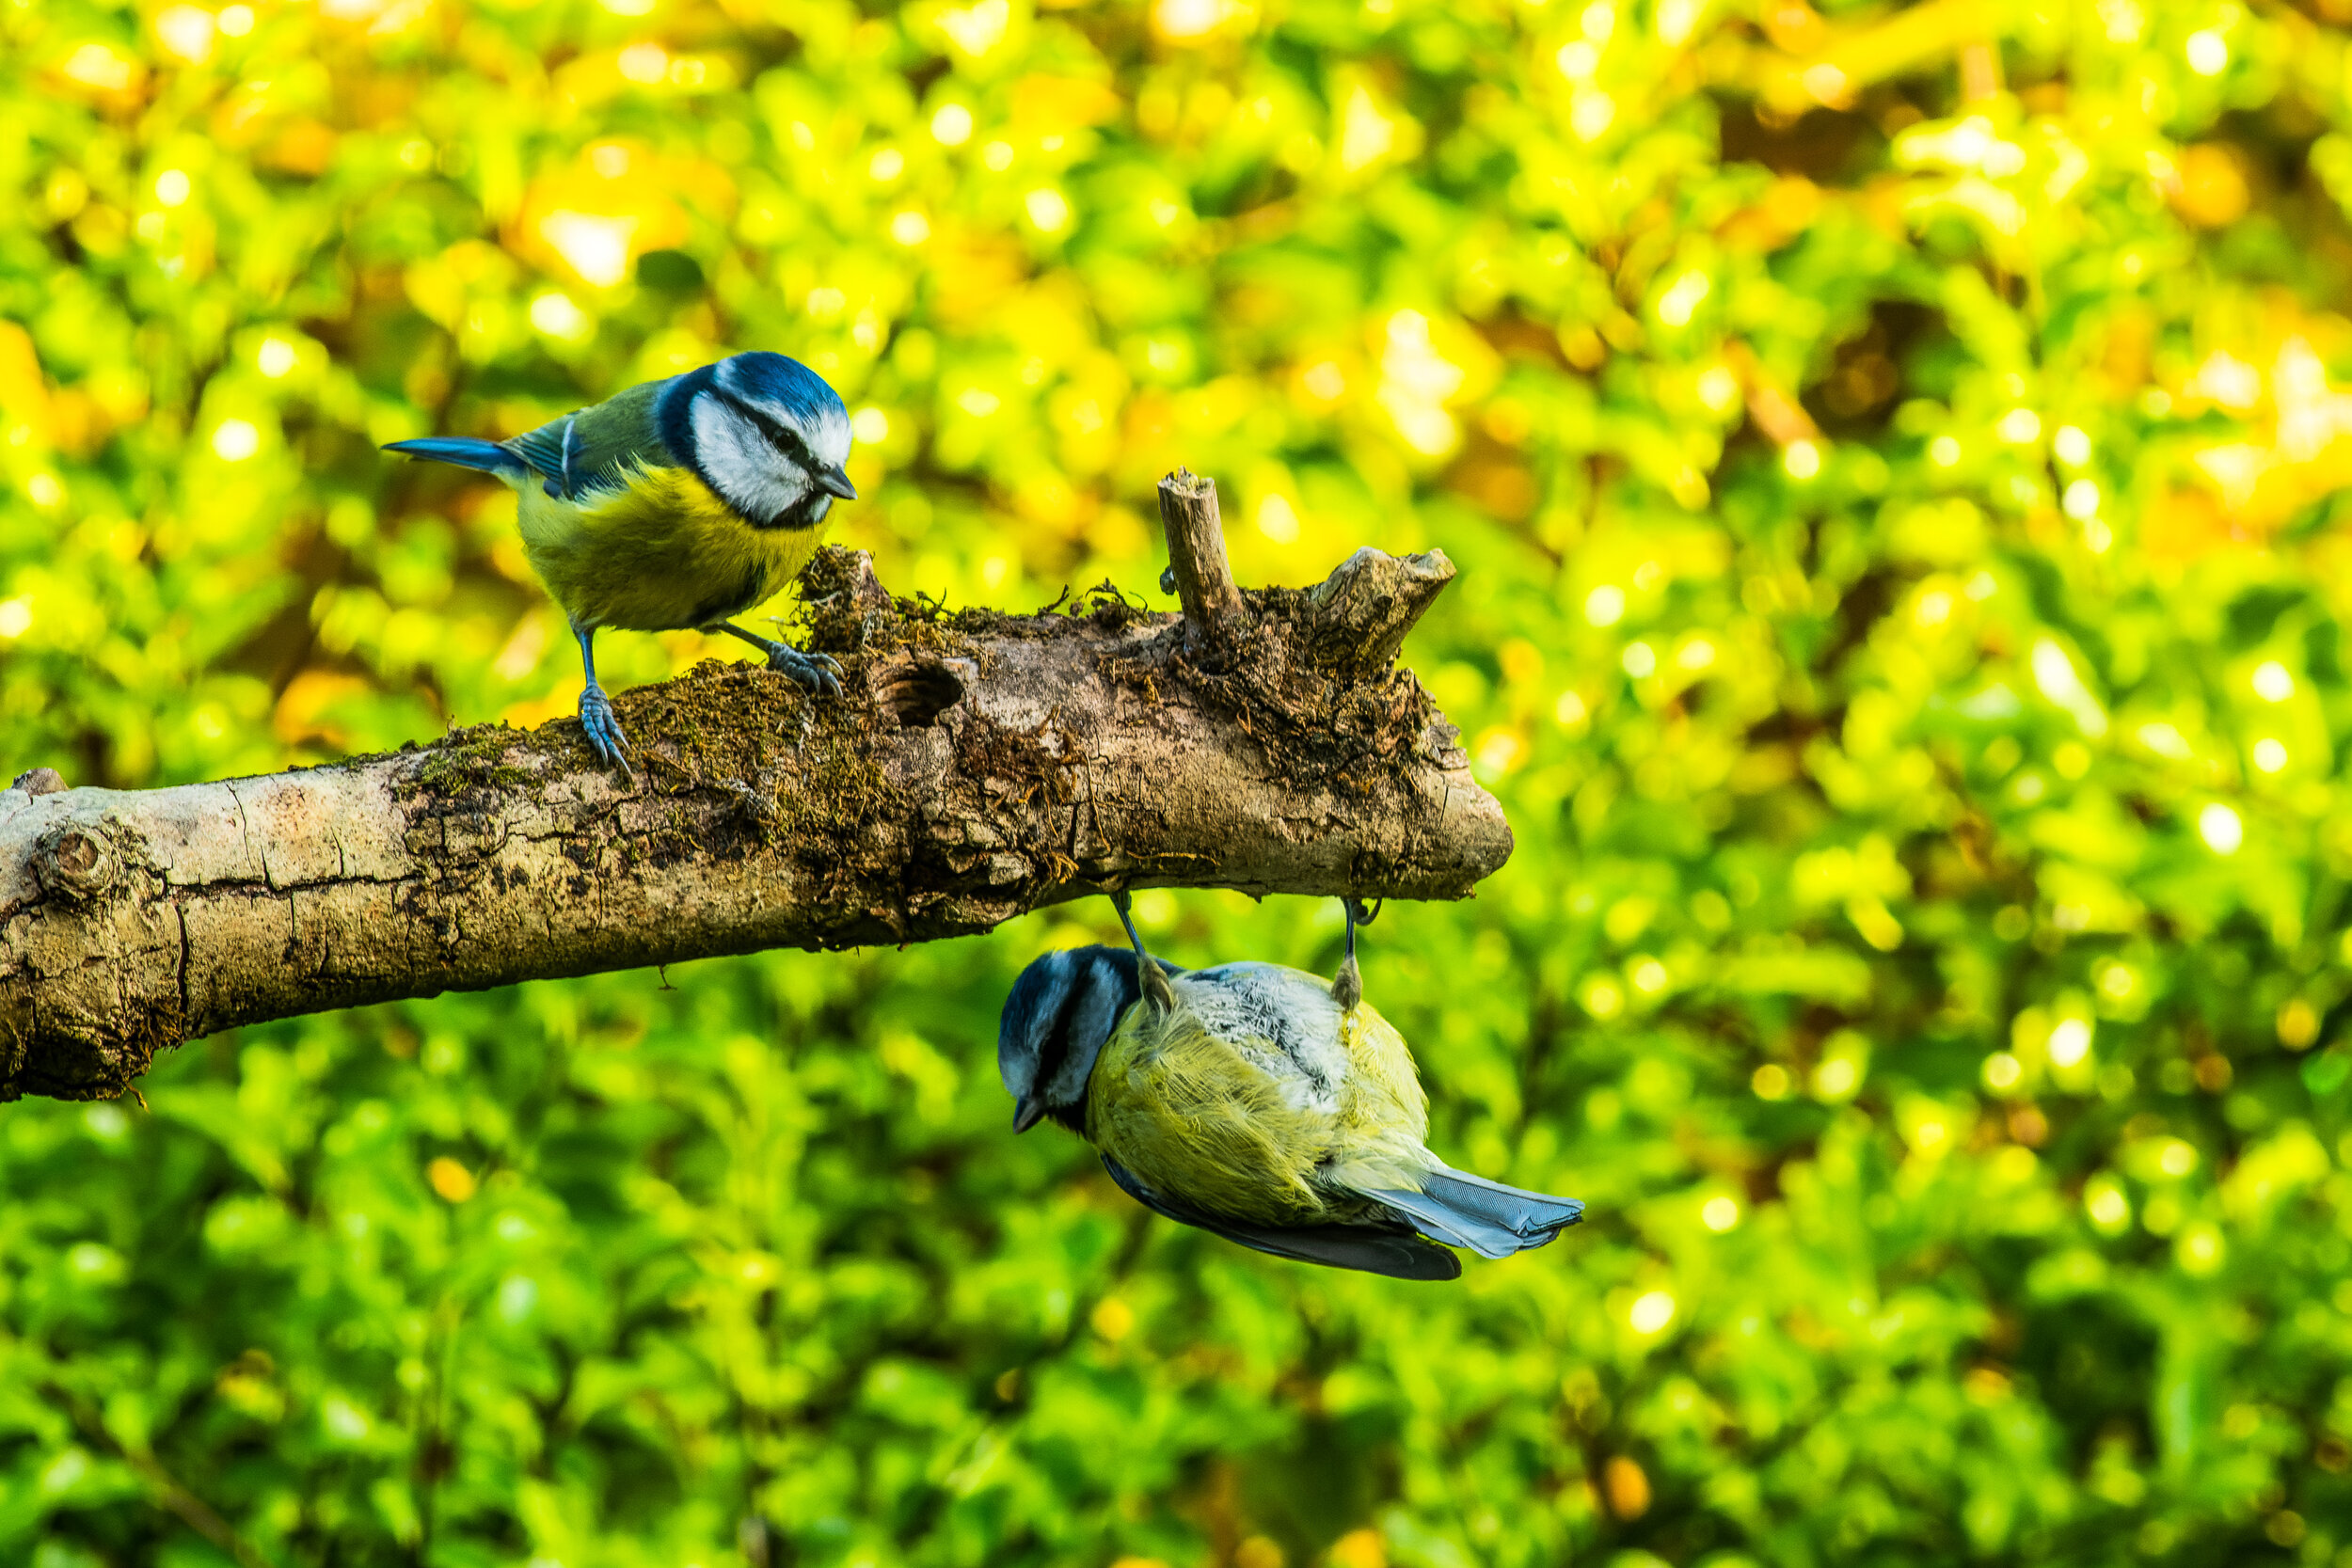
These two blue tits (Cyanistes caeruleus) were nesting in a neighbours garden and attracted to the perch by bird friendly peanut butter smeared into a number of small holes drilled into the branch. The sticky peanut butter ensured they stayed around rather than fly off with seeds.
In the garden you need to decide where you are going to photograph from. Maybe through an open kitchen window, you might have a garden shed that can act as a hide. A portable hide a decent distance away from the birds will keep you warm and dry, protected from wind and weather, allowing you to be out with the camera for long periods of time. The main objective is to conceal your presence from the birds so they act as naturally as possible.
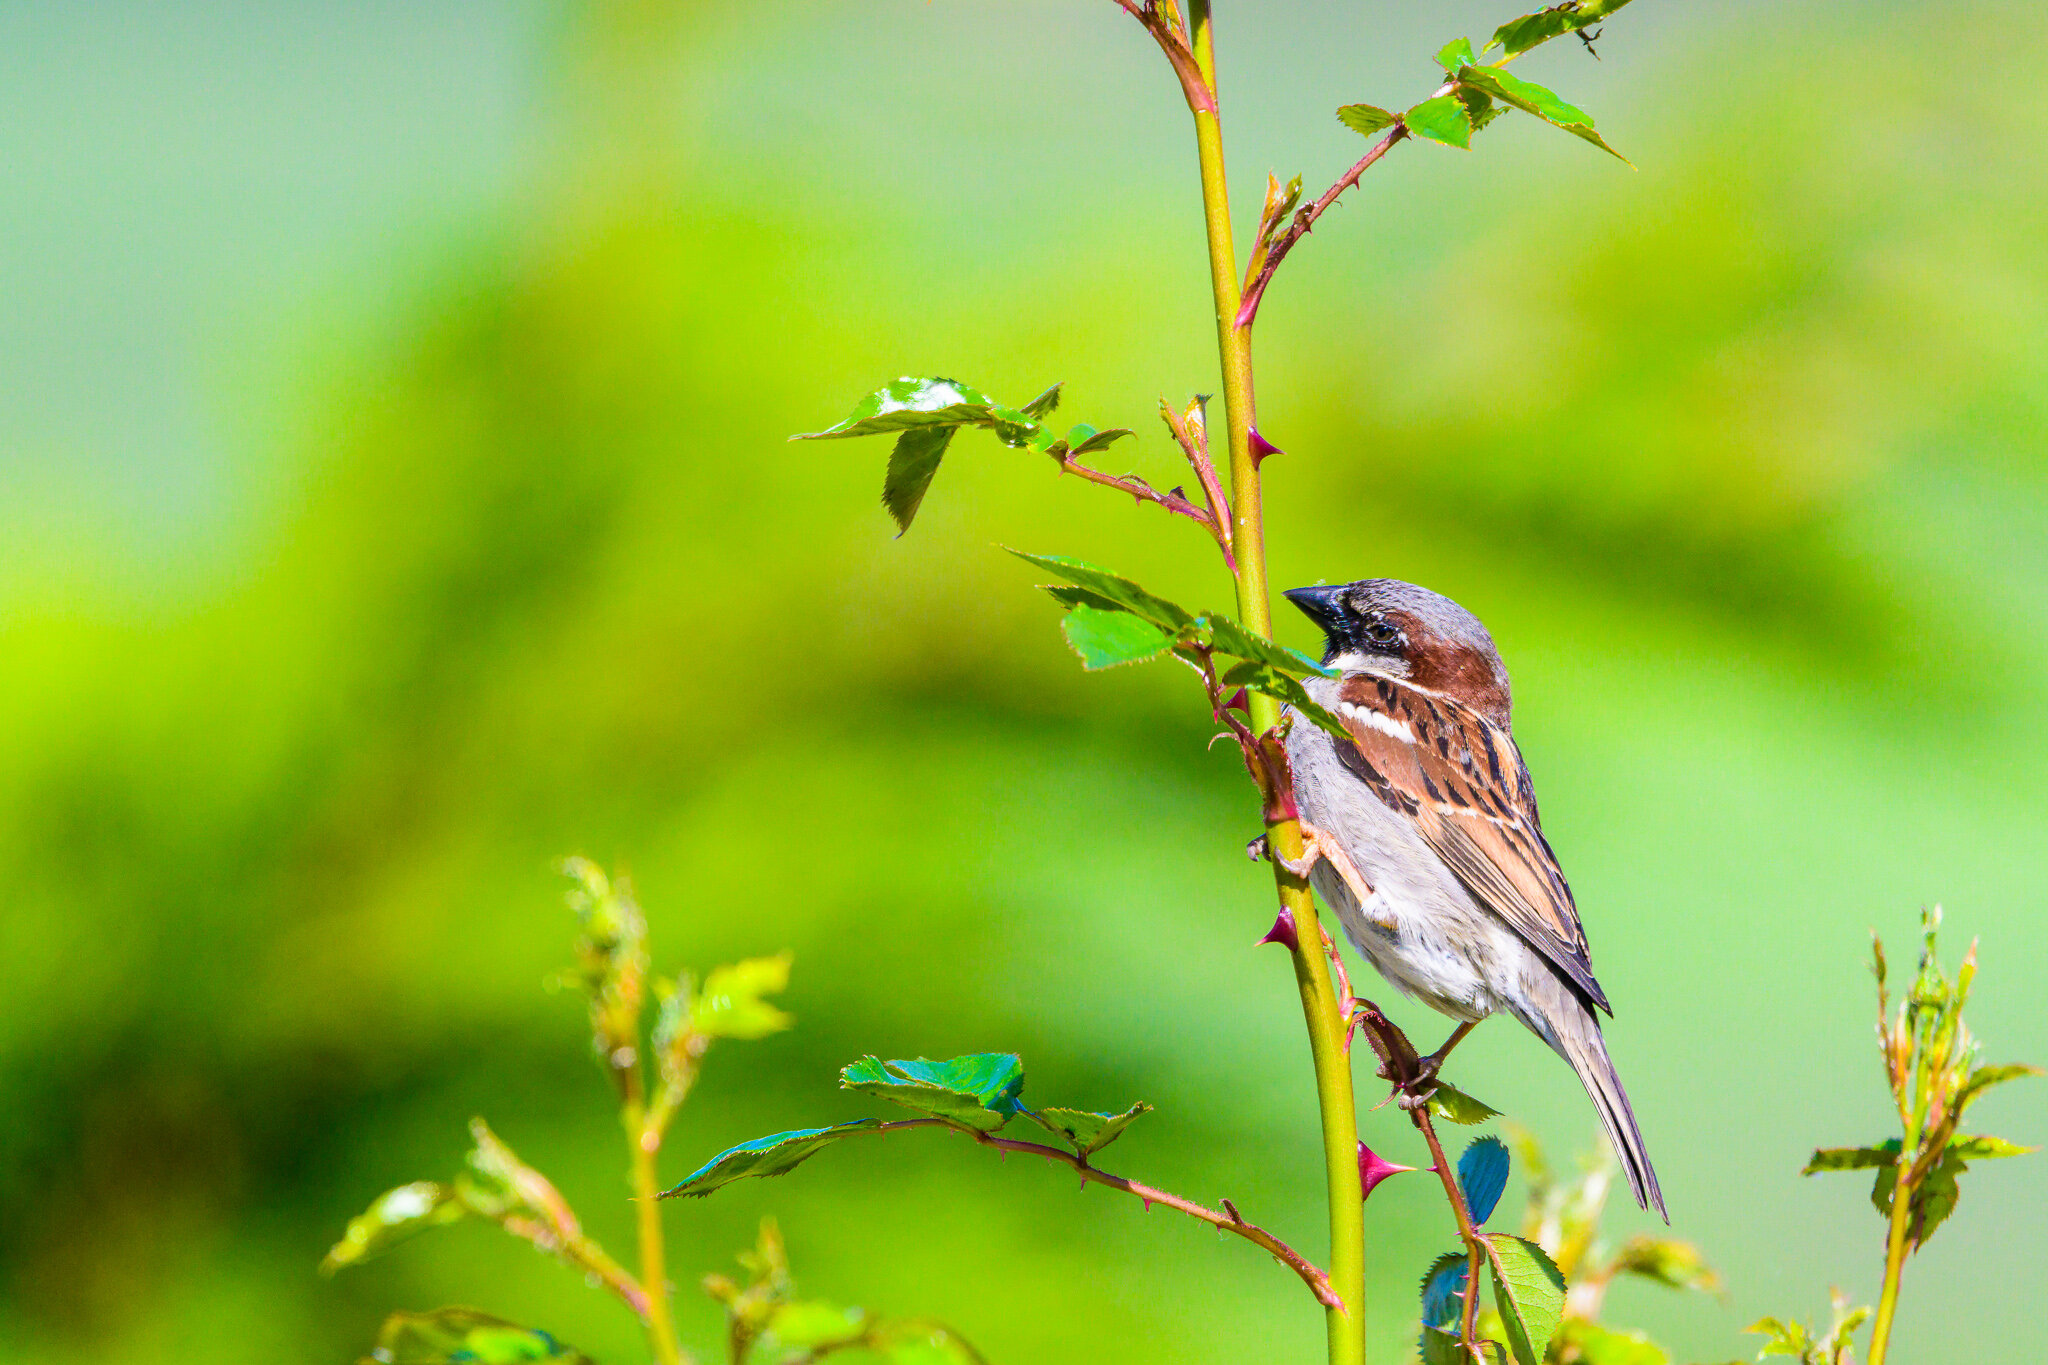
This house sparrow (Passer domesticus) was clinging to a new shoot on one of our rose bushes eating aphids. A long telephoto lens caused the background trees to be rendered out of focus causing the bird and rose to stand out.
Photographing from inside the house is the easiest and requires the least equipment. The downside is that it doesn’t always result in the best-quality image because you’re likely to be shooting through glass. Unless you have a very long telephoto lens, you’re most likely to be shooting close to and through a closed window, otherwise you’ll scare the birds away. Reflections in the glass can be a problem, especially with double glazing, but you can minimise them by ensuring that you have no bright light sources behind you and by putting the end of the lens right up against the glass, or as close as you can manage.
Setting up a remote controlled camera is a little more involved because it requires more planning. You’ll need to set the camera up in the garden and control it from inside the house. This means that you can’t just pick up your camera when you see a bird come to the perch; you need to aim the camera where the birds will land and trigger the shutter from a distance.
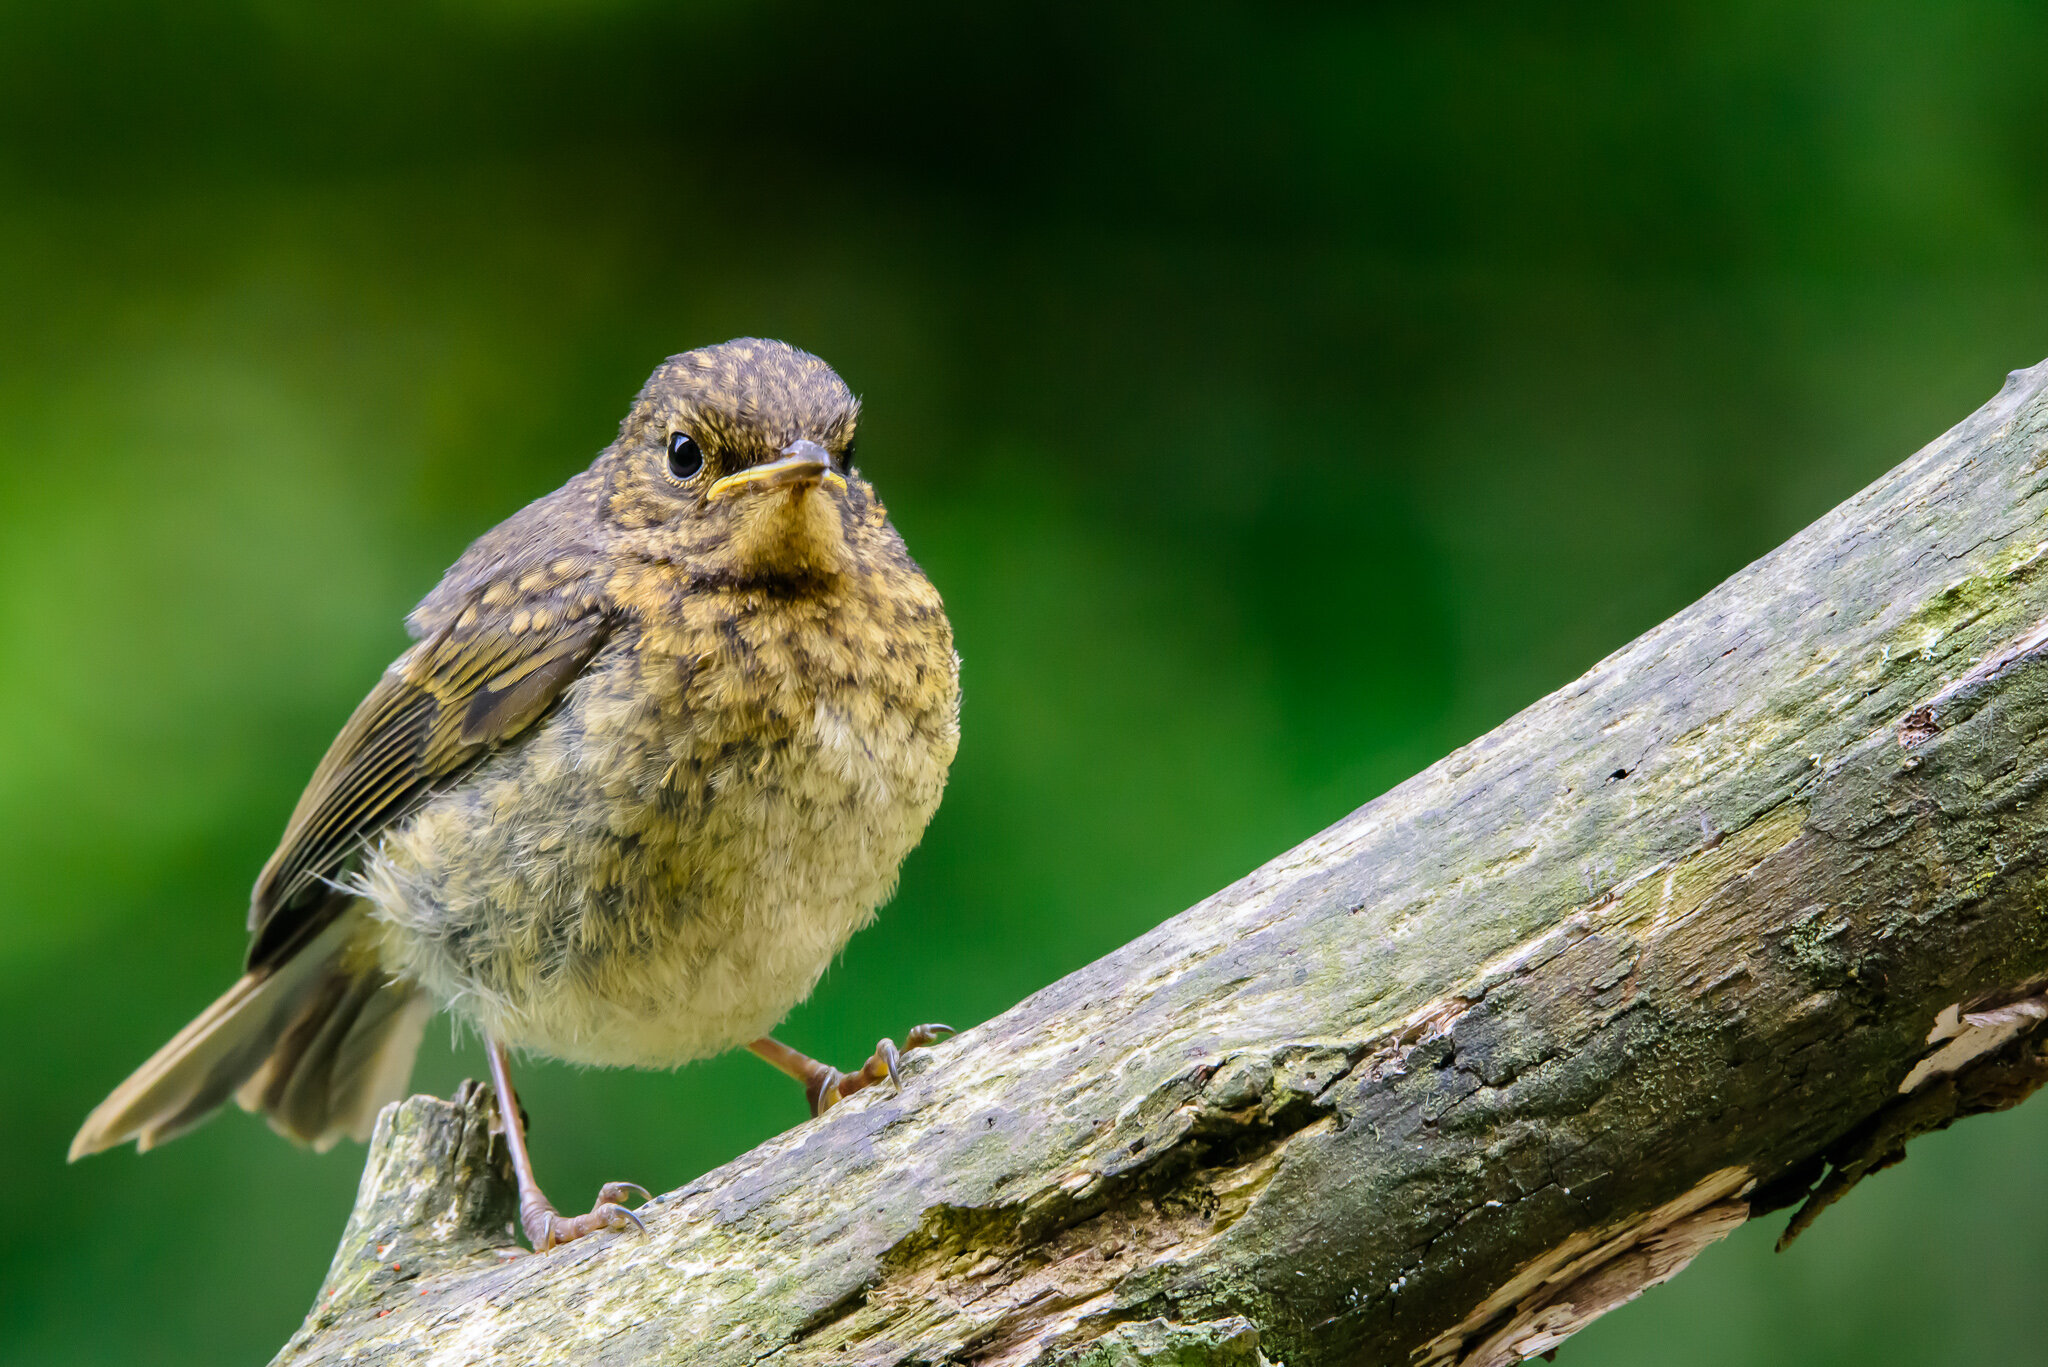
A juvenile robin (Erithacus rubecula) perching on a fallen branch outside my office window. The background trees are blurred through the use of a wide aperture telephoto lens.
Searching for attractive perches, such as a small log, moss covered fallen branches can be part of the fun. I often keep an eye out for props that I feel will have a natural look for photographs. Try to keep your perch simple and have an idea of where you want the bird to land so that it is not obscured by other branches.
One tip is to drill a small hole in the rear of the perch, where it cannot be seen from the camera. This can be filled with suet or bird friendly peanut butter and tends to keep the bird on the perch for longer. The food should remain out of shot so that the photo does not look staged.
The next step is to try to attract birds into the garden and onto the perch where they can be photographed. Small birds do not like being out in the open, so having a bit of cover not too far away for them to hide in will encourage them into your chosen location. For the best results, place a perch between food sources – either a birdfeeder or bird table – and provide nearby cover from a shrub or tree. Quite often the birds will land on the perch and queue up just before they go for the food you have put out. This provides an ideal opportunity to photograph them, but quite often they move very quickly between perch and feeder resulting in blurred or missed shots. It may take a while for the birds to start to come into the garden and start using the perches but if you keep setting out feed they will eventually turn up. You can look out for patterns in their behaviour by observing them for a while and you’ll notice that they’re creatures of habit and often take the same route to the feeder; they’ll come to feed at similar times of day, too. There will often be large amounts of activity at these times and then nothing for a while.
Over time they will get used to the open window or camera and will start to think of it as part of the landscape.
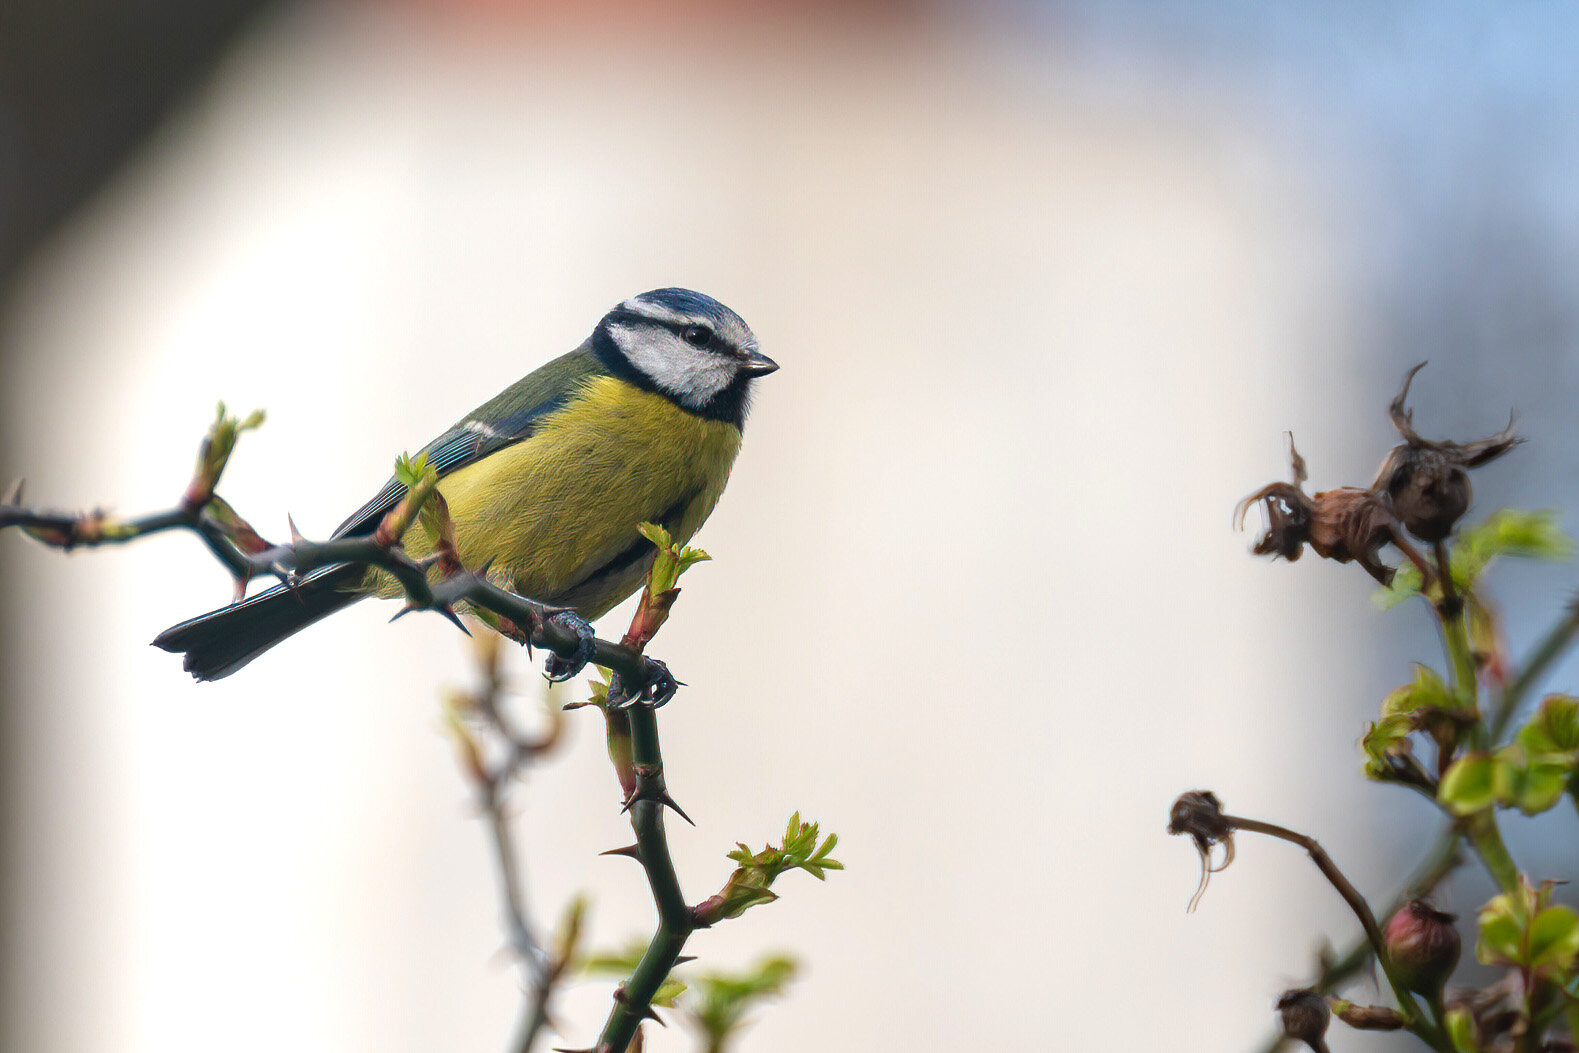
This blue tit was photographed against the white masonry of the neighbour’s chimney, rendered out of focus by the long telephoto lens so that it would stand out from an otherwise messy background
Unless you have a mobile hide, the location of the house or shed you are shooting from will probably dictate which way you face and the background you have for your photos. Unless you are lucky to have a large enough garden to enable backgrounds to be controlled, creating a good background is one of the biggest challenges. If your garden is small, as mine is, avoiding unsightly branches, neighbouring building or other objects that spoil your images becomes more difficult. Setting up against a plain background that can be made out of focus using a wide aperture can really make the bird stand out, while a busy background can make the bird almost unnoticed.
There are likely to be many missed photographs or out of focus images when you start photographing these small birds as they do not stay still for long, so practice and patience is key. Eventually things will all come together for that perfect image.
Once you have started photographing garden birds you can begin to introduce more creative elements into your photography:
If snow or frost is forecast put your perches or any other props in place the night before. For frosty mornings spray the perch and any attractive berries or foliage with water the night before to emphasise the frosty look
Create a natural-looking pool. A shallow tray from a garden centre sunk in the ground close to cover and decorated with moss and stones will make a photogenic set-up. Garden birds like to drink and bathe so look out for reflections in the water or action shots with the bird splashing, Try shooting into the light when birds are bathing, if possible, to make the water drops really sparkle in the sunshine.
Different props can be used throughout the year to give a sense of season. Blossom laden branches can be used in spring, sprigs of autumn leaves for an autumnal feel, or some holly on a perch for the classic Christmas scene.
Different treats will help to increase the variety of birds coming into the garden. Thrushes and blackbirds love apples, while tits, woodpeckers and nuthatches enjoy fat and peanuts. A variety of wild bird foods can be bought online to try to attract a range of different species. Just make sure the food is invisible at the angle you’re shooting from.