
Nikon Z9 Eyecup Hack
The Nikon Z9 eyepiece consists of a small flat rubber ring that doesn’t extend much beyond the rear of the camera. This can be a little awkward to use, causing discomfort on the eyebrow or resulting in pressing your face against the monitor screen causing smearing or condensation on the LCD display. A number of third party replacement eyecups are starting to appear on the market, some comprising larger eyecups and shaped versions.
Other articles have shown how to use Z6/Z6ii/Z7/Z7ii eyecup replacements to hack together a working Z9 eyepiece, but in many cases the resulting eyepiece cannot be rotated between landscape and portrait orientations, e.g. Moose Peterson’s eyecup hack at https://www.moosepeterson.com/blog/z-9-interim-eyecup using the JJC EN-DK29II eyepiece.
A video of this modification is also available at https://www.youtube.com/watch?v=-ldpZyjxRD4. In this video Hudson Henry shows how to separate the various parts of the DK-33 and how to install the JJC eyecup.

Image from Moose Peterson’s website
This. hack shows how to combine Nikon’s DK-19 replacement eyecup from the previous D850 / D5 / D6 DSLR cameras with the DK-33 eyepiece from the Z9. The steps are similar to those previously listed although the DK-19 is a tighter fit.
PROCEED AT YOUR OWN RISK.
THIS MAY DESTROY THE ORIGINAL DK-33 EYECUP. I CANNOT BE HELD RESPONSIBLE FOR ANY LOSS OR DAMAGE CAUSED BY ATTEMPTING THIS MODIFICATION.
YOU MAY WISH TO ATTEMPT THIS MODIFICATION USING A SPARE REPLACEMENT DK-33 RATHER THAN THE ORIGINAL SUPPLIED WITH THE CAMERA.

Rear of Nikon Z9 showing the Dk-33 eyepiece and its release button
Just below the eyepiece (at 7 o’clock position) is the eyepiece release button. To remove the eyepiece press this button and hold it depressed while turning the rubber eyepiece counterclockwise. The eyepiece will release after a short counterclockwise rotation and can be removed from the camera
DK-33 Eyepiece removed from camera
With the DK-33 removed, grip the rubber ring and slowly peel it away from the plastic frame

Peel the rubber ring from the plastic support frame

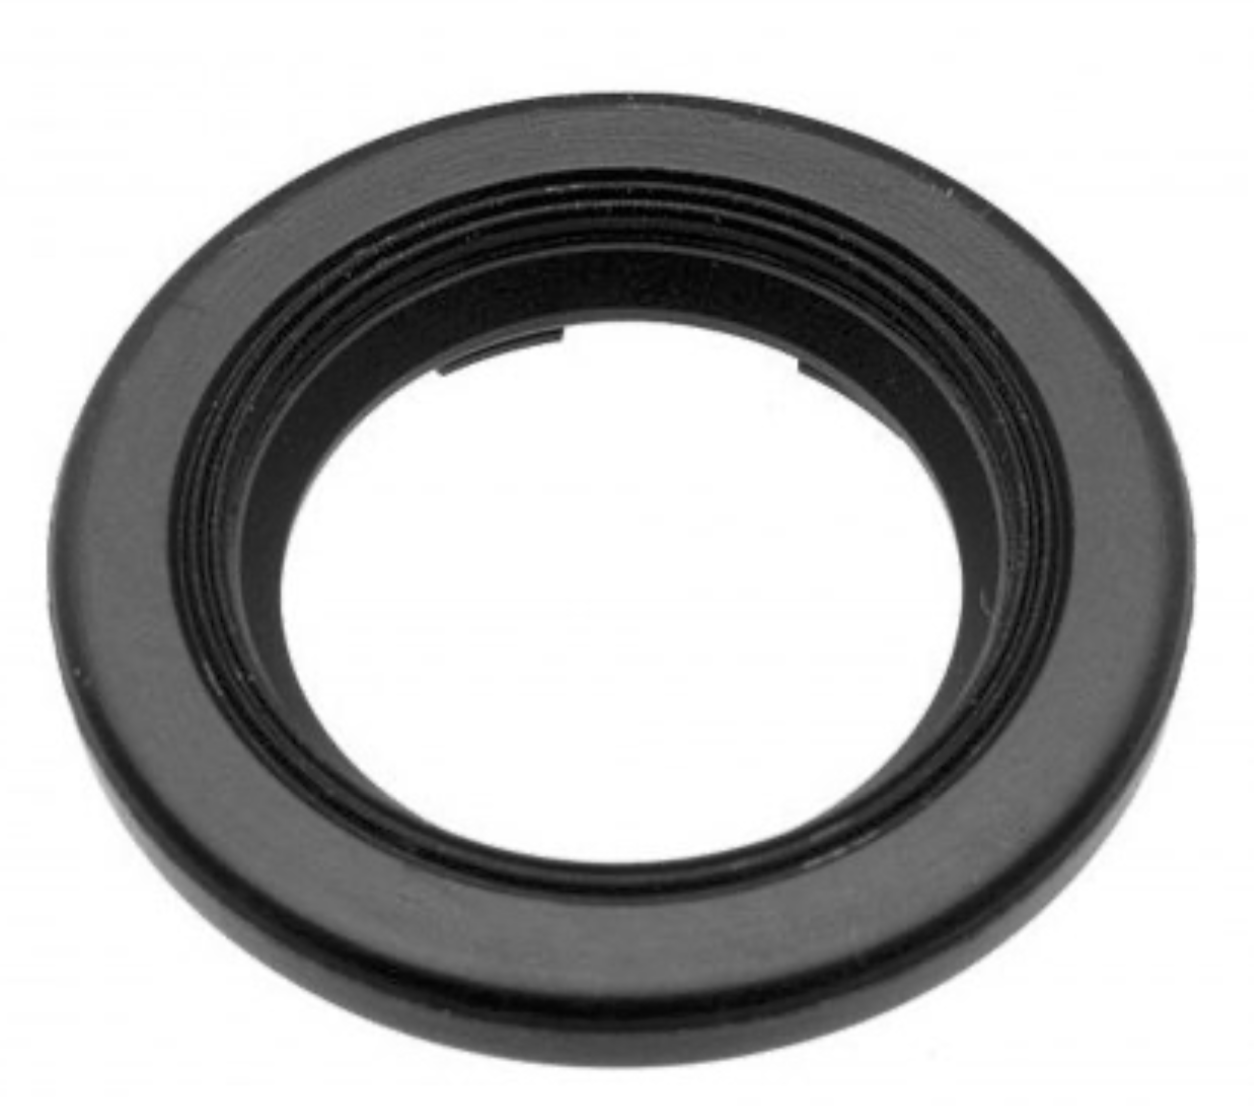
Rubber ring (left) and plastic support (right)
The plastic support ring actually comprises two separate pieces, the main body and a thin plastic ring. Separate the two pieces by prising them apart using fingernail or small screwdriver in the slot shown on the previous image

Plastic ring and base piece after separation
Put aside the thin plastic ring and the rubber ring in case you want to try to rebuild the DK-33 at a later date. You will only need to keep the larger plastic base plate

This is the only part of the DK-33 eyepiece that is needed going forward
Switching to the DK-19 replacement eyecup, remove the thin metal ring to leave the rubber eyecup. Put the metal ring aside for safe keeping and retain only the rubber cup.

Remove the metal retainer ring from the DK-19 replacement eyecup
Inspect the plastic piece from the DK-33. One side is plain while the other side has markings and has a number of cut outs. Position the plastic piece inside the DK-19 rubber eyecup so the the plain side is uppermost, as shown below.

DK-33 plastic base plate positioned inside the DK-19 rubber eyecup
This is the difficult bit. While holding the plastic DK-33 base plate between thumb and first finger of one hand, use the other hand to stretch the rubber eyecup and feed it around the base plate. This can be quite tricky but it does stretch sufficiently to fit around the base plate. Once in position, manoeuvre and manipulate the rubber eye cup so that the flap in the eyecup seats within the groove in the DK-33 base plate. This can take some time, but a correct fit will make refitting to the camera much easier and also make the eyecup more secure.

DK-19 rubber eyecup in position on DK-33 plastic base plate
(note the markings on the baseplate compared to the orientation of the DK-19)

Manipulate the rubber eyecup so that it fits snuggly on the plastic base plate
Refit the eyepiece to the camera by aligning the cut out on the eyecup with the camera, the slot should be at roughly the 11 o’clock position compared to the camera to mount - rotate back and forwards a little until the eyecup drops into place. Push against the body and rotate the eyecup clockwise until it clicks into place. If the eyecup doesn’t rotate into position easily the rubber cup may not be seated properly so remove and retry aligning the cup on the base plate. When in the correct position to rubber should be level with the base plate as shown above.

Z9 with custom DK-33/DK-19 eyecup in position

Z9 with custom DK-33/DK-19 eyecup in position