
Setting the Home position of the Star Adventurer GTi
I have noticed quite a number of forum posts regarding the accuracy of the Sky Watcher Star Adventurer GTi initial GOTO operation and thought I would give my method of setting up the Star Adventurer to produce the best GOTO operation. This is only needed for the first GOTO alignment as once the Star Adventurer is correctly aligned it uses the data from the alignment process (as long as you don’t switch the mount off or batteries run out).
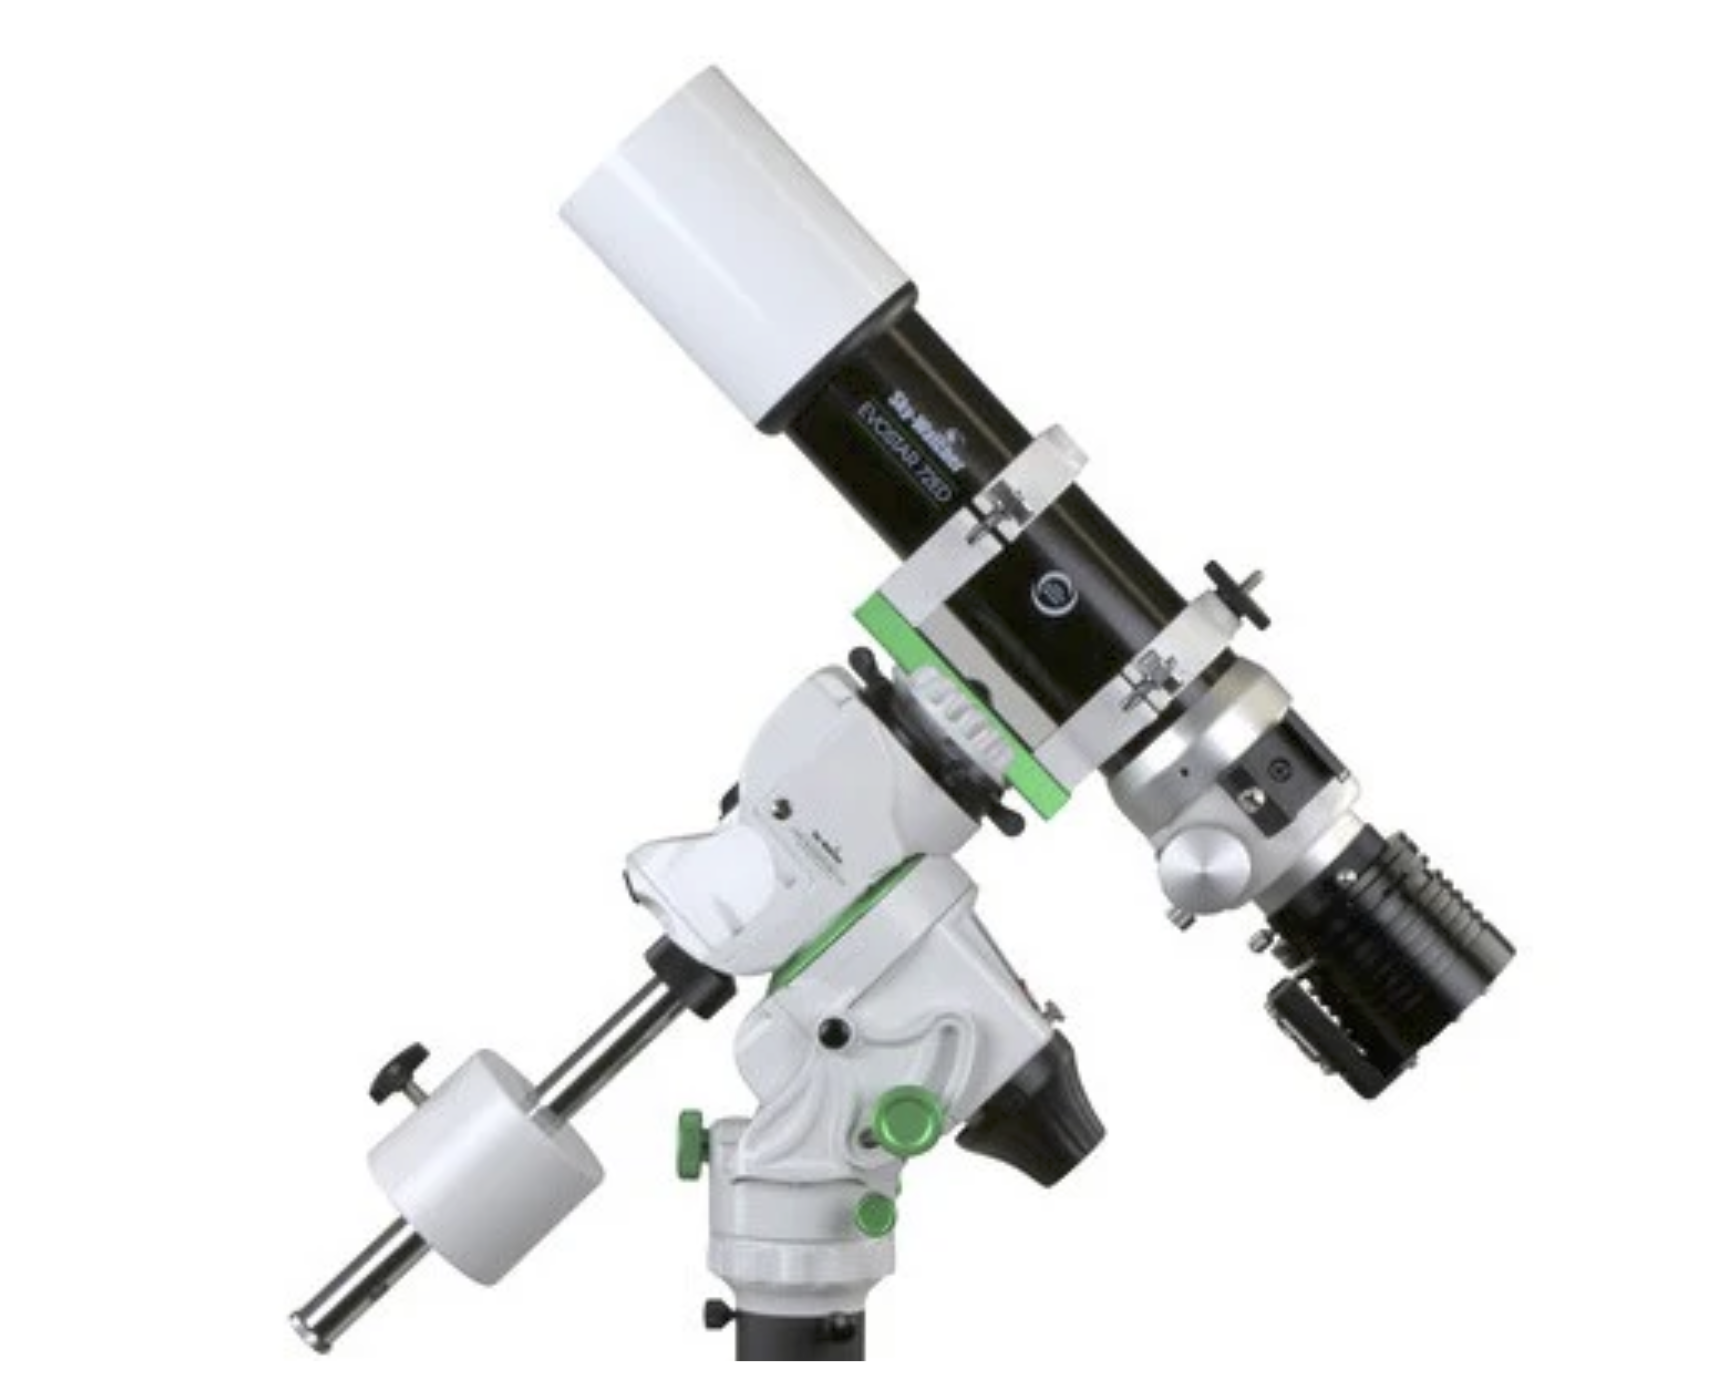
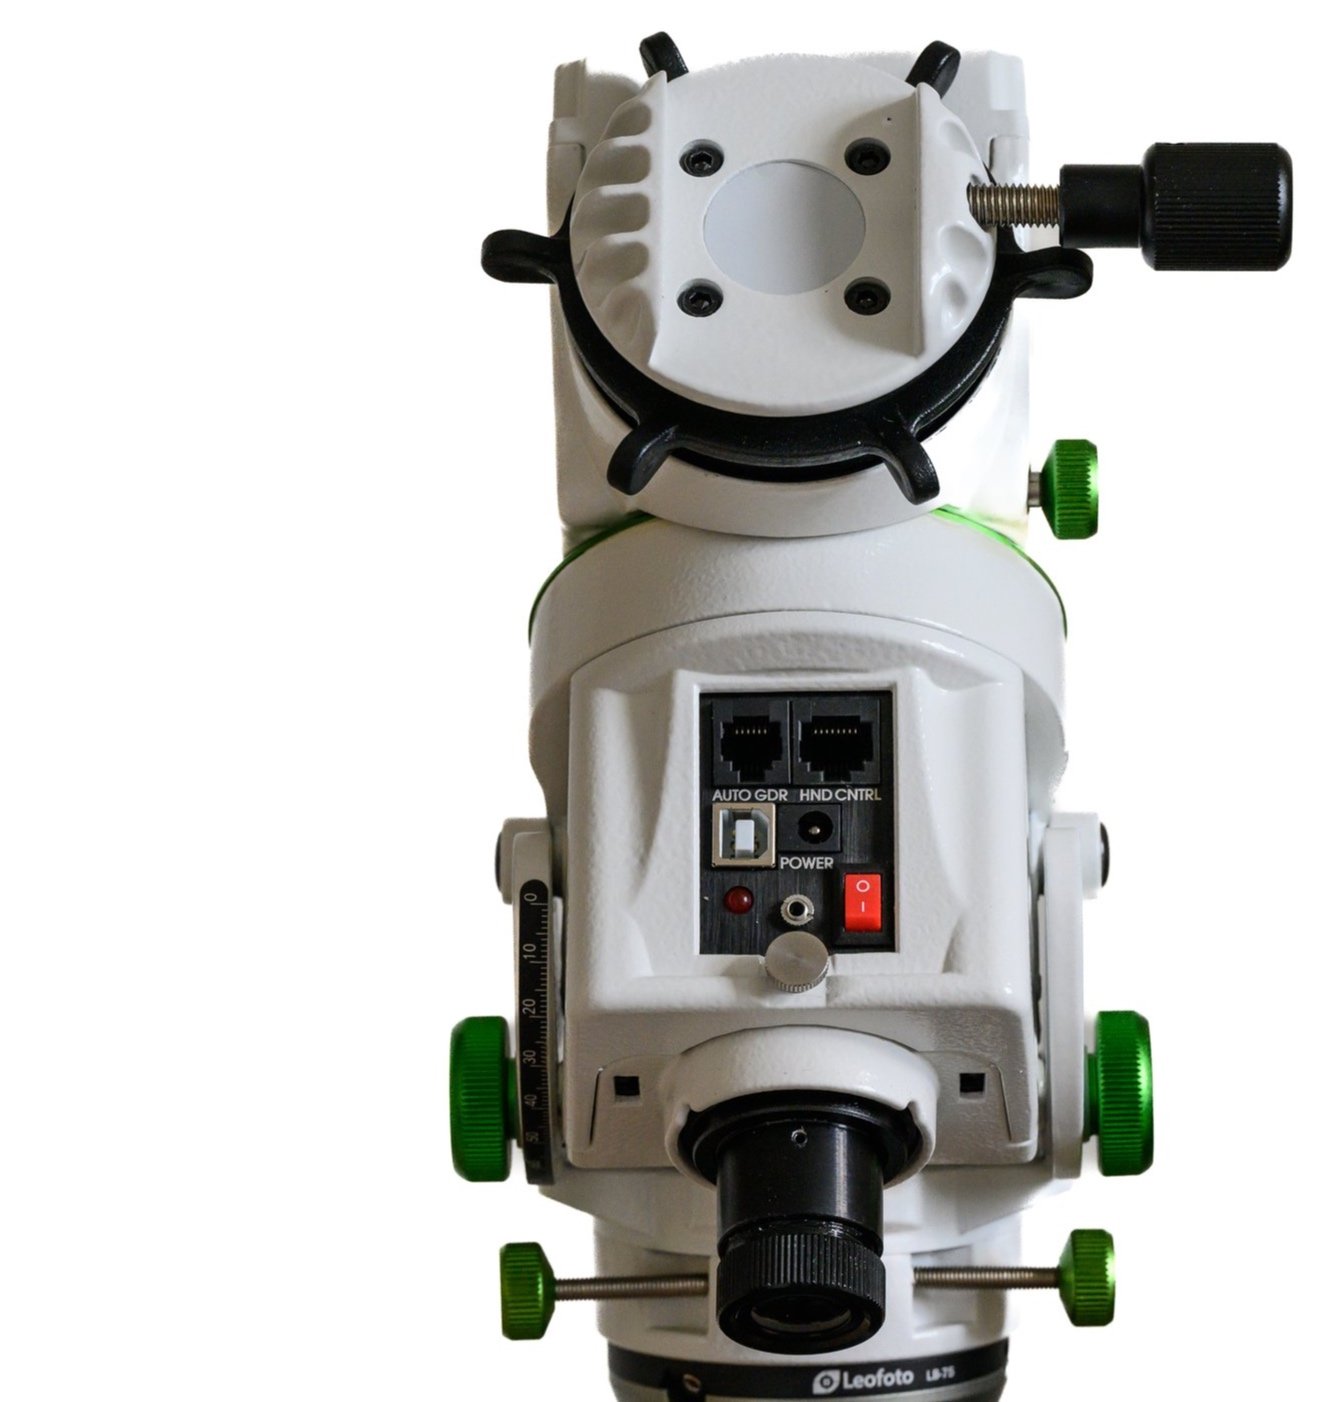
Once the system is correctly levelled I like to keep the mount in its home position. This is generally with the counterweight bar pointing downwards and the DEC saddle oriented parallel to the polar axis of the mount as shown below.
The two issues with getting an accurate home position alignment are:
the mount doesn’t have any alignment marks or setting circles to allow manual alignment
the mount doesn’t have encoders on either axis to allow the Star Adventurer to read where it is pointing.
The lack of visual or electronic alignment makes it difficult to get an accurate home position alignment. The Star Adventurer GTi assumes the mount is in its home position in order to slew to GOTO objects so, if the system is turned on and the mount isn’t in the correct starting position, slewing can be wildly off.
This is my method for ensuring an accurate Home position.
Right Ascension (RA) Axis
Accurately level the mount on its tripod. The process uses a bubble level so if the tripod is not level to begin with an accurate alignment will not be possible.
Turn on the Star Adventurer GTi and connect to its WiFi using a smartphone or tablet.
Run the SynScan app and connect to the mount.
Note these are generally not correct and are set to default values when you first switch on and connect the mount.

Select Utilities
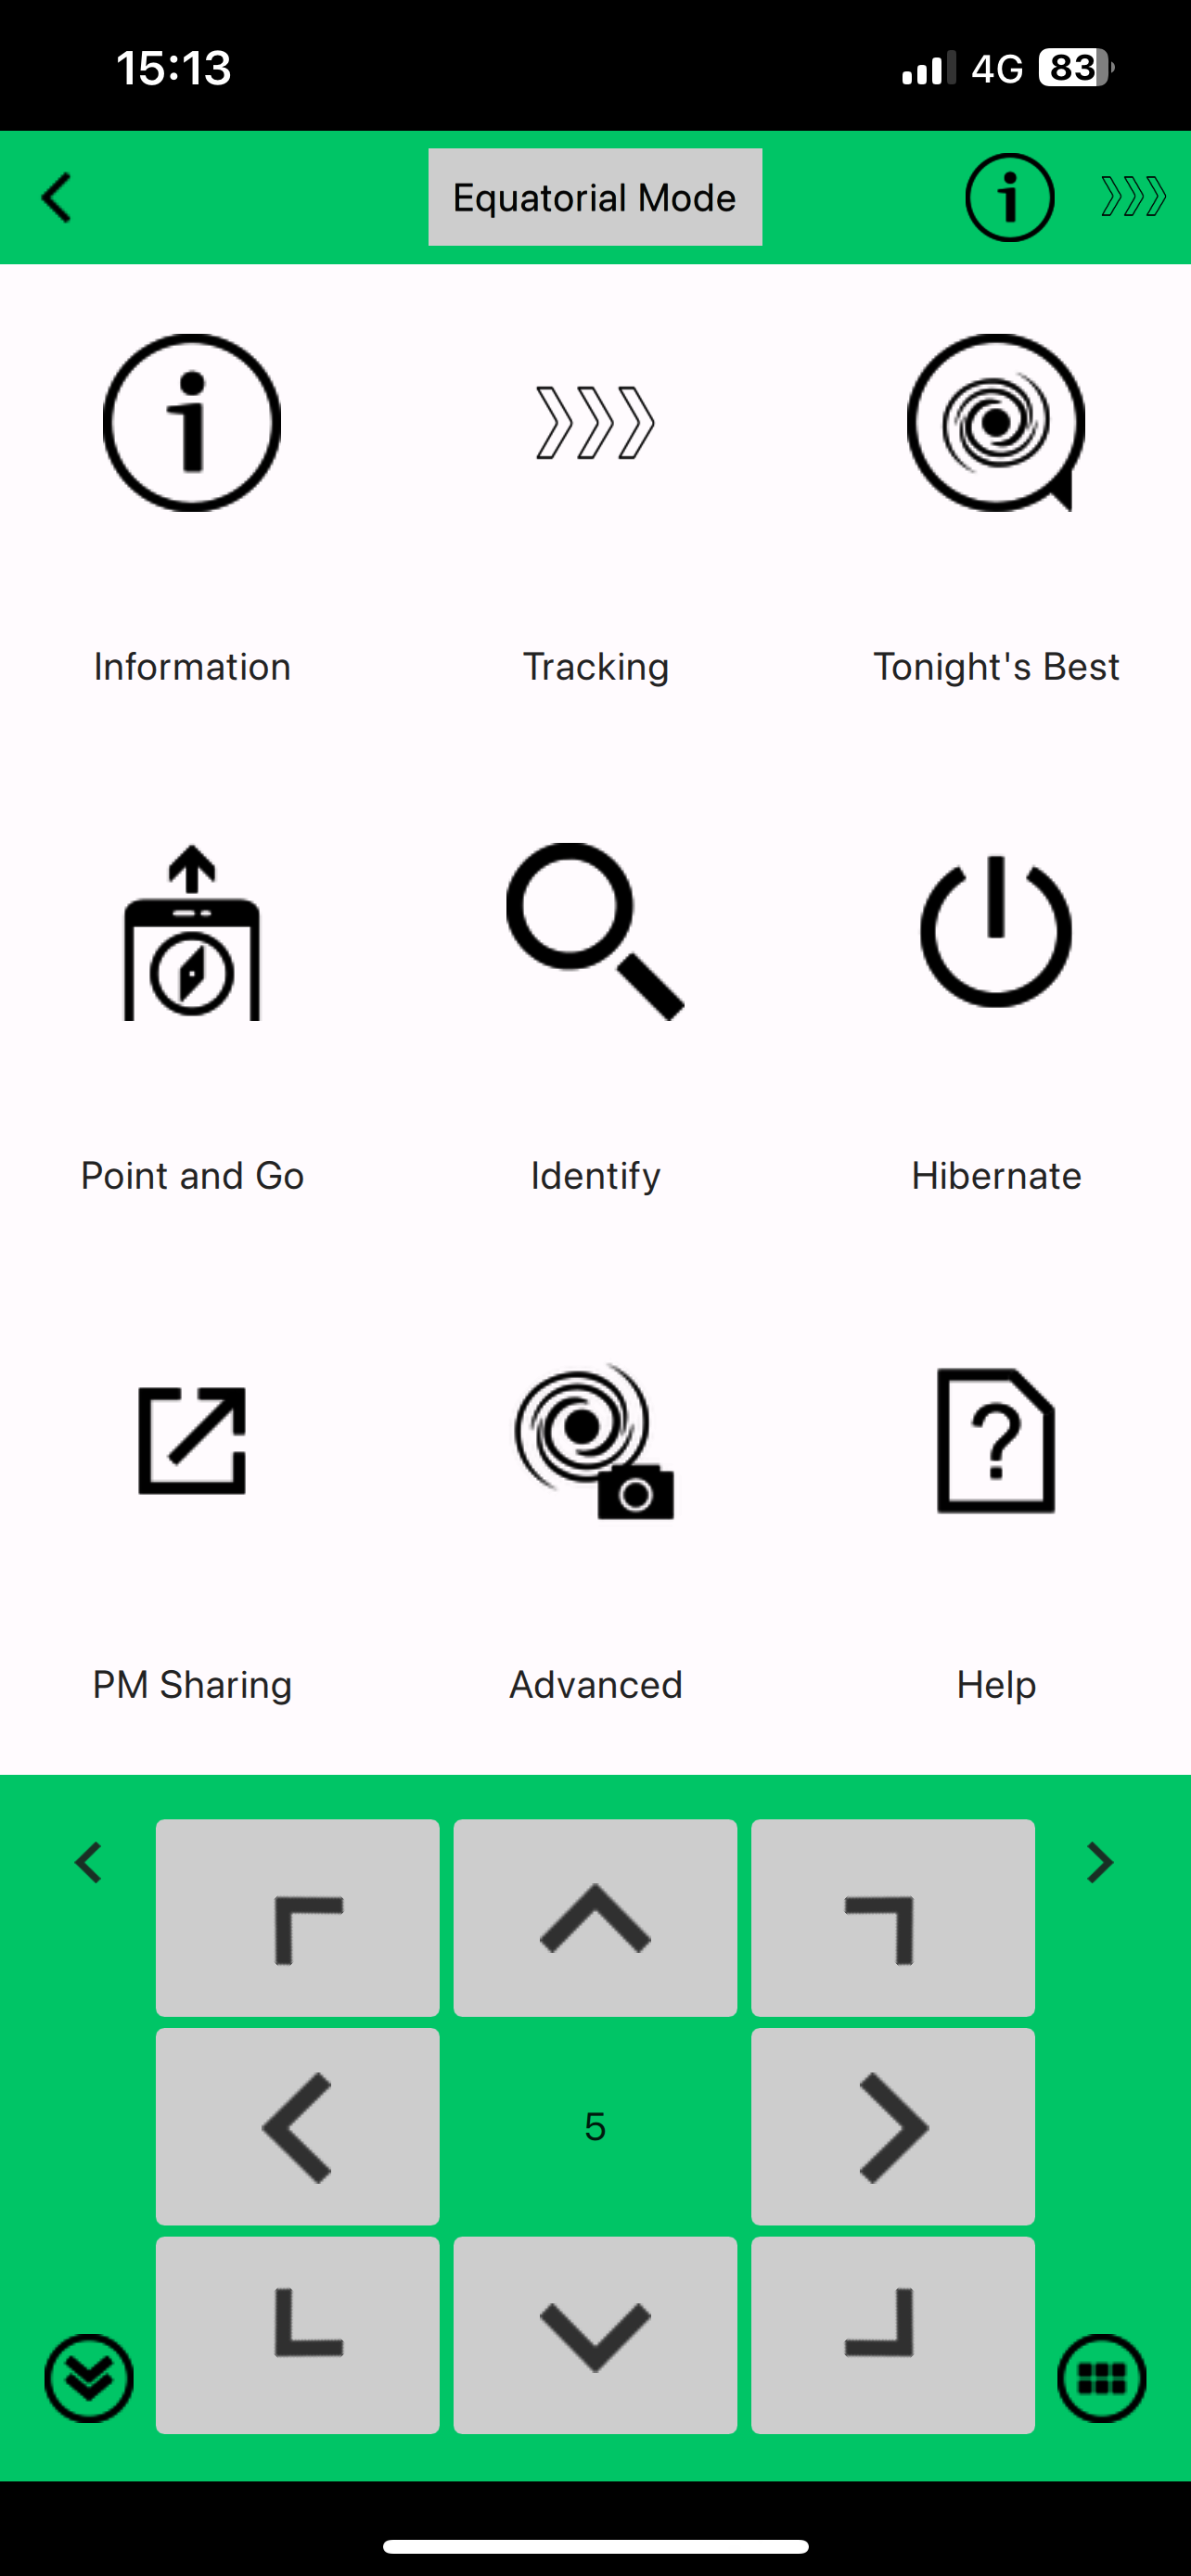
Select Information

Read the Axis Coordinates - Note these are generally not correct and are set to default values when you first switch on and connect the mount.
In this case the default startup coordinates were set to an RA of -90.00.00 and a DEC of +90.00.00.
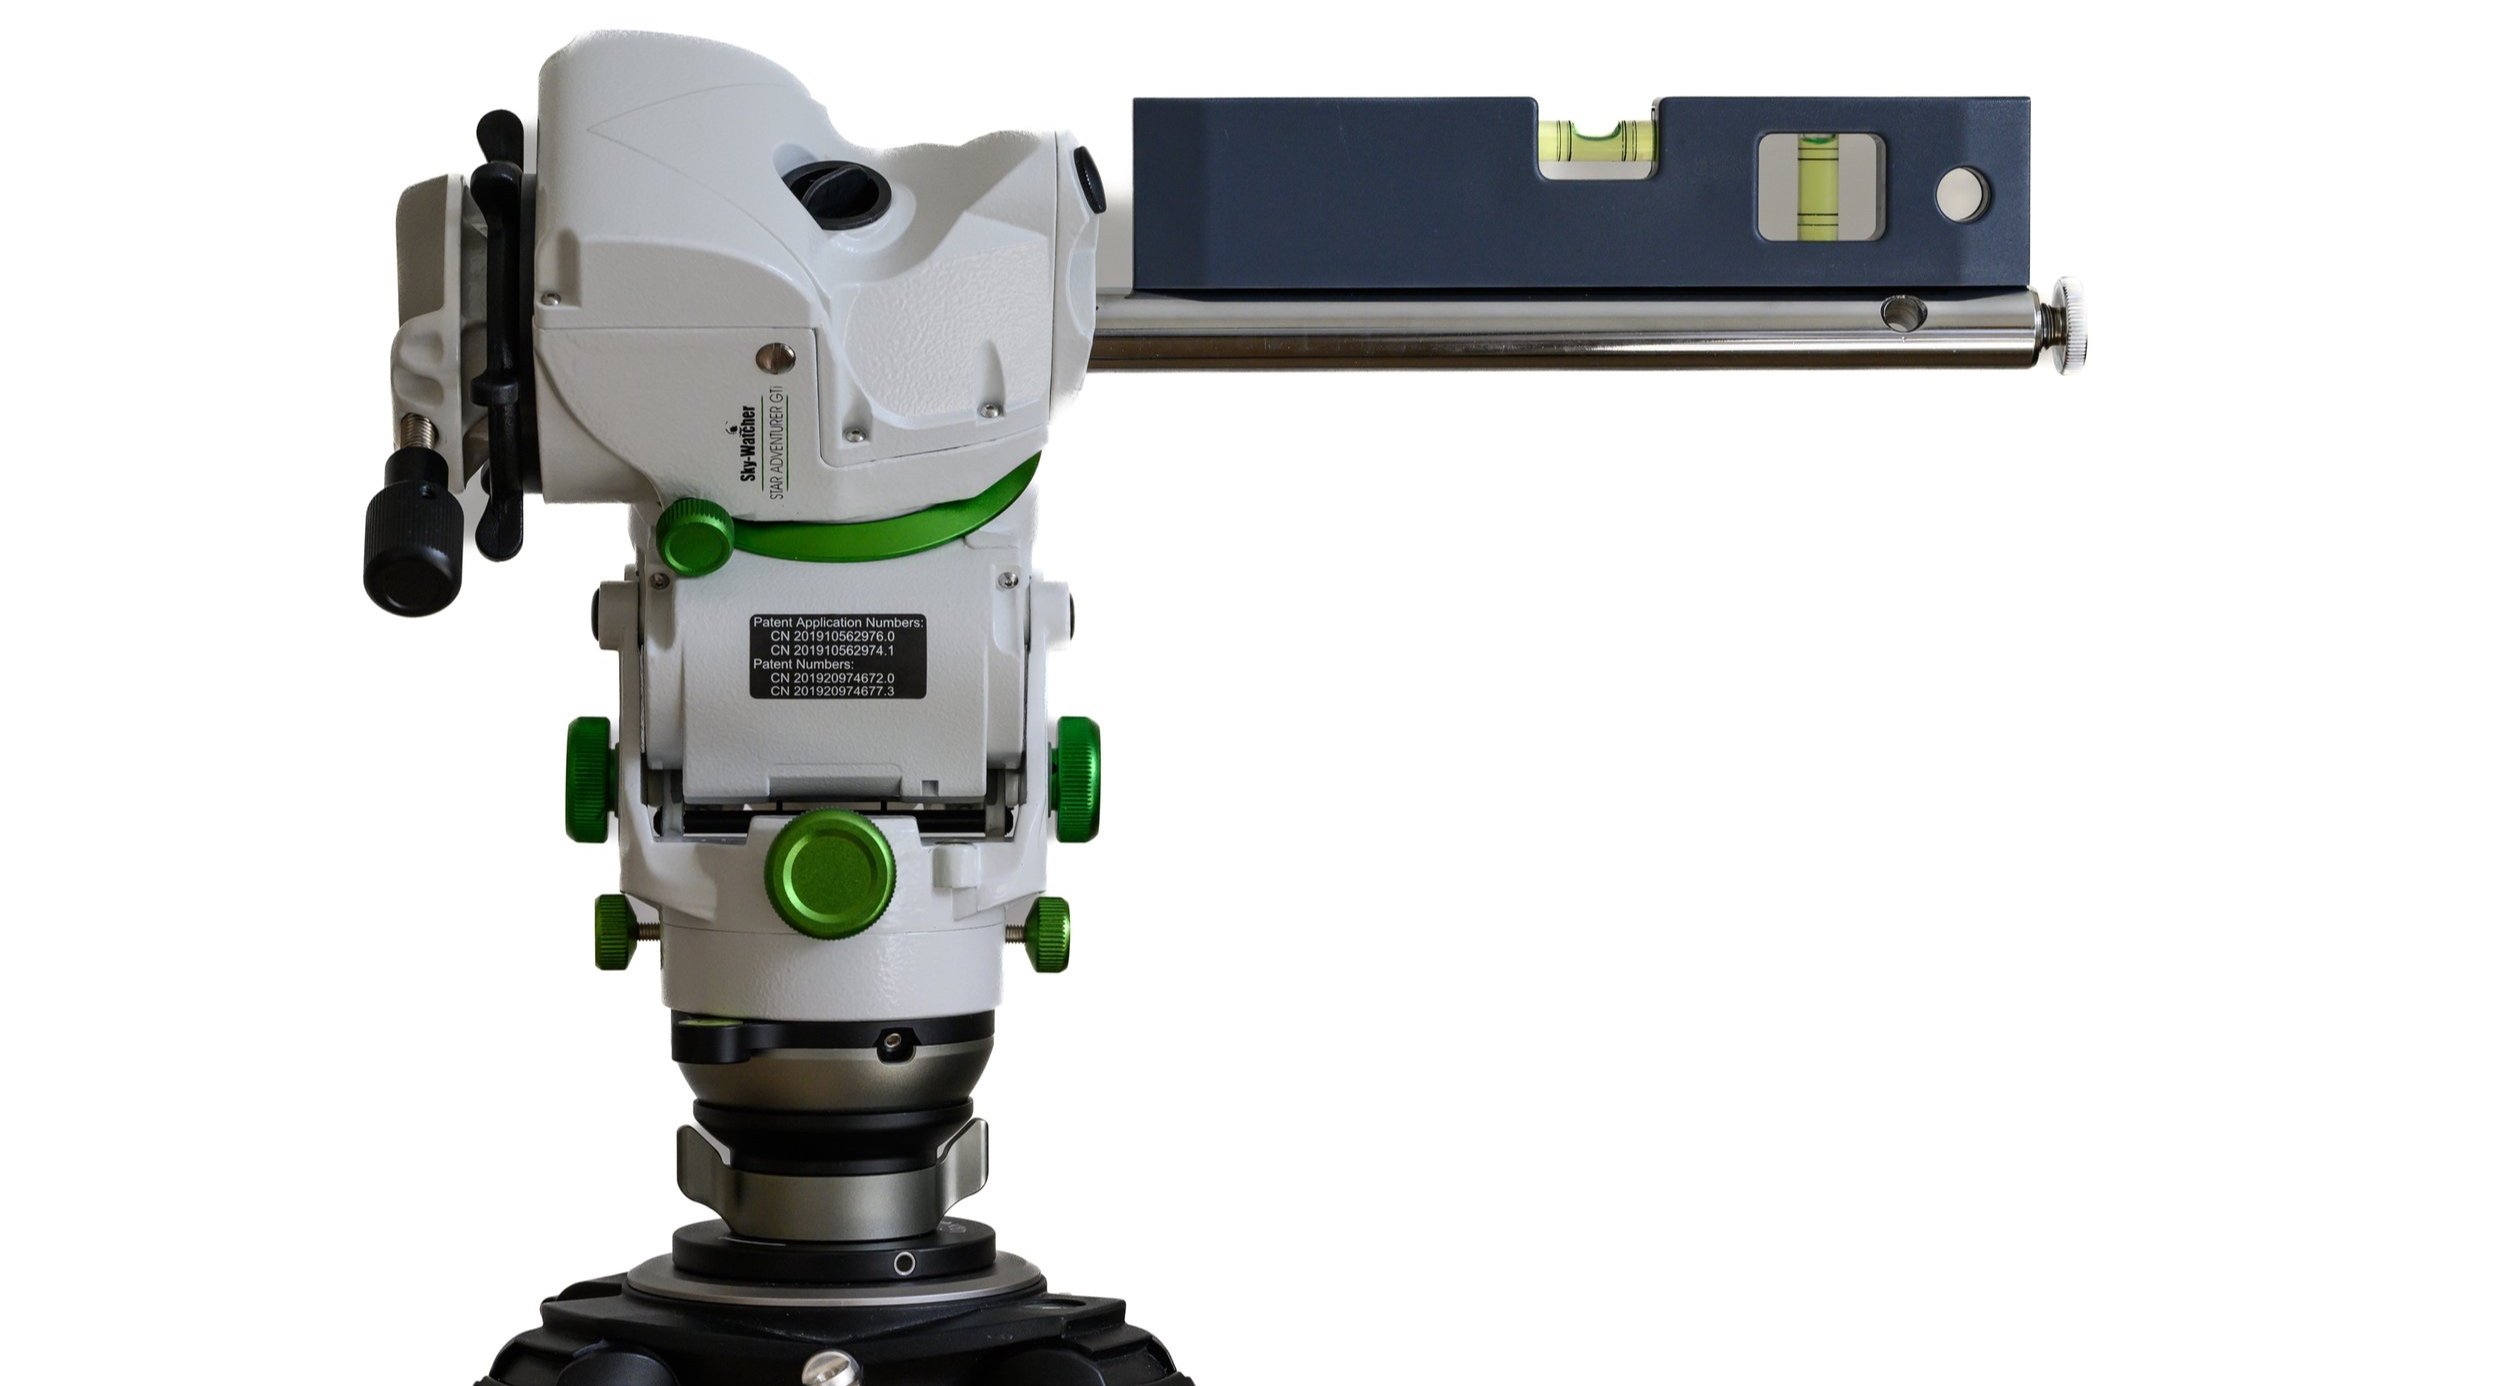
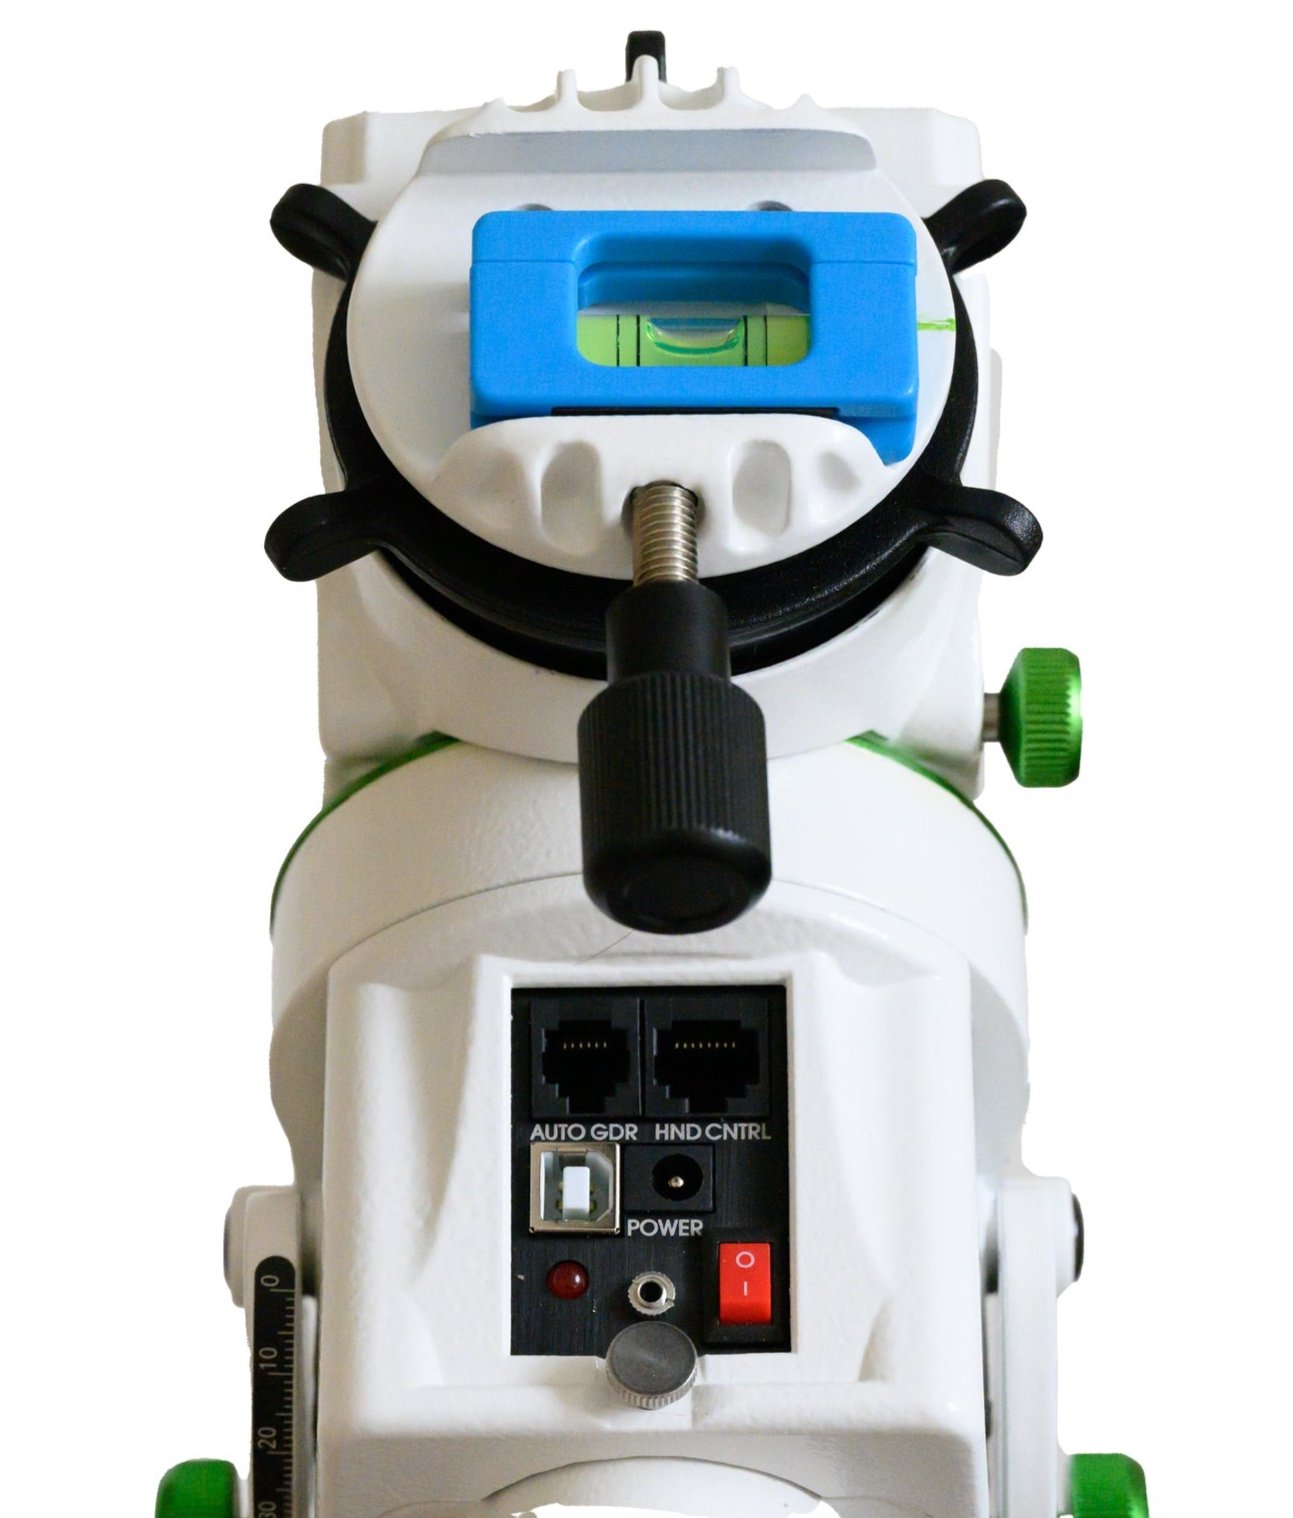
Check the counterweight shaft is horizontal using a bubble level
Release the RA clutch knob and turn the RA axis so that the counterweight shaft is horizontal. Check for level using the bubble level. Once the counterweight shaft is level lock the RA clutch knob.
Using the left and right arrow buttons in the SynScan app to slew the mount so that the counterweight bar moves downwards. Continue slewing until the RA axis coordinates reduces by 90 degrees. Adjust the slewing speed as you get close to the correct position for finer adjustment.
The counterweight shaft should now be pointing directly downwards.

Slew the mount RA until the RA coordinate changes by 90 degrees.
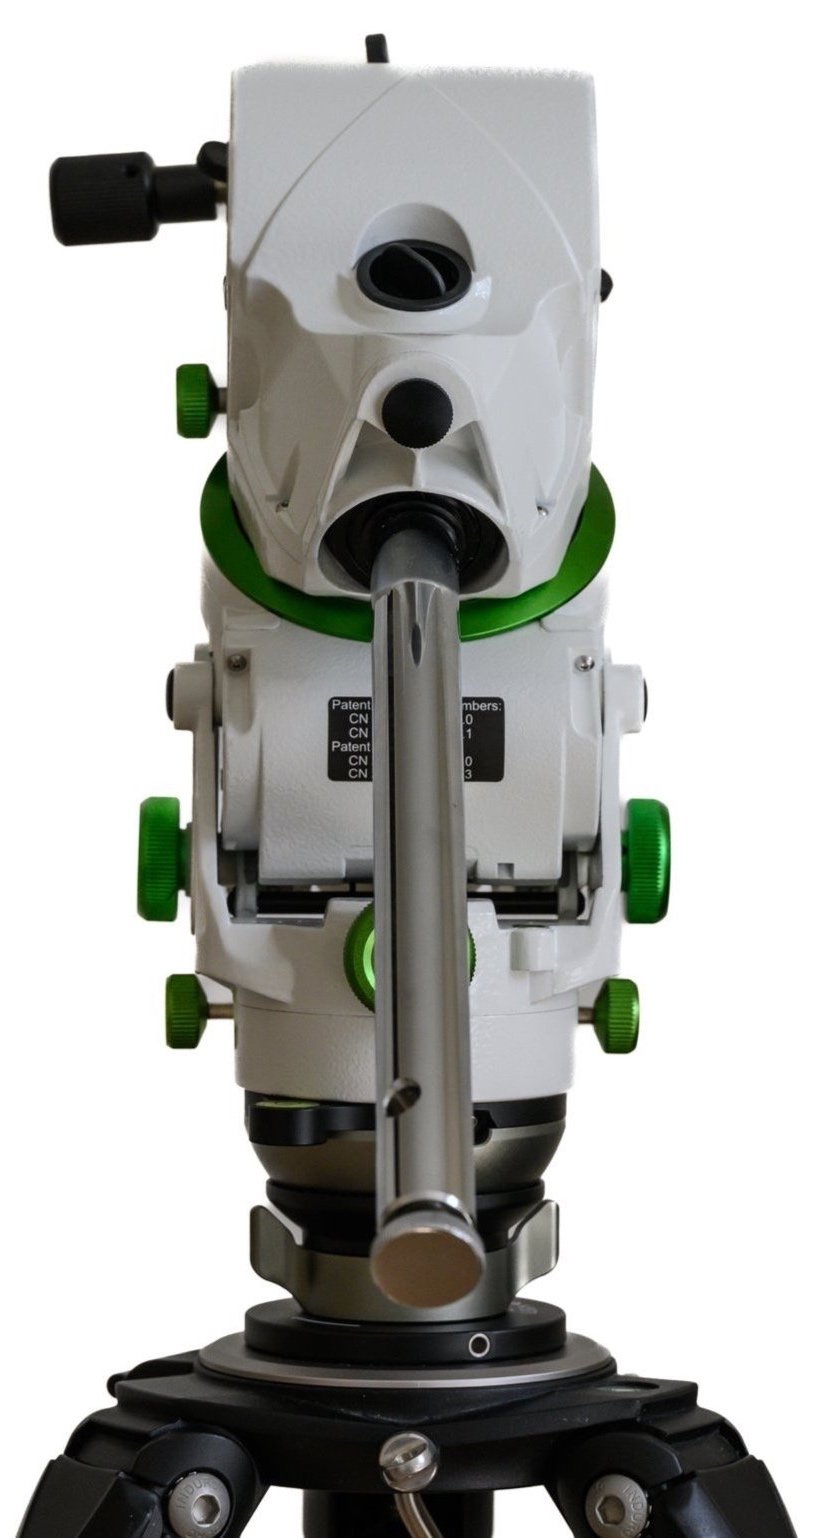
Counterweight shaft pointing down
Note the RA Axis coordinates “reduced” from -90.00.00 to 0.00.00. Ignore the positive/negative indication as it just depends on which orientation you used for the counterweight shaft (east or west). You need to make sure the counterweight bar points downwards rather than upwards.
Mark the position of the RA assembly and the mount using a marker pen. This is now the Home RA alignment.
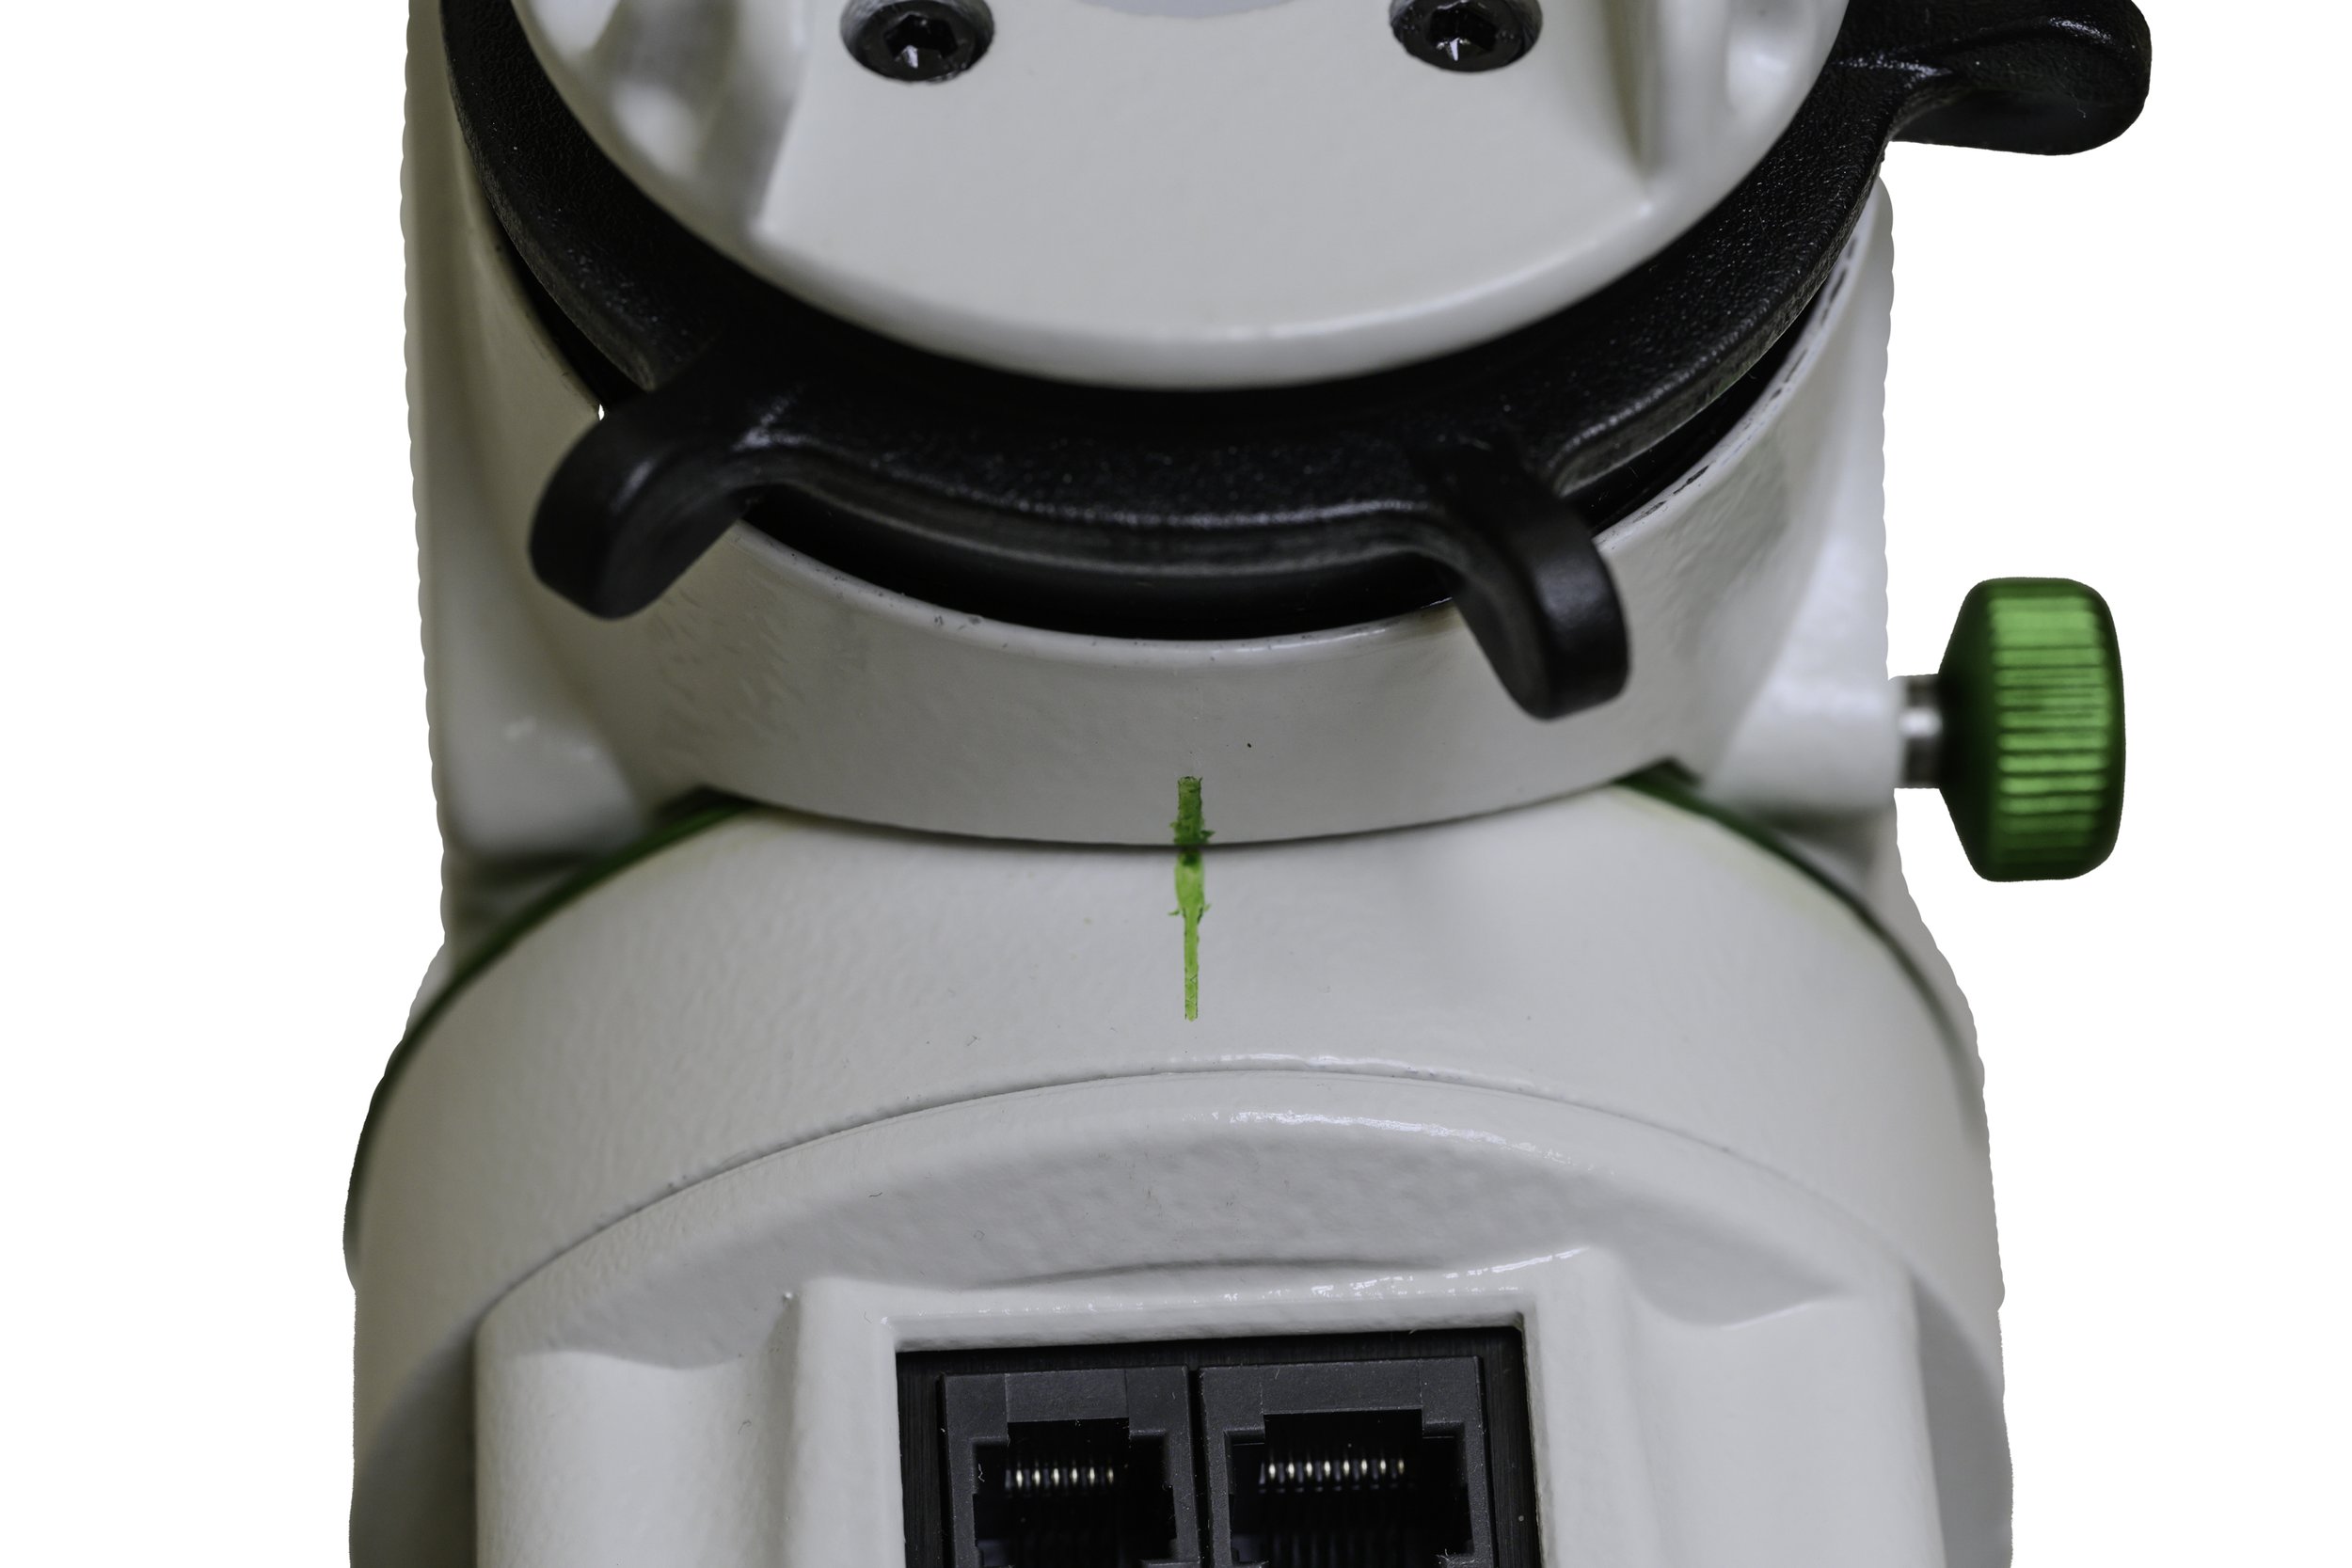
RA Home position alignment marks
Declination (DEC) Axis
With the RA axis in the home position make a note of the DEC axis coordinates (in our case the default of +90.00.00).
Loosen the DEC clutch and rotate the DEC saddle until it is horizontal (clamp knob either pointing straight up or down depending on preference). Use a bubble level to get the DEC saddle perfectly level and then tighten the DEC clutch.
Levelling the DEC Axis
Using the SynScan app up and down arrows, slew the mount through exactly 90 degrees. (You can rotate either direction depending upon your preference for which side of the saddle you want the locking knob - I prefer eastwards so I can tighten with my right hand).

Slew the DEC axis through 90degrees (to 180.00.00).
DEC Saddle in Home (vertical) position. I prefer the saddle clamp job to be at the right side for ease of tightening
Once the saddle has been rotated though exactly 90 degrees mark the position of the DEC assembly against the RA assembly using a marker pen. This is now the Home DEC alignment.
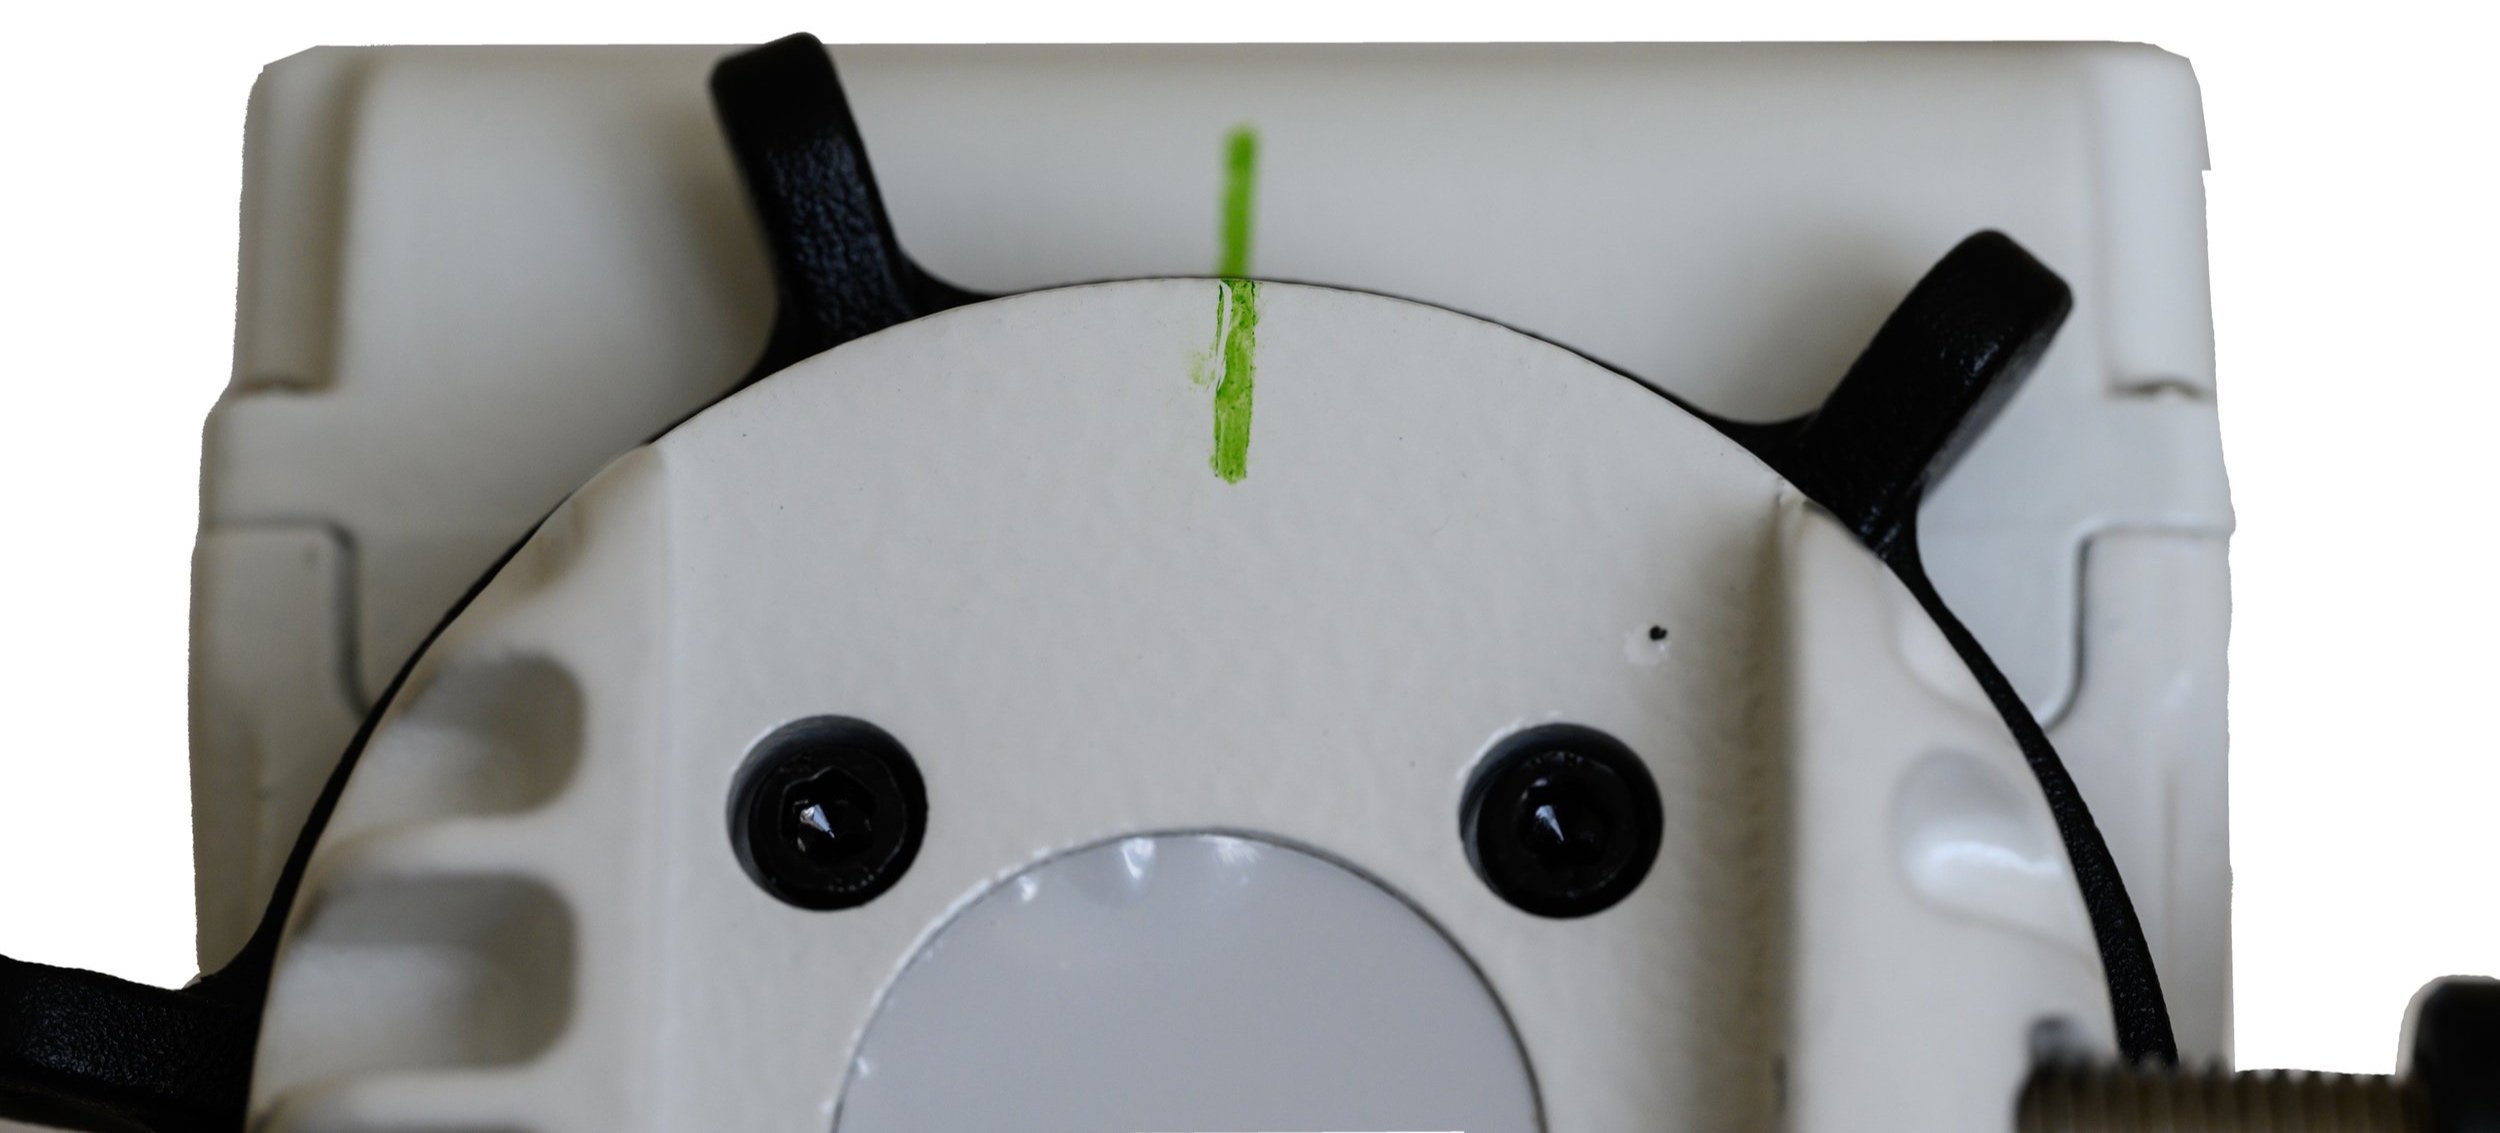
DEC Home position alignment marks
With both of the alignment marks it is now a simple matter of aligning the various marks to get the mount in its Home position. The counterweight bar will be pointing directly downwards and the DEC saddle pointing directly towards the north celestial pole.
As previously mentioned the Star Adventurer GTi doesn’t have encoders on either the RA or DEC axes, it measures the angles simply by counting the number of revolutions of each motor. This means that it cannot determine their positions directly - just the changes in each axis. When you switch on the system the RA and DEC coordinates default to -90.00.00 and +90.00.00 no matter what the position of the two axes. Also, when you loosen the clutches and manually move the axes the system cannot determine that the axes have moved. It is necessary to re-align to home position each time the system is switched on and to only use the GOTO system to change where the mount is pointing.
This applies only to the first GOTO operation after switch on/manual adjustment. Once the system is correctly aligned on the first calibration star it then measures the angles between that star and the next object correctly.